Blog

DMK 12/4/15: “Deck the Halls” Part 1 (Scales and Dynamics)

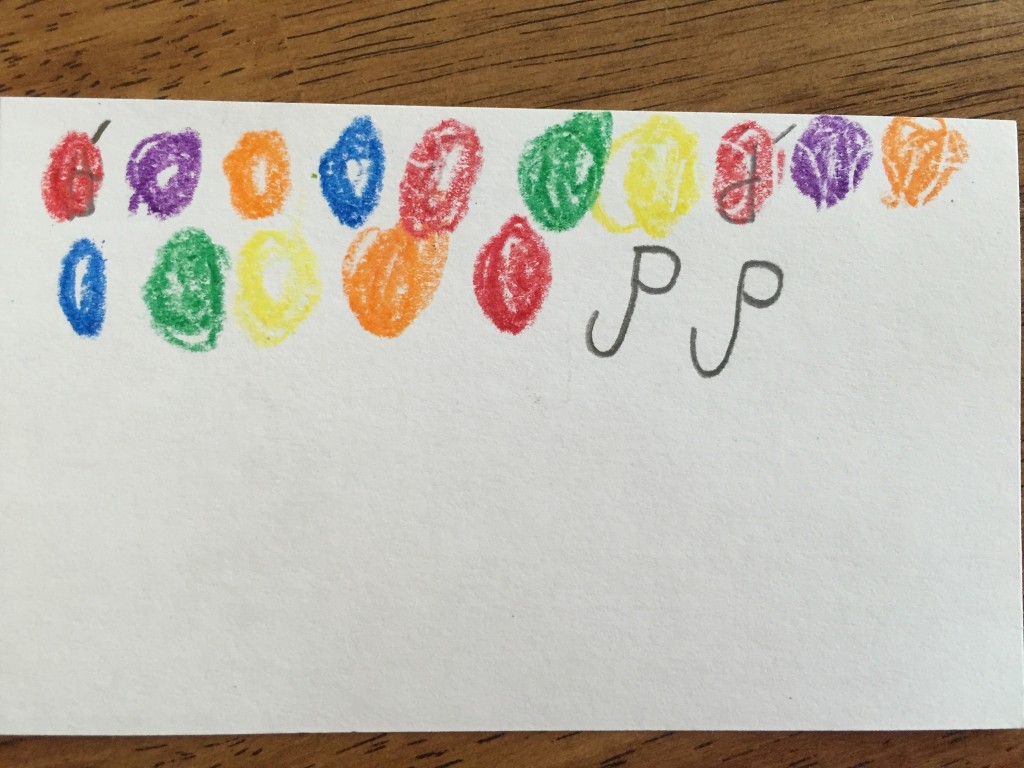
Today I taught the children that this:

Ascending scale Solfa dots
Click on the image to go to a printable PDF of this scale.

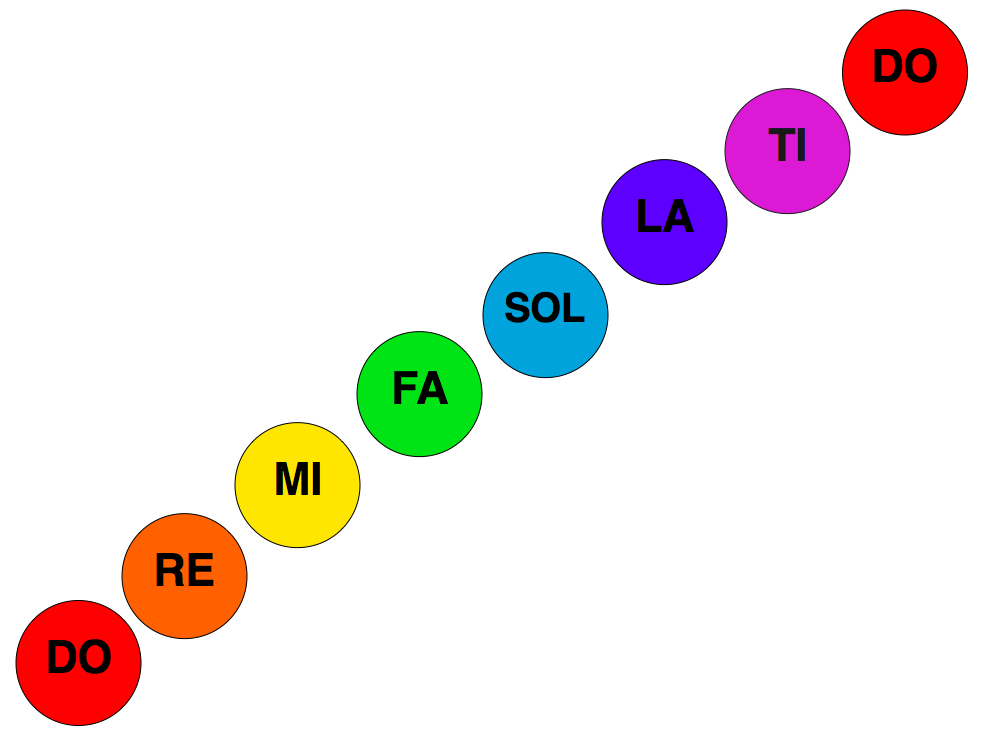
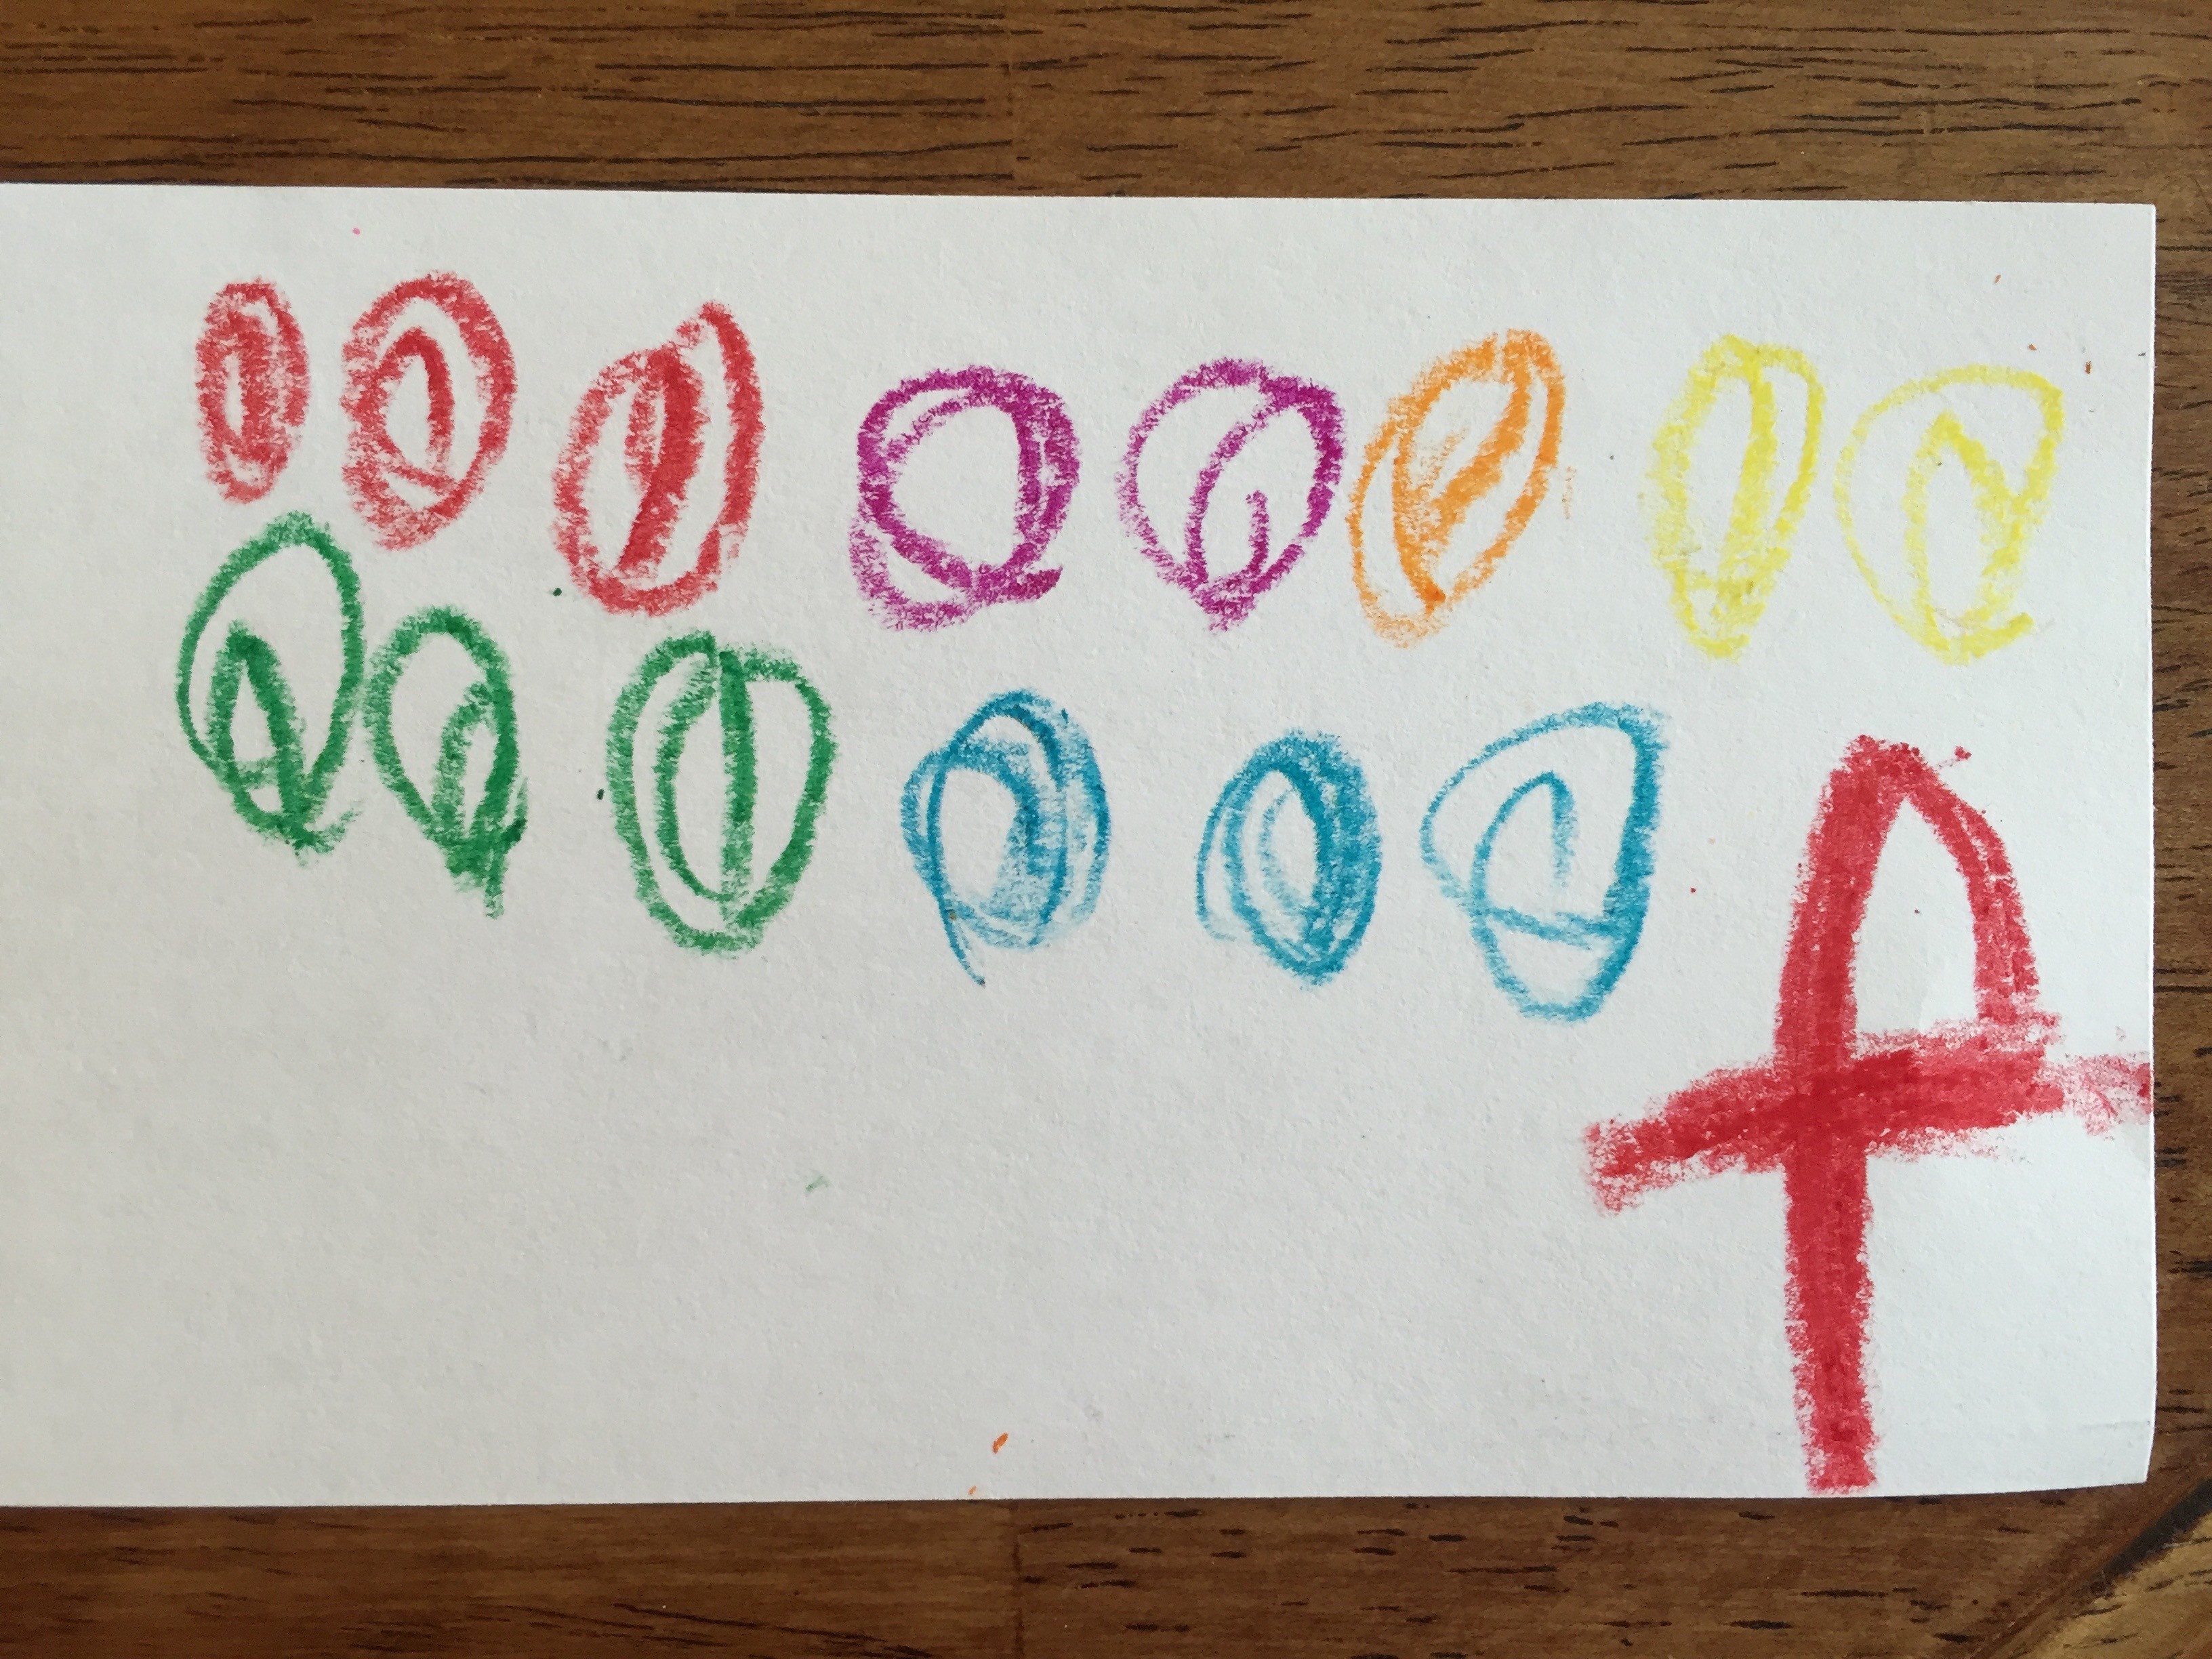
is called a scale. Specifically, it’s an “ascending scale.” I also put this up on the board next to it:
Screen Shot 2015-12-04 at 3.13.40 PM

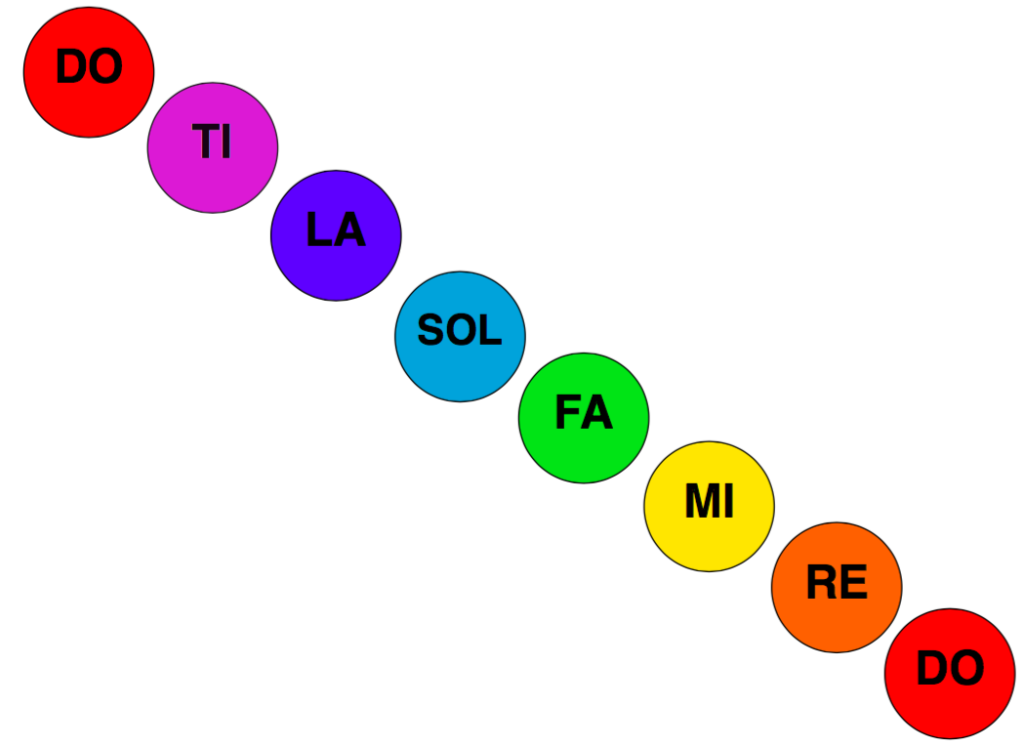
and told them it is called a “descending scale.” We repeated the words “ascending scale” and “descending scale” several times and motioned the meaning, by bending down by our toes and reaching up to the sky saying “ascending scale” and then bending back down to our toes, saying “descending scale.” We also sang and signed the scales.

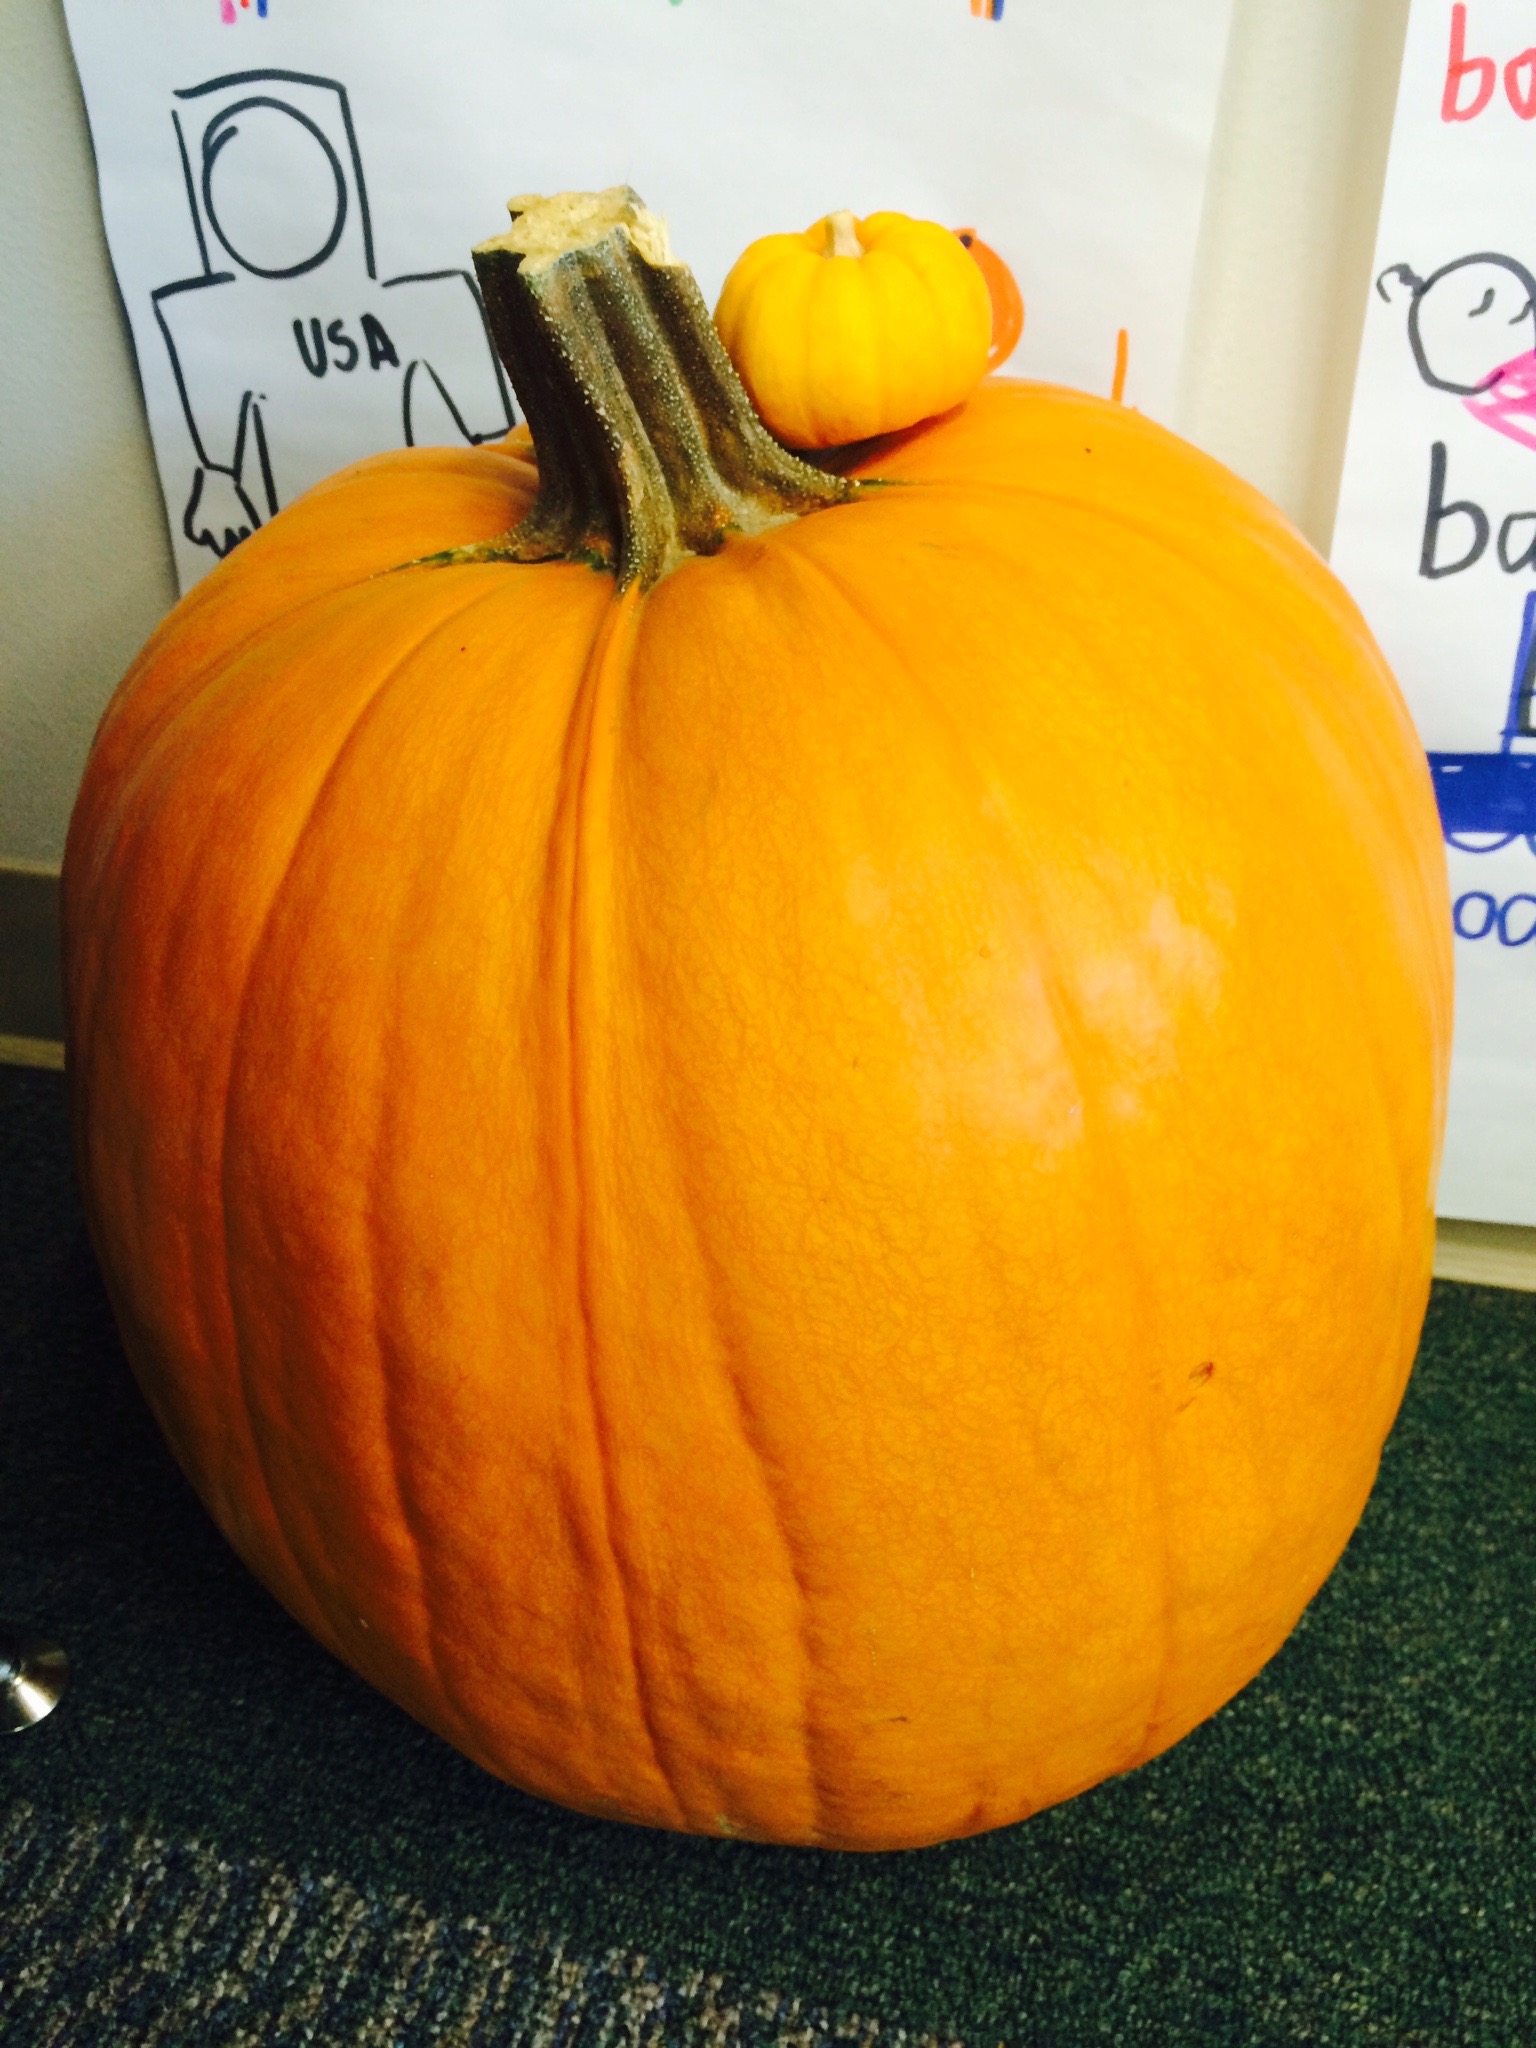
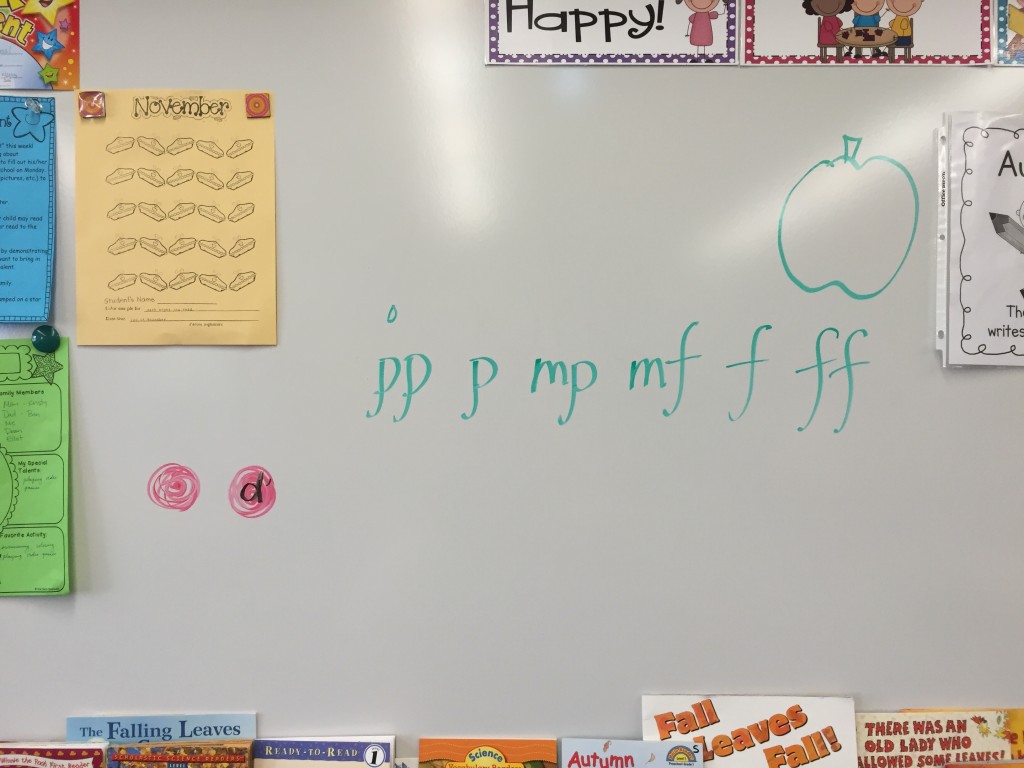
Then, since we were down by our toes, I asked them if they remembered the growing pumpking game, and if anyone ate any pumpkin pie for Thanksgiving. We did the growing pumpkin game. After, I asked them if they remembered how we write “piano” or “forte” (as well as the other words, pianissimo, mezzo piano, mezzo forte, and fortissimo). I wrote “pp, p, mp, mf, f, ff” on the board as they named the terms. They did a pretty good job remembering after not meeting for two weeks!

Then we sat back down, and I opened up Deck the Halls illustrated by Norman Rockwell. I went over each page in the first verse, explaining the meaning of these unfamiliar words:

deck= decorate
boughs= branches
holly= tree with pointy green leaves and red (not for eating!) berries
’tis= it + is (taking away the first “i”)
season= time of year
jolly= happy, like Santa Claus!
don= put on
gay apparel= bright, festive (i.e. Christmas) clothes
troll= sing
ancient= very old
Yule tide= Christmas time
carol= song

We sang the song again, using the pictures in the book. Then I went over each line with them by diving the class up by rows, telling them that they were a “choir.” The first two rows on my left sang, “Deck the halls with boughs of holly,” and then I invited the whole class to sing the “fa la la” part. The next two rows in front of me I taught, “‘Tis the season to be jolly,” adding in the rest of the class again for the “fa la la” part. “Don we now our gay apparel” was the final 2 rows on my right, and then the “Troll the ancient Yule tide carol” was the whole class. Then we stood up, turned around and sang for the teacher.

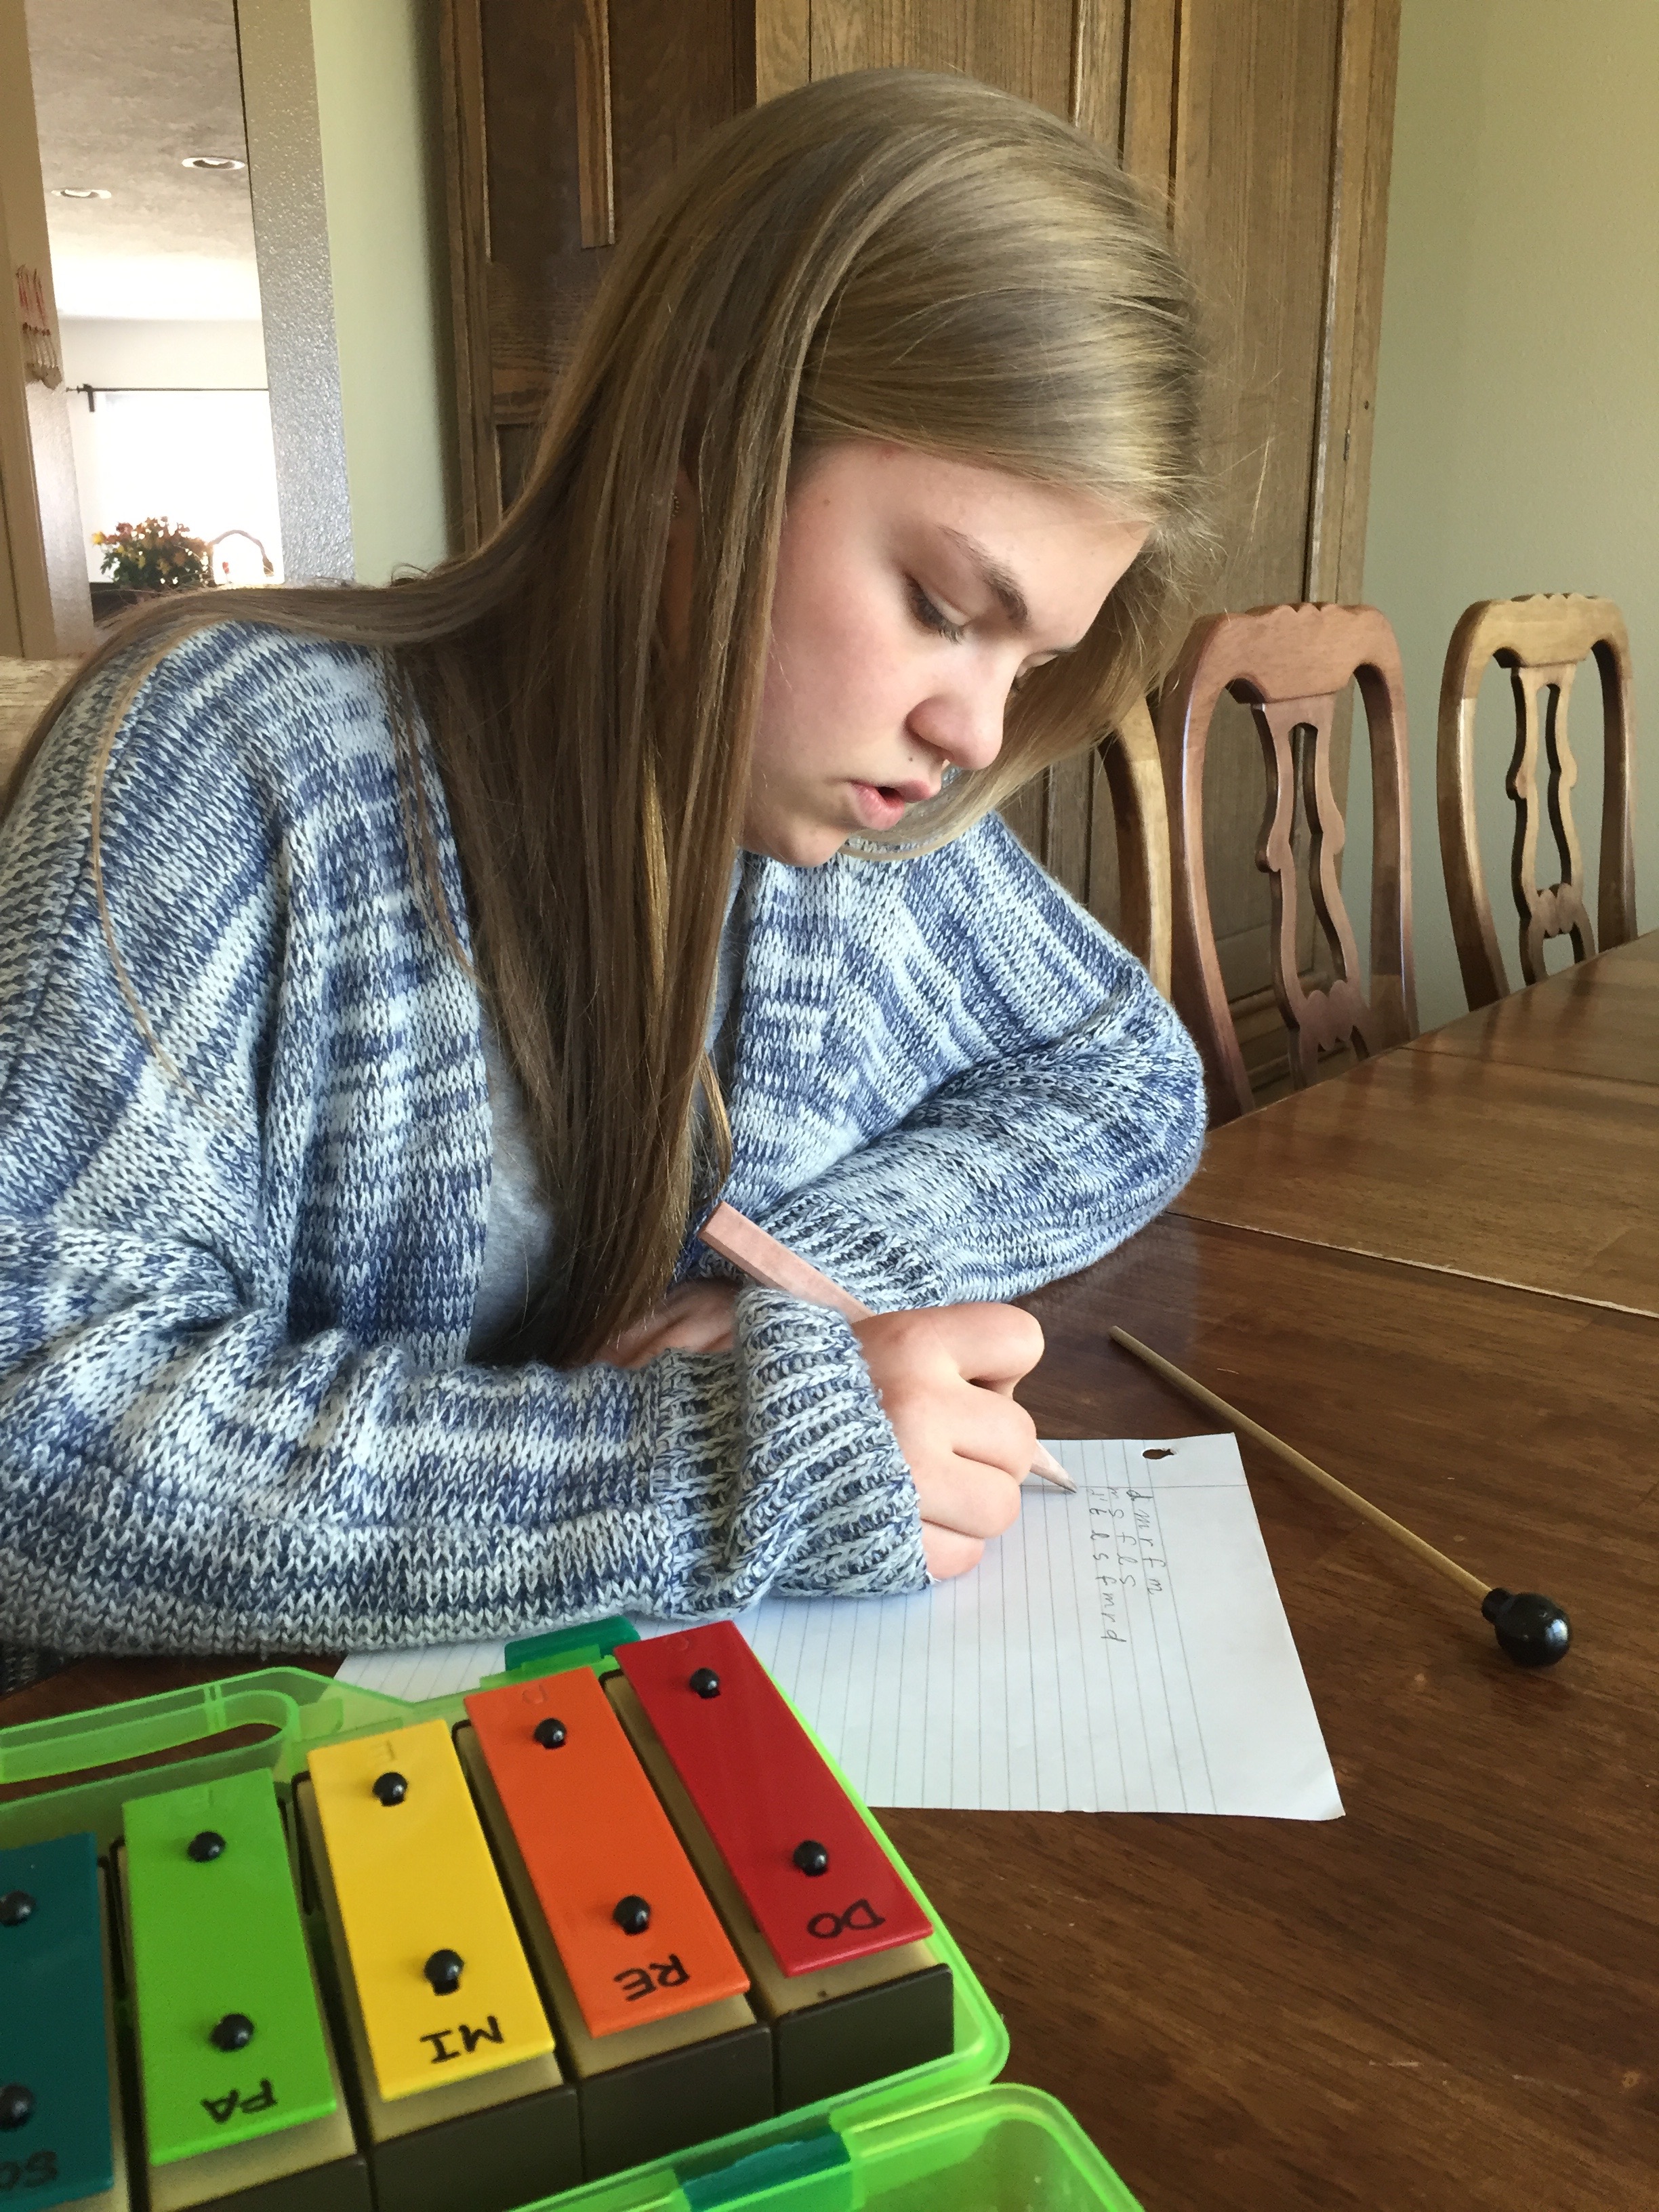
After our performance, I sent the children to get their bells and go to their desks.  We practiced ascending scales and then descending scales. It was hard for some of the children to remember to begin at “Baby Do” (High Do) for the descending scale. It’s also hard for them to not play the bells in between repetitions or during my instructions. (I can only imagine! I would have been bored as a child, always waiting in between, too!) They did a good job.

After we practiced both scales, I taught them the first part of the first phrase:

Deck the Halls First phrase moving Solfa dots

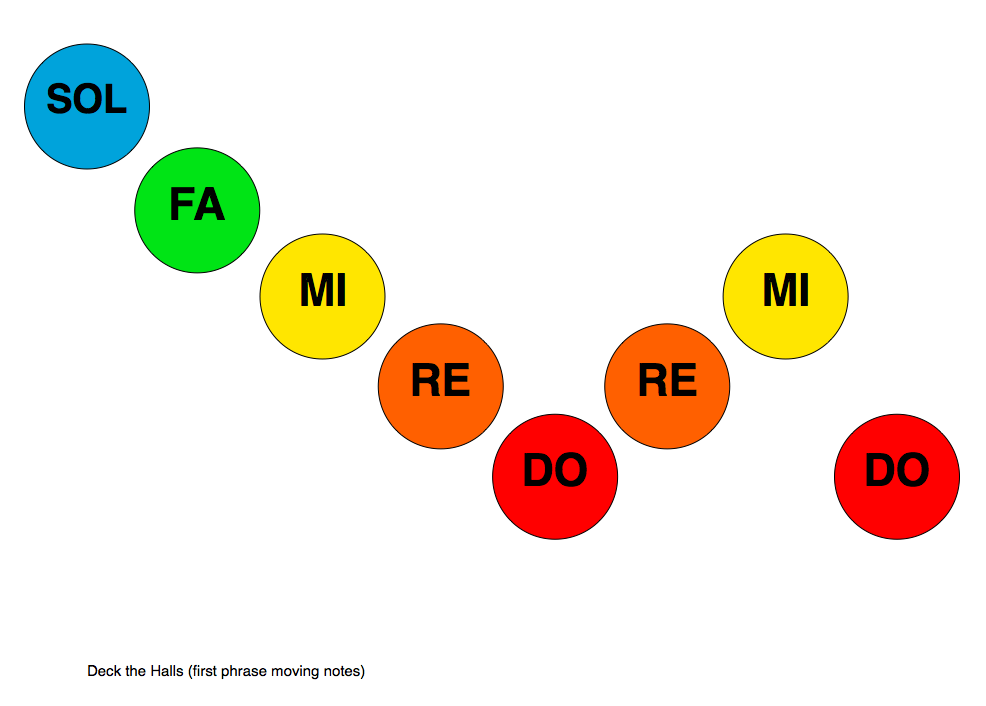
I showed them how the notes go down for scale for the first part, then back up, and then down again. We drew the shape of the phrase in the air with our hands/arms. We sang and signed the phrase. Then we played the first part, sol fa mi re do, 3 times before we had to end our day.

We sang goodbye after we put away our bells.

DMK 11/19/15: Dynamics and the Growing Pumpkin Game

PumpkinsToday in Mrs. S’s class I introduced the concept of dynamics. We started out as usual, singing our DM Theme Song, but I sang each phrase of the song either loud or soft. After we sang it, I asked the children if they noticed anything different about the way I sang the song. Some of them noticed. I confirmed that I had sung some parts louder and other parts softer.I showed them two pumpkins I had brought: one very large pumpkin and one very tiny pumpkin. I asked them how large a pumpkin seed is. (I forgot to bring my pumpking seeds!) They showed me with their hands and I drew one up on the board. I explained that pumpkins grow from small seeds. Music can grow from soft to loud also. I told them we were going to learn “The Growing Pumpkin Game.”

I told them I would show them the game first, so they could just watch this time to learn how to do it. I knelt down on the floor and put my head down in front of my knees and my arms curled up under me. I told them I was making myself tiny like a seed. I told them they needed to be silent to hear what I would say. I whispered, “pianissimo.” Then I put my bent arms up on my legs and said, a little louder, “piano.” Then I sat up while still kneeling and said, a little louder, “mezzo piano.” Then I knelt up on my knees and said, a little louder still, “mezzo forte.” Then I stood up and said louder still, “forte.” Then I jumped up and made my arms go up and down to the sides like a water fountain, calling out the loudest of all, “fortissimo!

Then I knelt back down and started over, this time with the children doing it with me. We did this two or three times.Dynamic markings

I got up and went to the whiteboard, where I wrote down the abbreviations for the six dynamic markings I just taught them: pp   p   mp   mf   f   ff. I opened up a songbook and showed them a piece of music. (I meant to show them one with a dynamic marking in the music, but I grabbed the wrong piece!) I told them that if someone writes a song and wants it played loud, then they write a forte or f under the notes. If they want it played piano, they write a p. I can’t remember if I pointed out that when we tell someone to play or sing a song loudly or softly, this is called “dynamics” in music. Each of those abbreviations is a dynamic marking. (I also told them that in their songs, if they choose a “Baby do” for one of their notes, they need to show it by putting an apostrophe next to a d on their red dot, so that someone playing it will know it is not “Daddy do.“)song garden example with dynamic marking pp

We sang “Over the River and Through the Woods” (I can’t remember if I told them to sing it f or p like I had intended!) to review and then went to get our bells.

I had them bring their bells over to their seats. I handed out their songs (the ones they wrote on 3″x5″ cards last week) and asked them to choose a dynamic marking and write it below with a crayon.

We warmed up by practicing an ascending and descending scale on the bells.  I modeled it for them first: d r m f s l t d’ d’ t l s f m r d. Then I cued them, “1-2-ready-play.” They played with me (sort of) as I very slowly led them in their scale. I asked the teacher after, “Did we sound like one voice or 30 voices?” She said “Maybe 15.” So I encouraged them to try to play right with me, at exactly the same time, not any faster or any slower. We played the scale again. After each scale, I told them, “Mallet on your head” or “Mallet on your ear” or “Mallet on your nose,” so they didn’t start playing while I was talking.  I pointed out that I heard some children playing each note several times, and that I wanted them to only play one note right with me. We played it a third time.

song garden example with dynamic marking

Then I had them play their own song once, then hand it to their neighbor and have them play their song, especially playing it with the dynamic marking. Then we had performances. I had two children play their neighbor’s song. It was fun to see which dynamic marking they had chosen, as some wrote “ff” and others”pp.” (I had them fix any red dots to distinguish if it was low do/Daddy do or high do/Baby do.) It challenged them to figure out how to play their bells louder or softer.

We had so much fun and ran out of time as usual! We closed up our bells, collected the song cards, and sang our goodbye song. I put the bells away myself because I had gone over time.

Note: My apologies that I don’t remember who taught me the dynamics “game” that I have called “The Growing Pumpkin Game.” It was years ago in a Suzuki Music workshop class with my children. Many thanks to whomever it was who taught me this “game” that the children love so well and helps them understand dynamic markings so quickly!

Composers and composing: easier than you think!

Helping children learn to write a song is simple. We don’t expect the vast majority of childre to write like Shakespeare or Milton when they start writing their first sentences. Neither would we expect one to quit trying to compose music just becuase their song doesn’t sound like one of Mozart’s concertos. We are simply trying to teach the process.

Today I had an idea for a song for the letter Z. I sat down and jotted down some words to what I named “Zazzaloopseedoo.”

Then my daughter Rebecca walked in the door. I invited her to write a tune to the lyrics. I handed her a set of resonator bells, and she got a pencil and paper. A few minutes later, she had a little tune written down in Solfa notation (just the first letter of each note).

Rebecca composing

Rebecca composingNow, my daughter and I aren’t Rogers and Hammerstein, but we had fun in the creative process. And this process is the building block from which nearly all children can learn to write a song. How we continue to develop that skill can help those who discover that they feel very excited about the process to want to continue. Not everyone has to become a music composer! But teaching and learning the simple process of writing a tune can allow every child to experience the joy of creating.

I’m so happy!

I am SUPER happy today on several counts:

1. I found out that just this fall, the famous song we all have sung our whole lives, “Happy Birthday to You” (or “The Birthday Song”) is now in the public domain! That means we can use it on this website! We can make recordings to use in class! Woohoo! Time to celebrate!

2. I finished the page for “Mary Had a Little Lamb.” It is essentially what I hope all the free song pages will look like in the future when all the songs are written and have Song Garden© song pages, piano sheet music, Solfa note name dictation, and history about the song as well as any images that you might use to teach the song. Hooray!

3. I wrote some little lyrics for a Z song. Want to create the tune for it?

I would love anyone’s help who wants to help. Together we can build a great free resource for any parent, child, or teacher to use!

The Happy Birthday Song

Happy Birthday to you,
Happy Birthday dear (the name of the child),
Happy Birthday to you!

d d r d f m
d d r d s f
d d d’ l f m r
t t l f s f

Patty Hill and her sister, Mildred, wrote this song for Patty’s kindergarten students in 1893. It is now sung millions of times every year around the world!

la-me-ln-happy-birthday-song-lawsuit-decision--001
This photo from the L.A. Times online. Click on the image to go to the source.
Mildred-and-Patty-Hill
Patty Smith Hill and her sister, Mildred Hill. For more information, go to the photo source by clicking on the photo.

DMK 3.4: Composers and composing: YOU are the composer!

3.4: Composing and Composers (for a PDF version of this lesson plan, click here.

New Concepts: Composing music

Review Concepts: Composers

2 min.: Sing the DM theme song, then follow up on last week. Who remembers what a composer is? What composer did we learn about last week? What song did she write?

6-8 min.: A composer is someone who composes music. What does it mean to compose music? It means to write music. What is a song you know? Do you know who wrote that song? What about the song we sang last week? (“Over the River and Through the Woods?”) (See what the children remember, what they know.) Today we’re going to learn about some composers and then YOU are going to be a composer! YOU are going to write your very own song! Share 1-2 examples of songs and their composers (go to sidebar under Free Music and click on “The Happy Birthday Song,” “Over the River and Through the Woods,” or “Mary Had a Little Lamb“–as well as others!–for photos and stories behind these compositions.). Sing one verse of “Over the River and Through the Woods” in Solfa and using the book or just your own actions or with visuals—however you choose. Sing it more than once to help the children learn it. (Next week you will help them play some of it on the bells, so your goal is to help them have the tune solidly in their head. Words and multiple repetitions help the tune to “stick” and vice versa.)

5-7 min.: Teach how to retrieve, handle, play the bells. Tell the children that each set of bells is expensive and was a gift from mnay people. Tell them that they need to last for many kindergarten classes for many years, so we need to take care of them very gently. Does anyone have a new baby at their home? How do we take care of a new baby? That is also how you take care of a musical instrument: you are VERY gently. You don’t drop it. You open and close it very carefully.

If possible, have the children take their bells to their desks to play them. How you do this depends on number of students, where you store the bells, and how the teacher wants you to move the children. My best suggestion is to model how you want this done, and then invite the children to go get their bells one group–such as one line or one table–at a time. Tell them what you are looking for, and then praise them specifically for each part that they do correctly. Praise as specifically and as frequently as you can during this first time! (“I love how Fred is walking quietly to pick up his bells. I love how Judy put her bells down on the desk so gently. I love how Cindy opened her case but is waiting quietly for everyone to have their bells out before she gets the mallets out. I love how Roger is holding his mallet up in the air until I say to lower it,” etc.)

5 min.: Teach the children how to write a song. Model a simple composition process for 1 minute, then hand out a 3″x5″ card to each child. Have them write their name on one side of the card, then flip it over and color dots for the notes they want to play.

3 min.: Performances. Ask 3 children (or as many children as there is remaining time) to share their songs with the class. They play the notes that they colored on their 3×5 card. Remind the other children to use their best “audience manners” by listening politely to each performer and then clapping for each person at the end of their performance. The performers acknowledge the audience by bowing. You could also have “turn to your partner” performances if you want.

5 min.: Teach how to put away the bells in a careful and orderly way.

1 minute: Sing “Adios, Amigos” (Goodbye Song).

DM-K Mrs. S’s AM class 9-30-15

9-30-15: SOUND IS VIBRATIONS, and vibrations that are too loud, too often and for too long can affect our physiology by damaging our hearing.

We began class singing our DM song. I reviewed the Solfa scale (we sang it “up and down the mountain”–an ascending and descending scale) without handsigns, since I haven’t taught those yet. I put the pages up on the white board showing the colored notes going up and down (SONG SEEDS ASCENDING SCALE PDF; SONG SEEDS DESCENDING SCALE PDF). I pointed to each note as we sang. I taught them the handsign for Do, and we practiced it a few times.

We reviewed what sound is (“Sound is vibrations that travel to my ear that send a message to my brain to tell me what I hear”). They remember so well! We chanted it a few times to solidify their recall.

Then we spent the bulk of the lesson exploring vibrations and waves. I brought in three rubber bands that I stretched over a bread pan. We plucked them and saw how they vibrated. I reviewed that the vibrating rubber bands move the air molecules around them causing waves in the air, and these sound waves travel to our ears. Those sound waves travel kind of like waves in the water (when you drop a pebble in). I used a Slinky toy to show the idea of waves traveling through air. I pushed one end of the Slinky (that I was holding in the air) to see how they travel to the other side.

I took a large stock pot I had brought with me and stretched some plastic wrap across the top. I taped it on the sides so the plastic was taught. Next, I poured some little sprinkles onto the plastic. Then I took a wooden spoon and a large metal pizza pan and banged the pan. I did not let the pan touch the stock pot and pointed that out to the children, but had it close to the pan. The sprinkles “danced” on top of the plastic wrap, demonstrating how we cannot see the air molecules moving because our eyes aren’t able to see that small without magnification, but they still are there. I banged the pan for a minute and had them dance like sprinkles. They love that.

I told them that air molecules and sound waves are like the wind.  We don’t see the wind, but we know when it is there, because we can feel it, and hear it, and see the affects of its presence. I sometimes share this poem by Christina Rosetti (1830–1894) called “Who has seen the wind?”:

Who has seen the wind?
Neither I nor you:
But when the leaves hang trembling,
The wind is passing through.


Who has seen the wind?
Neither you nor I:
But when the trees bow down their heads,
The wind is passing by.
ear_cell_comparison
Before and After Loud Sounds – The top electron microscope photo shows the tiny hair bundle on top of a healthy inner ear hair cell. Compare it to the bottom electron microscope photo of a sound-damaged hair bundle again on top of an inner ear hair cell. Image and caption from http://www.dangerousdecibels.org/about-us/the-issues/.

After these demonstrations, I explained how the little tiny cells in our inner ear , that are kind of like grass, can get ruined if we listen to sounds that are too loud too often or for too long. It’s kind of like trambling a path in grass when we walk over it continuously on the same spot. I encouraged them to be careful when they listen to music with earbuds/headphones on, to not have the volume too loud so that they don’t lose any of their hearing. (For more data on why and how hearing loss happens, go to the Dangerous Decibels website.)

At the end of the lesson, I taught them the song, “My Grandma Has a Green Thumb.” They love this song! It is just right for fall.

In closing, we sang our goodbye song.


DM-K Mrs. S’s AM class 10/23/15

ogden harp
(Photo courtesy holywellmusic.co.uk.)

Today in Mrs. S’s class I brought in a small lever harp. Seeing it in it’s black zipper case, the children wondered what it was. Some children knew. “How did you know?” I asked. “Because of it’s shape!” a little girl volunteered. It is fun to see what music children have been exposed to in their young lives.

We began class singing the DM theme song, and then we sang our Solfa scale “up and down the mountain” (an ascending and descending scale, beginning with middle C as Do). I sang slowly, as they had just begun learning the hand signs two weeks before. I took one girl and one boy volunteer to perform in front of the class. If a child does a sign wrong, I sometimes take the time to correct it–just in a little way to help them learn it. For example, if their fists are up high, I’ll say encouragingly, “Move your fists down by your belly button. Good job!” Or if “Ti” is difficult, I say, “Make some glasses in front of your eyes with your hands. Now POP the first finger up! And then move your hands back out in front of you. That’s right!”

After our scale, I reminded the children how we talked about each note having it’s own name and it’s own voice, just like each of them have their own unique voices, like we talked about last week. Some notes are higher and some are lower. I picked two notes (starting with “Daddy Do” and “Baby Do”) and asked which sound was higher and which one was lower. Daddy Do! I pointed out that “Daddy Do” is taller than “Baby Do” and showed them this by pulling the individual bells out and standing them up next to each other in front of me for the children to see.

I told them that each note sings its voice and we hear different notes because of the vibrations. (One little girl reminded us that “sound is vibrations that travel through the air to your ear that sends a message to your brain.” (I am always amazed at how much young children can remember even with such few repetitions and so much time elapsing in between lessons.) I explained that vibrations can travel at different speeds. “What is speed?” I asked. I ran fast across the front of my teaching space, and ran back the other way. Then I walked slowly back and forth. We talked about fast and slow. I asked them if they had ever seen a speed limit sign (I forgot my visual of one). It shows how fast you can drive your car down a road. “Do you ever say to your Dad or Mom, “Dad! You’re driving too fast!” (I always like getting the children to smile.) We tell cars how many miles per hour they can drive. We can also tell how fast or slow vibrations are going, and that is what gives them their PITCH. I had them repeat that word two or three more times. Pitch is how fast or slow the vibrations are going per second. Middle C (“Daddy Do”) is 256 Hertz, or oscillations per second. So there are 256 sound waves passing by in one second. Wow! That’s fast! Some pitches are a lot slower, like 80 Hertz, or a lot faster, like 440 Hertz. Symphonies tune to A at 440 Hz or above (A above middle C).

I took the cover off of the harp and pulled it to the front. As some of the strings were out of tune, I got out the tuner and started to tune them. One of the children guessed that the red strings were Do (C), and she was right! I showed them how each of the red strings had the same pitch, except that some were lower and some were higher. I meant to show them that the longer strings had the lower pitches and the shorter strings had higher pitches, but I think I might have forgotten that! (You can ask your child.)

I showed them a glissando going up the harp from low to high and going down from high to low. I told them that harpists do not use their pinkies to play the strings–only their thumbs through fourth fingers. I had them all come up and play a glissando on the harp. Then they sat back down and watched Chanson dans la nuit” (French for Song in the Night) by Carlos Salzedo and played by Yolanda Kondonassis (video here). I told them that the song was describing sounds that you might hear at night, such as wind. I asked them what they hear at night. They answered crickets, ants, birds, trees, dear (“reindeer”), bears. So we listened and they loved it. “Can we watch it again?” one little boy asked. I wished! We were out of time, and we sang our goodbye song.

(Glissandos begin at 3:00. Lots of technique talk until then.)

Tip: If you don’t own a harp (what are the chances?!) or know someone who does, you can Google “Suzuki harp teachers” or “harp teachers locally” or “wedding harpist” and see what comes up! Or check with your local university to see if there is a harp teacher in your area. Inviting teachers or students to come demonstrate their instruments can be good advertising for them and good exposure for your students! (Plus, you don’t have to haul it around!) It is always so beneficial for the students to get to see and touch different instruments, because it influences them on future choices of what they might learn to play later.

DMK 1.2 What is Music? Mrs. Livingston

Today was a blast! It was week 2 of teaching Mrs. S’s AM kingergarten class, and the children were bright and beautiful and wiggly: perfect for music time!

I never follow my lesson plan exactly, but today was pretty close. We didn’t get the name song made last week (I had to teach a 20 minute lesson, so I saved that until this week). After I reviewed the ascending and descending Solfa major scale on the bells with them singing, and then I put the notes up on the board to show the change in pitch. The resulting image looked like a “mountain,” I pointed out, so we stood up and “hiked” up the mountain by marching in place, singing up and down the scale as I pointed to each note. Then we “ran” back up and down. It was a nice movement to music in the middle of the exercise.

(The only challenge about moving to music is that the children can sometimes be wigglier at the end than when you start, so it kind of has to be used with that in mind.)

One little girl asked when we are going to write our own songs? “Soon!” I told her, but we were going to write our own song right then with our names. I showed them a piece of sheet music that had lyrics, and how the notes on that music were just black, whereas ours were colored(!) (More fun!) and how the lyrics were written in a line below the notes. Then I got out Mr. Owl and we sang “Whoooo are you?” a couple of times and then started writing the children’s names under the notes. I told them which note they were so that after we sang it once, I had them pop up and sing their name when we got to their note. By the end of the song, everyone was standing.

Joshua Bell Romance of the Violin

After doing the name song, in which I started learning their names, we moved to “I Got Rhythm” played by Joshua Bell (album: Romance of the Violin). We contrasted that with “Nocturne,” (from the same album) and discussed which song was slower and which was faster, and how one was kind of chipper and upbeat and the other slower. We did a little ballet to “Nocturne.” I just go with the movement–whatever seems appropriate. We have a good time.

Then we talked about what music is. One child said, “A note!” I agreed and said that we did that earlier when we put notes up on the board to create our song. “Notes all together makes music! But what makes the sound of each note? How do we hear sound?” Then I explained using the visual that I had put up on the board. We repeated “Sound is vibrations that travel to my ear that sends a message to my brain to tell me what I hear” several times until they could almost say it without my help.

I showed them the little wave demonstration from the OMSI online exhibit where you can click on a circle to make a sound and waves emanate out from the circle. I didn’t have time to do the rubber band or pebble dropped in a bowl of water. (I’ll save that for next time!)

We had a little impromptu addition to our lesson somewhere in all of this. I told them I wanted to teach them a song (“My Grandma Has a Green Thumb”), and somehow we segued to what a “solo” and a “performance” are. So I told them what a solo is, demonstrated briefly, and explained what audience manners are when someone performs: “You have to sit quietly with your lips zipped and your eyes on the performer. Then, at the end of the solo, you give wild applause, and the performer bows.” We had a little girl volunteer to sing a solo for us. She announced her piece: “You are my sunshine”  and proceeded to sing it beautifully! We gave her an enthusiastic round of applause, and she bowed, just like I had demonstrated. It was terrific! I love spontaneously delightful moments like that!

I taught the children the “Green Thumb” song quickly, sang “Adios Amigos” twice, and said goodbye.

I might have some videos to share along with this post. If you are interested, check back later!


Today’s lesson 3/13/15 in Mrs. Young’s class

Last Friday (I missed posting on 3-13-15), I taught the children about the science of sound, shared some percussion music with them, and followed up on their first week with the practice bells.

I began by asking them if they remember what makes sound. I used a rubber band stretched out between two fingers and let them pluck it to make a vibration.

We talked about other stringed instruments that you can see the vibration easily, such as the harp or cello. I had them repeat this: “Sound is vibrations that travel to my ear that send a message to my brain to tell me what I ‘hear’.”

We talked about how volume can hurt your ears and why, and I told them about the little hairs in their ears that can be permanently damaged if they listen to music that is too loud for too long.

We watched a video about how our vocal chords (folds) vibrate as they are stretched and air passages by them. I encouraged them to take care of their ears by not listening with earbuds on and the volume too loud and to take care of their voices by not screaming or yelling, so that they can enjoy their instrument their whole lives long.

I also told them about Evelyn Glennie, world-famous deaf percussionist, and how she learned to play her instrument by feeling the vibrations through her body. She feels them through her feet. We talked about how fast those vibrations have to move for her to feel them and be able to play along with other instruments, such as an orchestra or a band.

I took off my sock and shoe and placed it on the ground to show how she did it. I showed them a small clip of her playing the xylophone.

We listened to one of her songs, and I asked how fast they thought she learned how to play like that. We came to the conclusion that it didn’t happen in a day or a week, but after lots of practice.

I asked the children how their practicing at home on the practice bells was coming along. I enjoyed hearing their reports. I promised them that those who practiced a song 5x every day could perform it in front of the class at our next lesson.