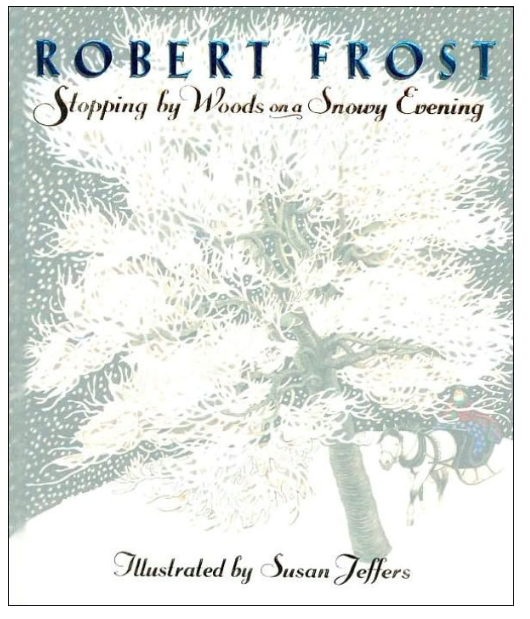
This was our first lesson back after the winter holiday break. I was thrilled that after the snow had almost all melted, a nice storm came in last night, so that when we awoke, there was a nice blanket of white covering the ground. One of the children in class today said that it looks like a white paper. I love hearing a child’s perspective! After a quick sharing of Peruvian music, I read a little poem “Stopping by Woods on a Snowy Evening” by Robert Frost, using a book with wonderfully child-friendly with illustrations by Susan Jeffers:
I told the children how one night during the holiday, my house was so quiet. I was sitting in front of the fire and it was dark outside with big snowflakes fluttering silently down. I remembered this poem, and I remembered that I had written a little melody to go with the pome. I sang the song/poem to them, using the book again.
(This is where the audio file will go when it is working again!)
I then taught them the first phrase (“Whose woods these are I think I know”), then the second (“His house is in the village, though”). Then we added them together. Next we learned the third and fourth phrases and added them onto the first two. That’s as far as we went. I used some impromptu actions, such as pointing to my head for the “think I know” part, showing a roof with my hands for the “house” part, and pointing out the window towards the homes in the neigbhorhood for “village, though”.)
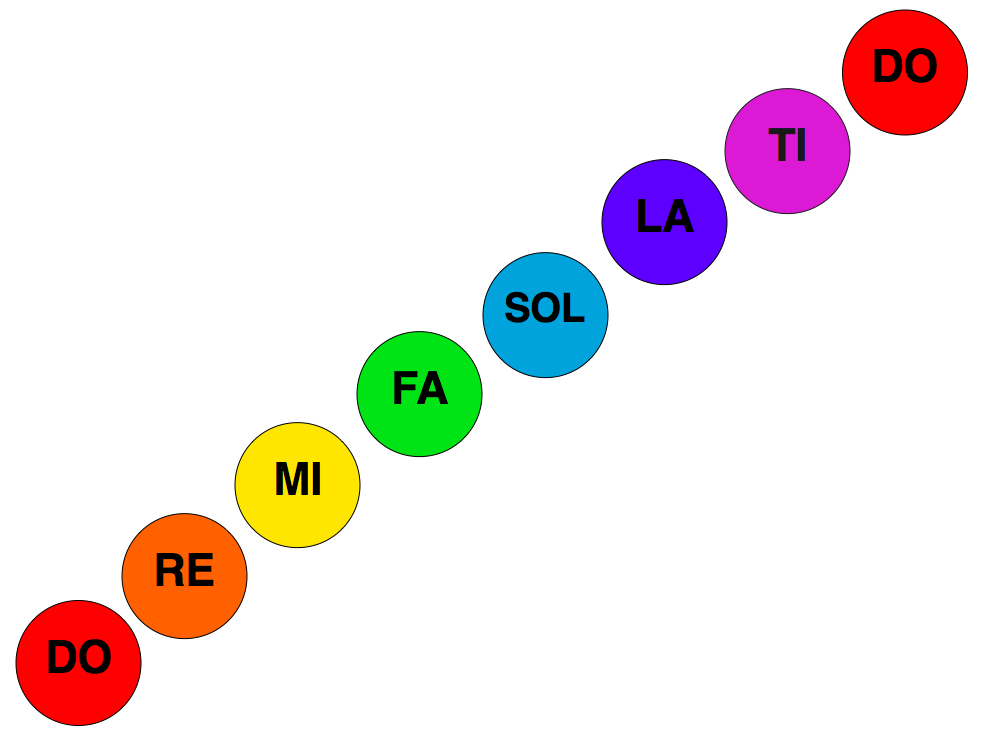
Mrs. S. got the bells out and put them at each child’s desk. She dismissed the children to their desks, row by row, and I told them to practice an ascending scale (“Beginning on Daddy Do and going up to Baby Do.”) When everyone was there together, we started.
I showed the ascending scale, which we played. Playing in unison is the challenge of the year! Then we played by skips up and down the scale. I had the children perform by table. We did this for sometime until it was the end. We tried first singing the Solfa and then playing the Solfa of the first phrase of “Whose Woods These Are.”
We didn’t listen to another song about this poem or snow, but these could have been a good resource:
The beginning of “Winter” by Vivaldi:
Here’s an interesting video showing snow falling with New Age music in the background:
Here is Tchaicovsky’s “Winter Dreams” that could be a peaceful time for closing eyes and imaging snow fallings…for a minute…
Before beginning my instruction, I told them that I wished we could do music every day because there is so much wonderful Christmas music that we could sing this time of year! I held up the Reader’s Digest Merry Christmas Songbookand explained how fun it is that in my home, my daughters come home from school and open this book up and start to play. And other children will join in singing, and it is SO FUN! I told them that there are so many books of music available to use, including free sheet music online. I encouraged them to sing at home, to visit the library and check out music, to learn to play music so that they can have fun singing and making music at home.
After singing our welcome song, I reviewed ascending…
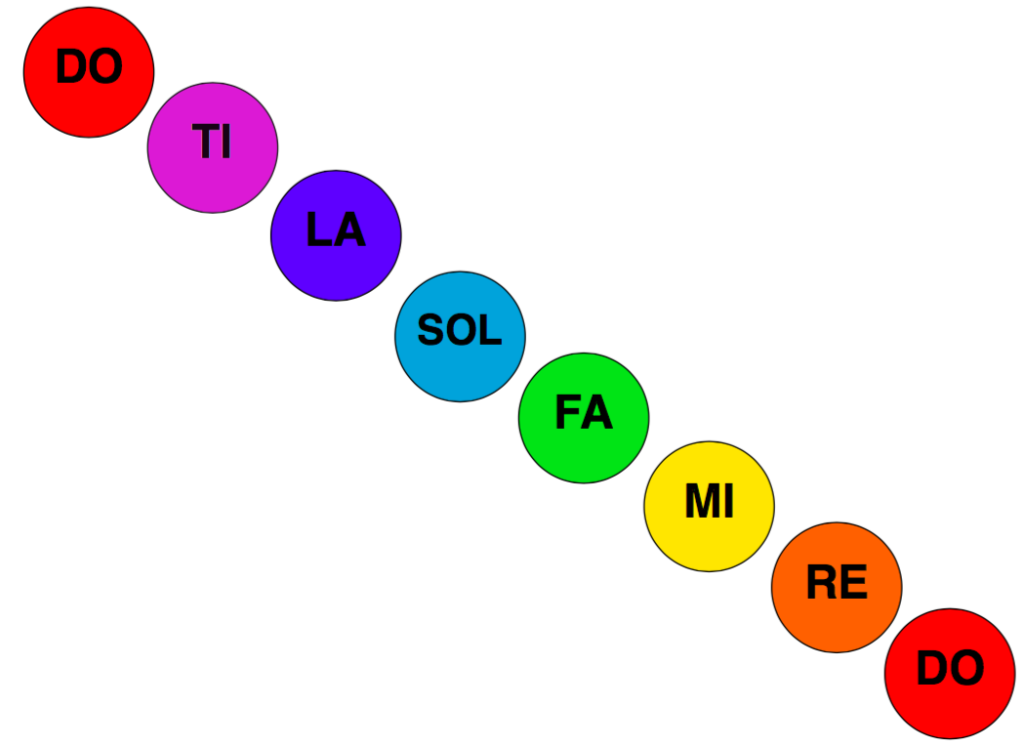
and descending scales. I showed them those visuals and asked them if they remembered what they were. They did! I asked them if the ascending scale was going up or down, and they answered correctly, and vice-versa for the descending scale. We sang and signed both.
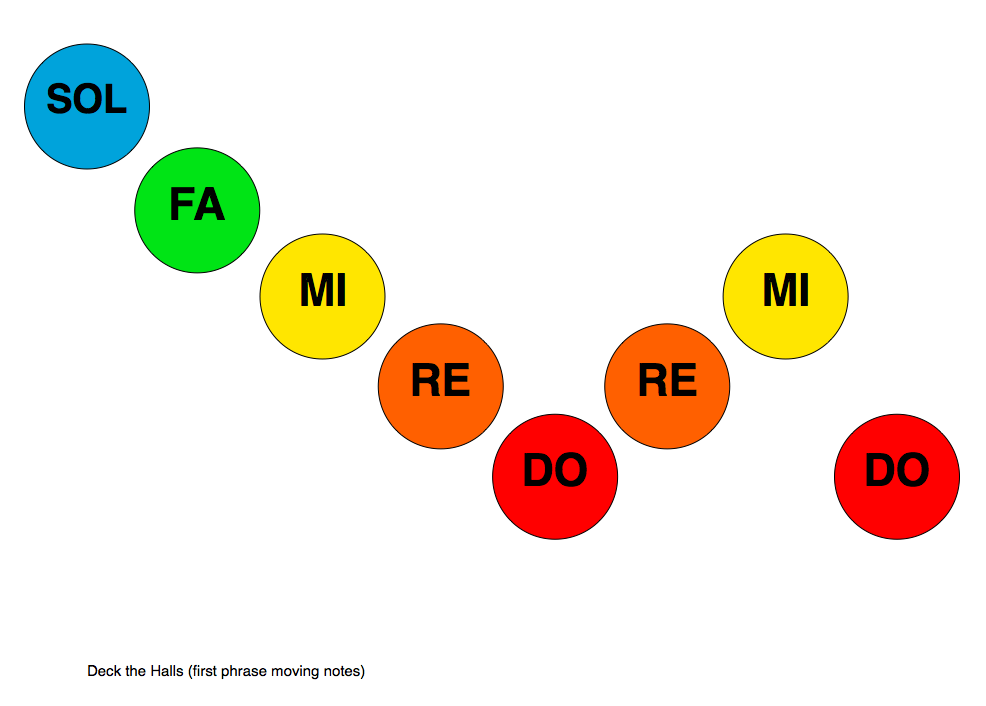
Then I asked them if they remembered the song I taught them last week. Some did: Deck the Halls! We sang it together, and then I asked if anyone one would like to perform it. Two boys stood up and sand in front of the class. (Well, one sang, and the other one got shy.) Then more children got the courage to sing, and we had about 5 girls next. Then we had a third group of 6 girls and one boy. I had to move on after that, but I probably would have had the whole class be willing to perform it! I had several children wanting to sing solos, but I explained that while I would adore having them do that, we needed to move on, because I had another song to teach them.
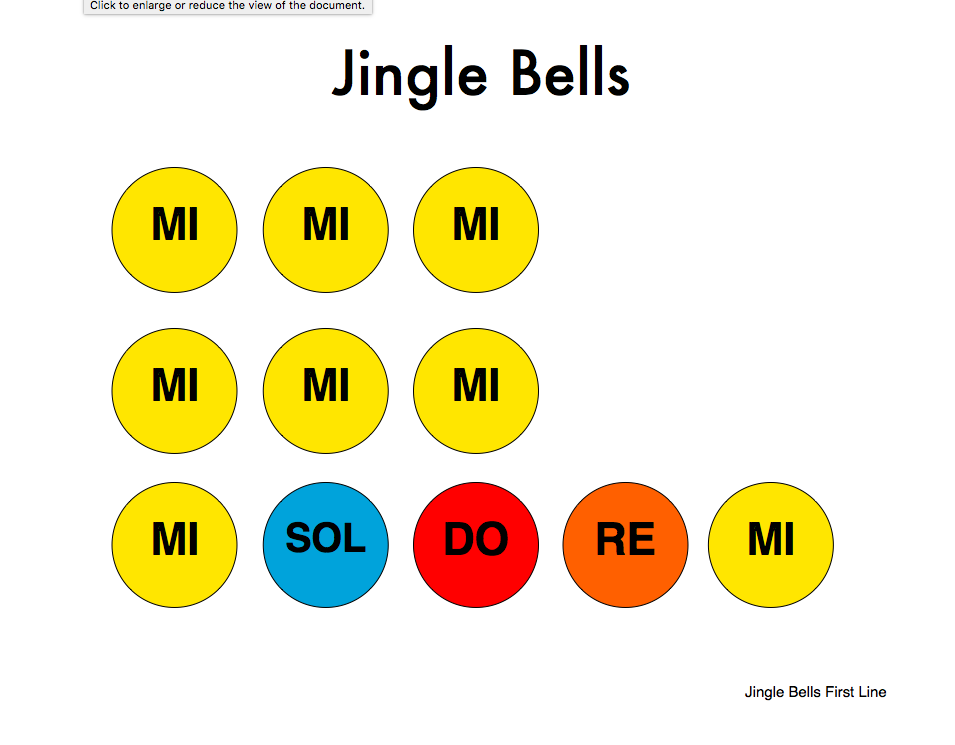
I pulled out this visual and asked them if they could guess which song it is:
Click on the image to go to a printable PDF of this visual.
I sang it in Solfa using one hand doing the hand signs and the other pointing to the notes. I sang it slowly, and then I sang it faster. It was easier for them to recognize at a quicker tempo. I had them sing it with me several times (just this first line of the song, in Solfa, with signs).
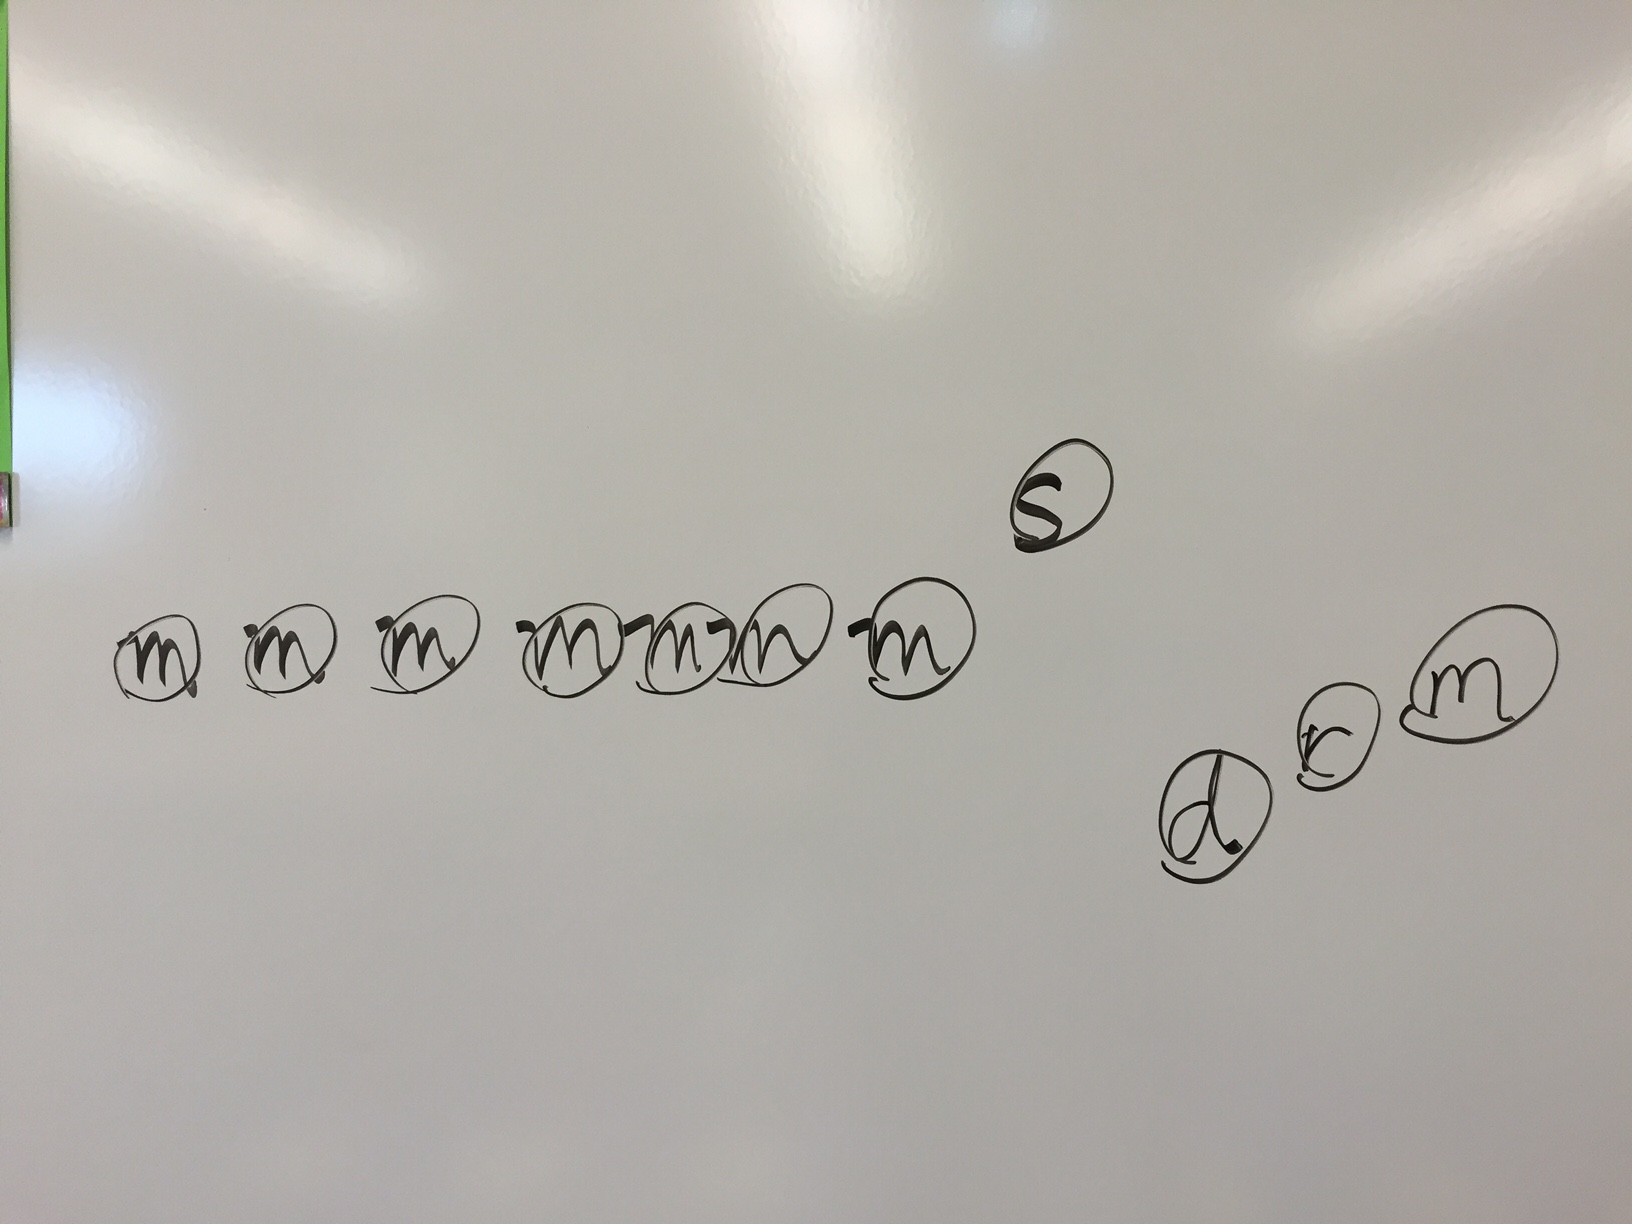
Then I said, “Let’s map this song on the board so that it shows the movement of the notes, like this other song” (pointing to Deck the Halls moving notes visual).
I wrote m m m m m m on the board, and they sang the notes as I wrote them. (I just wrote the letters first, then circled them as I sang it after we had figured out all the notes.) When we got to the first move to sol, I asked them if we were going up or down. They said up, and I wrote it above the mi with a gap between. “Which note is in between these two notes?” Most of the children didn’t know until we sang an ascending scale, and then they could hear that it was fa. I taught them then that when we skip over a note, it’s called a “skip.” (Later, when we were playing the bells, I explained that skips are intervals.) We continued to figure out each note in the first line, if it was up or down, and if it was a skip or a step.
I told them to think of being on a set of stairs. Were they going to the next step, or did they have to skip a note in the scale? If they had to skip a step–kind of like a jump–then there needed to be a space to show it. I had them stand up. If the notes were the same as we sang, we didn’t move. If we were stepping up a note, we marched in place once. If we were skipping, we hopped up once. So I tried to help them conceptualize the movement of the notes this way.
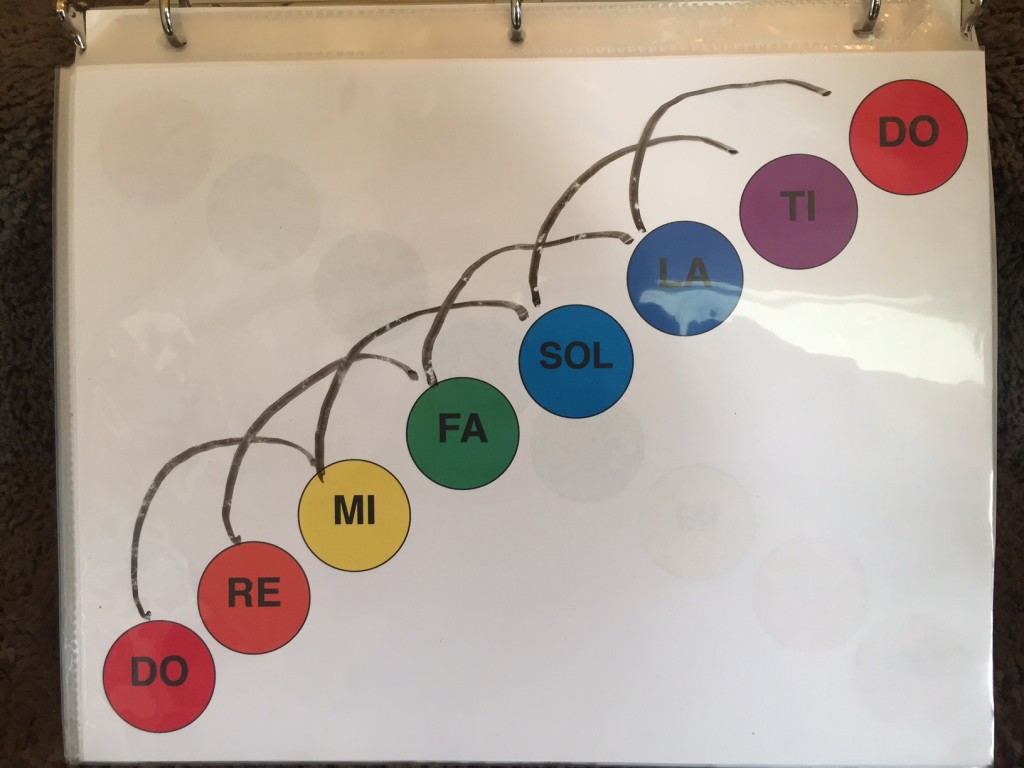
I also drew, so they could see, with a dry erase marker on my ascending scale page (that is in a plastic page protector, so the marker wipes off with a tissue), ho if we skip from “Daddy Do” we will land on mi. If we skip from mi, we go to sol, etc. In the end the page looked like this:
Then we went to our bells and played an ascending scale and a descending scale. Then I had them move do, mi, sol, and ti up into the top part of their case. We played skips a few times, and then we played skips on re, fa, la, do a few times.
Then I pulled out the Jingle Bells music again and had them try it once. It was hard for them. We did it table by table, and I helped individually those children who weren’t getting it.
It was challenging for them. I wish I had music printed out for each child. I wish I could help each child. I wish each child could take a set of bells home with a music book and practice at home. What a difference that would make! If wishes were horses…
Click on the image to go to a printable PDF of this scale.
is called a scale. Specifically, it’s an “ascending scale.” I also put this up on the board next to it:
and told them it is called a “descending scale.” We repeated the words “ascending scale” and “descending scale” several times and motioned the meaning, by bending down by our toes and reaching up to the sky saying “ascending scale” and then bending back down to our toes, saying “descending scale.” We also sang and signed the scales.
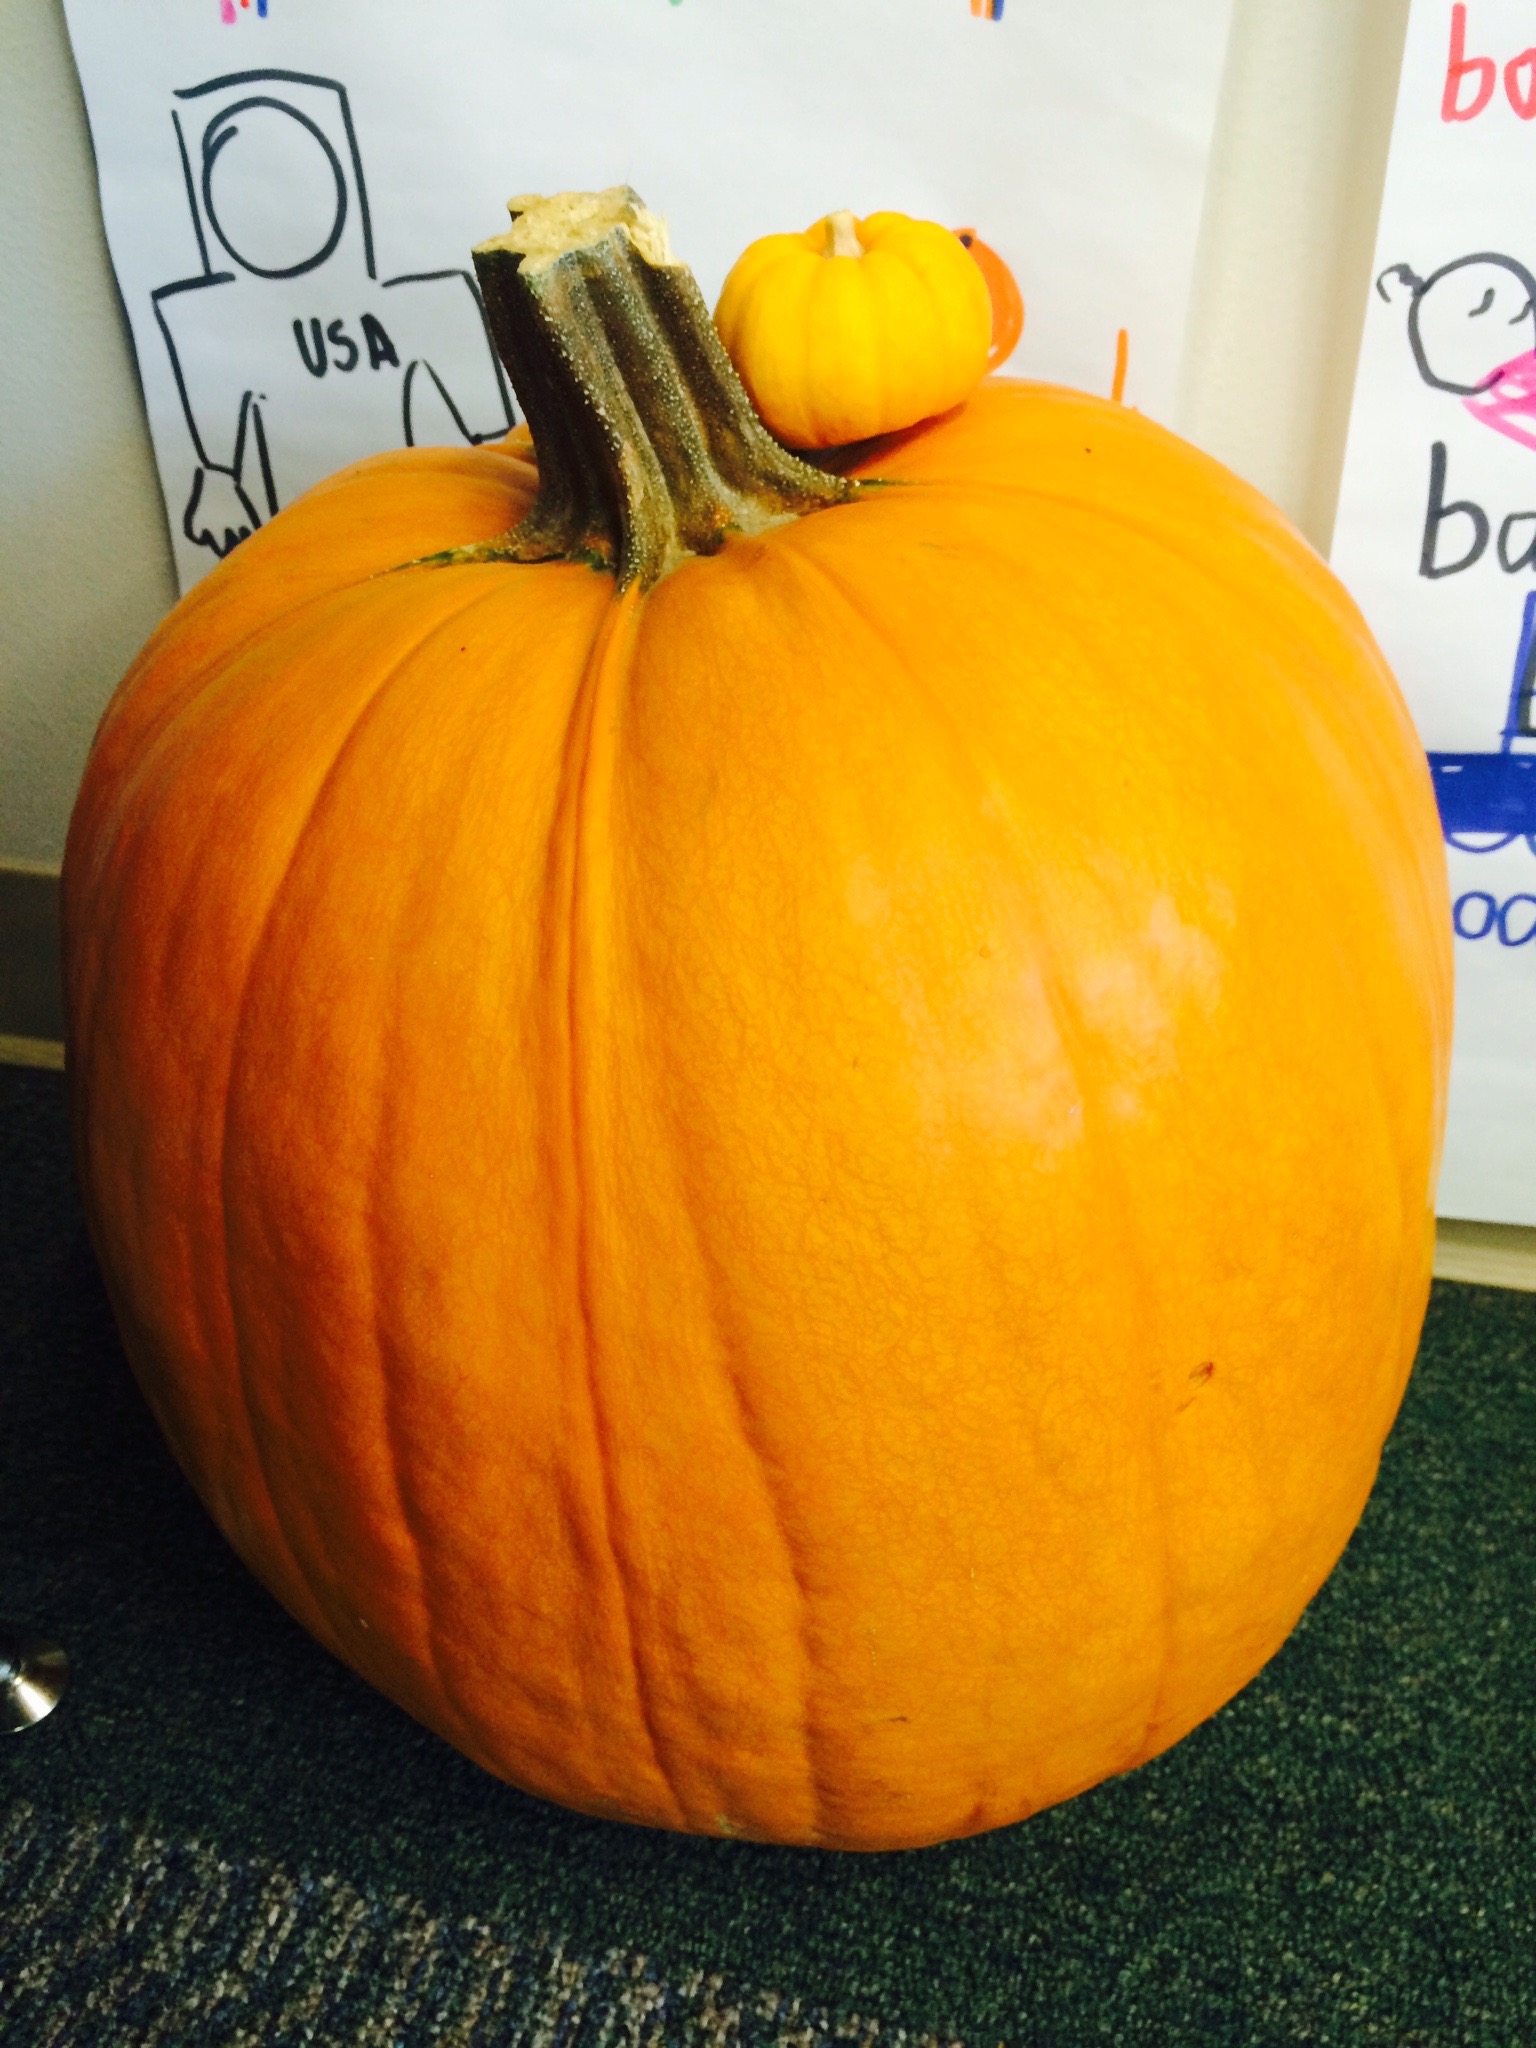
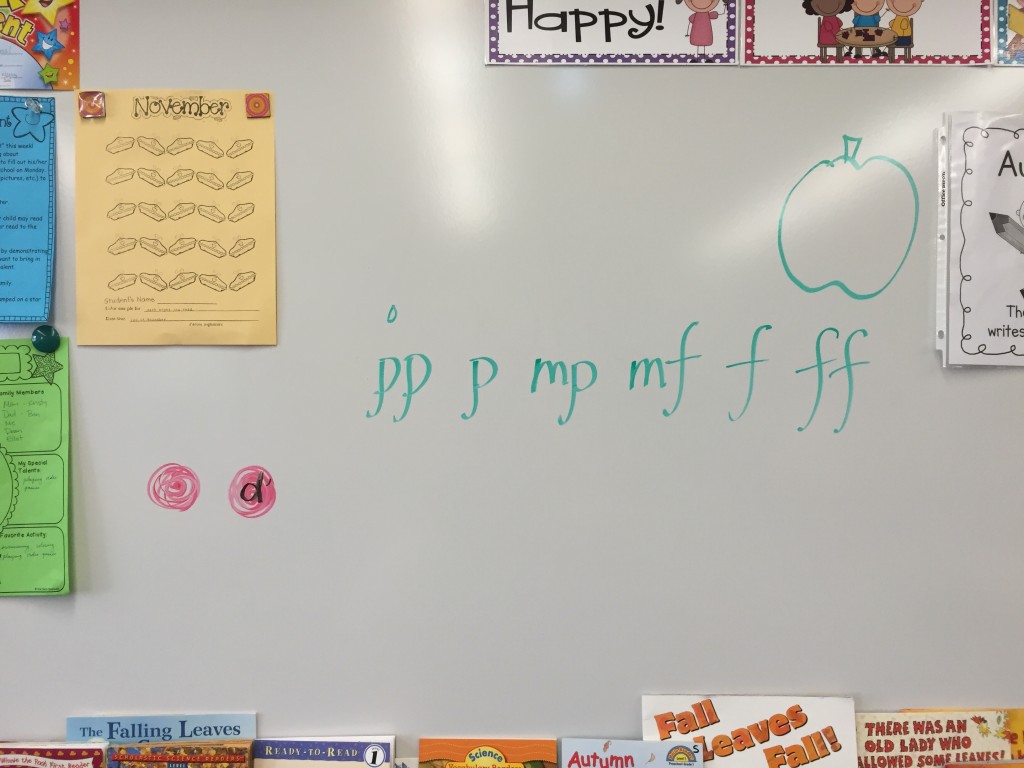
Then, since we were down by our toes, I asked them if they remembered the growing pumpking game, and if anyone ate any pumpkin pie for Thanksgiving. We did the growing pumpkin game. After, I asked them if they remembered how we write “piano” or “forte” (as well as the other words, pianissimo, mezzo piano, mezzo forte, and fortissimo). I wrote “pp, p, mp, mf, f, ff” on the board as they named the terms. They did a pretty good job remembering after not meeting for two weeks!
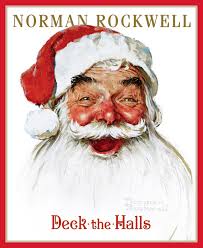
Then we sat back down, and I opened up Deck the Halls illustrated by Norman Rockwell. I went over each page in the first verse, explaining the meaning of these unfamiliar words:
deck= decorate boughs= branches holly= tree with pointy green leaves and red (not for eating!) berries ’tis= it + is (taking away the first “i”) season= time of year jolly= happy, like Santa Claus! don= put on gay apparel= bright, festive (i.e. Christmas) clothes troll= sing ancient= very old Yule tide= Christmas time carol= song
We sang the song again, using the pictures in the book. Then I went over each line with them by diving the class up by rows, telling them that they were a “choir.” The first two rows on my left sang, “Deck the halls with boughs of holly,” and then I invited the whole class to sing the “fa la la” part. The next two rows in front of me I taught, “‘Tis the season to be jolly,” adding in the rest of the class again for the “fa la la” part. “Don we now our gay apparel” was the final 2 rows on my right, and then the “Troll the ancient Yule tide carol” was the whole class. Then we stood up, turned around and sang for the teacher.
After our performance, I sent the children to get their bells and go to their desks. We practiced ascending scales and then descending scales. It was hard for some of the children to remember to begin at “Baby Do” (High Do) for the descending scale. It’s also hard for them to not play the bells in between repetitions or during my instructions. (I can only imagine! I would have been bored as a child, always waiting in between, too!) They did a good job.
After we practiced both scales, I taught them the first part of the first phrase:
I showed them how the notes go down for scale for the first part, then back up, and then down again. We drew the shape of the phrase in the air with our hands/arms. We sang and signed the phrase. Then we played the first part, sol fa mi re do, 3 times before we had to end our day.
Today in Mrs. S’s class I introduced the concept of dynamics. We started out as usual, singing our DM Theme Song, but I sang each phrase of the song either loud or soft. After we sang it, I asked the children if they noticed anything different about the way I sang the song. Some of them noticed. I confirmed that I had sung some parts louder and other parts softer.I showed them two pumpkins I had brought: one very large pumpkin and one very tiny pumpkin. I asked them how large a pumpkin seed is. (I forgot to bring my pumpking seeds!) They showed me with their hands and I drew one up on the board. I explained that pumpkins grow from small seeds. Music can grow from soft to loud also. I told them we were going to learn “The Growing Pumpkin Game.”
I told them I would show them the game first, so they could just watch this time to learn how to do it. I knelt down on the floor and put my head down in front of my knees and my arms curled up under me. I told them I was making myself tiny like a seed. I told them they needed to be silent to hear what I would say. I whispered, “pianissimo.” Then I put my bent arms up on my legs and said, a little louder, “piano.” Then I sat up while still kneeling and said, a little louder, “mezzo piano.” Then I knelt up on my knees and said, a little louder still, “mezzo forte.” Then I stood up and said louder still, “forte.” Then I jumped up and made my arms go up and down to the sides like a water fountain, calling out the loudest of all, “fortissimo!”
Then I knelt back down and started over, this time with the children doing it with me. We did this two or three times.
I got up and went to the whiteboard, where I wrote down the abbreviations for the six dynamic markings I just taught them: pp p mp mf f ff. I opened up a songbook and showed them a piece of music. (I meant to show them one with a dynamic marking in the music, but I grabbed the wrong piece!) I told them that if someone writes a song and wants it played loud, then they write a forte or f under the notes. If they want it played piano, they write a p. I can’t remember if I pointed out that when we tell someone to play or sing a song loudly or softly, this is called “dynamics” in music. Each of those abbreviations is a dynamic marking. (I also told them that in their songs, if they choose a “Baby do” for one of their notes, they need to show it by putting an apostrophe next to a d on their red dot, so that someone playing it will know it is not “Daddy do.“)
We sang “Over the River and Through the Woods” (I can’t remember if I told them to sing it f or p like I had intended!) to review and then went to get our bells.
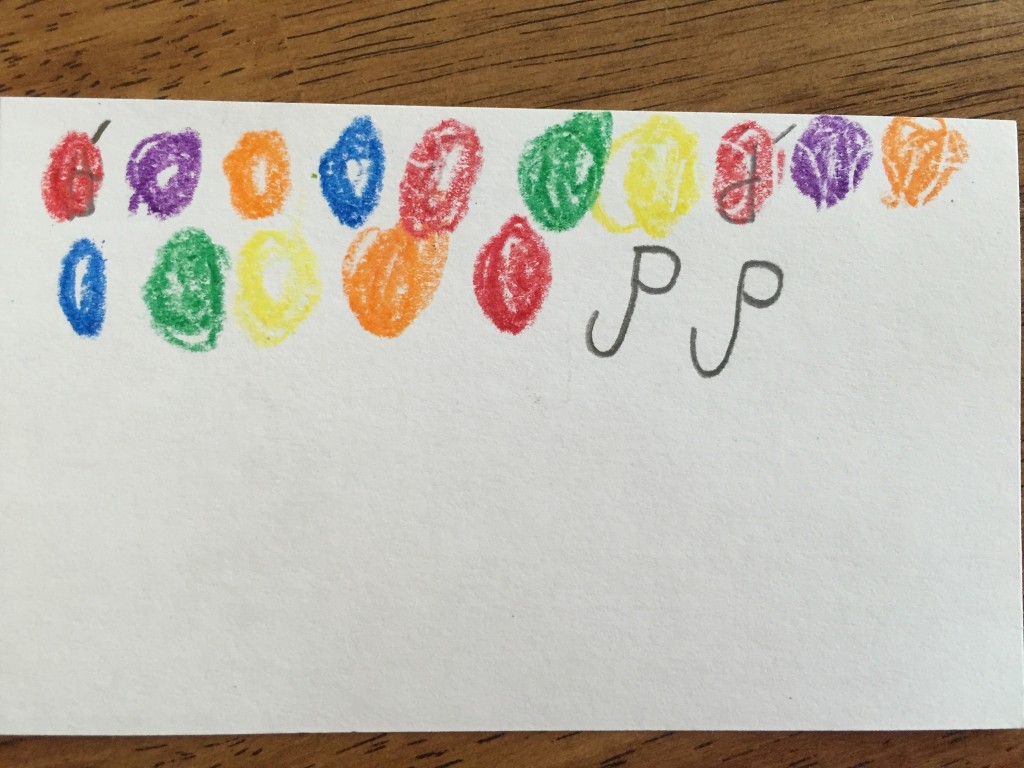
I had them bring their bells over to their seats. I handed out their songs (the ones they wrote on 3″x5″ cards last week) and asked them to choose a dynamic marking and write it below with a crayon.
We warmed up by practicing an ascending and descending scale on the bells. I modeled it for them first: d r m f s l t d’ d’ t l s f m r d. Then I cued them, “1-2-ready-play.” They played with me (sort of) as I very slowly led them in their scale. I asked the teacher after, “Did we sound like one voice or 30 voices?” She said “Maybe 15.” So I encouraged them to try to play right with me, at exactly the same time, not any faster or any slower. We played the scale again. After each scale, I told them, “Mallet on your head” or “Mallet on your ear” or “Mallet on your nose,” so they didn’t start playing while I was talking. I pointed out that I heard some children playing each note several times, and that I wanted them to only play one note right with me. We played it a third time.
Then I had them play their own song once, then hand it to their neighbor and have them play their song, especially playing it with the dynamic marking. Then we had performances. I had two children play their neighbor’s song. It was fun to see which dynamic marking they had chosen, as some wrote “ff” and others”pp.” (I had them fix any red dots to distinguish if it was low do/Daddy do or high do/Baby do.) It challenged them to figure out how to play their bells louder or softer.
We had so much fun and ran out of time as usual! We closed up our bells, collected the song cards, and sang our goodbye song. I put the bells away myself because I had gone over time.
Note: My apologies that I don’t remember who taught me the dynamics “game” that I have called “The Growing Pumpkin Game.” It was years ago in a Suzuki Music workshop class with my children. Many thanks to whomever it was who taught me this “game” that the children love so well and helps them understand dynamic markings so quickly!
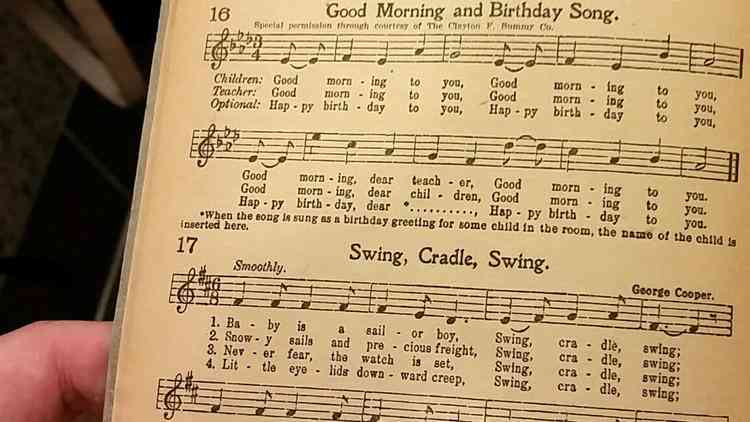
Happy Birthday to you,
Happy Birthday to you,
Happy Birthday dear (the name of the child),
Happy Birthday to you!
d d r d f m
d d r d s f
d d d’ l f m r
t t l f s f
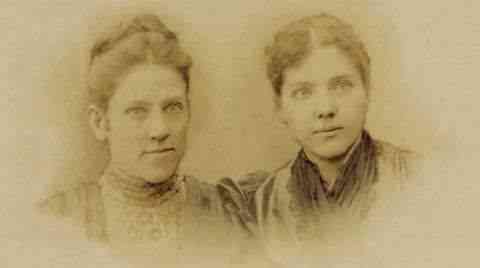
Patty Hill and her sister, Mildred, wrote this song for Patty’s kindergarten students in 1893. It is now sung millions of times every year around the world!
This photo from the L.A. Times online. Click on the image to go to the source.Patty Smith Hill and her sister, Mildred Hill. For more information, go to the photo source by clicking on the photo.
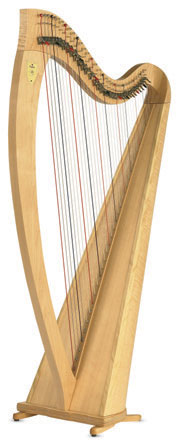
Today in Mrs. S’s class I brought in a small lever harp. Seeing it in it’s black zipper case, the children wondered what it was. Some children knew. “How did you know?” I asked. “Because of it’s shape!” a little girl volunteered. It is fun to see what music children have been exposed to in their young lives.
We began class singing the DM theme song, and then we sang our Solfa scale “up and down the mountain” (an ascending and descending scale, beginning with middle C as Do). I sang slowly, as they had just begun learning the hand signs two weeks before. I took one girl and one boy volunteer to perform in front of the class. If a child does a sign wrong, I sometimes take the time to correct it–just in a little way to help them learn it. For example, if their fists are up high, I’ll say encouragingly, “Move your fists down by your belly button. Good job!” Or if “Ti” is difficult, I say, “Make some glasses in front of your eyes with your hands. Now POP the first finger up! And then move your hands back out in front of you. That’s right!”
After our scale, I reminded the children how we talked about each note having it’s own name and it’s own voice, just like each of them have their own unique voices, like we talked about last week. Some notes are higher and some are lower. I picked two notes (starting with “Daddy Do” and “Baby Do”) and asked which sound was higher and which one was lower. Daddy Do! I pointed out that “Daddy Do” is taller than “Baby Do” and showed them this by pulling the individual bells out and standing them up next to each other in front of me for the children to see.
I told them that each note sings its voice and we hear different notes because of the vibrations. (One little girl reminded us that “sound is vibrations that travel through the air to your ear that sends a message to your brain.” (I am always amazed at how much young children can remember even with such few repetitions and so much time elapsing in between lessons.) I explained that vibrations can travel at different speeds. “What is speed?” I asked. I ran fast across the front of my teaching space, and ran back the other way. Then I walked slowly back and forth. We talked about fast and slow. I asked them if they had ever seen a speed limit sign (I forgot my visual of one). It shows how fast you can drive your car down a road. “Do you ever say to your Dad or Mom, “Dad! You’re driving too fast!” (I always like getting the children to smile.) We tell cars how many miles per hour they can drive. We can also tell how fast or slow vibrations are going, and that is what gives them their PITCH. I had them repeat that word two or three more times. Pitch is how fast or slow the vibrations are going per second. Middle C (“Daddy Do”) is 256 Hertz, or oscillations per second. So there are 256 sound waves passing by in one second. Wow! That’s fast! Some pitches are a lot slower, like 80 Hertz, or a lot faster, like 440 Hertz. Symphonies tune to A at 440 Hz or above (A above middle C).
I took the cover off of the harp and pulled it to the front. As some of the strings were out of tune, I got out the tuner and started to tune them. One of the children guessed that the red strings were Do (C), and she was right! I showed them how each of the red strings had the same pitch, except that some were lower and some were higher. I meant to show them that the longer strings had the lower pitches and the shorter strings had higher pitches, but I think I might have forgotten that! (You can ask your child.)
I showed them a glissando going up the harp from low to high and going down from high to low. I told them that harpists do not use their pinkies to play the strings–only their thumbs through fourth fingers. I had them all come up and play a glissando on the harp. Then they sat back down and watched “Chanson dans la nuit” (French for Song in the Night) by Carlos Salzedo and played by Yolanda Kondonassis (video here). I told them that the song was describing sounds that you might hear at night, such as wind. I asked them what they hear at night. They answered crickets, ants, birds, trees, dear (“reindeer”), bears. So we listened and they loved it. “Can we watch it again?” one little boy asked. I wished! We were out of time, and we sang our goodbye song.
(Glissandos begin at 3:00. Lots of technique talk until then.)
Tip: If you don’t own a harp (what are the chances?!) or know someone who does, you can Google “Suzuki harp teachers” or “harp teachers locally” or “wedding harpist” and see what comes up! Or check with your local university to see if there is a harp teacher in your area. Inviting teachers or students to come demonstrate their instruments can be good advertising for them and good exposure for your students! (Plus, you don’t have to haul it around!) It is always so beneficial for the students to get to see and touch different instruments, because it influences them on future choices of what they might learn to play later.
Today was a blast! It was week 2 of teaching Mrs. S’s AM kingergarten class, and the children were bright and beautiful and wiggly: perfect for music time!
I never follow my lesson plan exactly, but today was pretty close. We didn’t get the name song made last week (I had to teach a 20 minute lesson, so I saved that until this week). After I reviewed the ascending and descending Solfa major scale on the bells with them singing, and then I put the notes up on the board to show the change in pitch. The resulting image looked like a “mountain,” I pointed out, so we stood up and “hiked” up the mountain by marching in place, singing up and down the scale as I pointed to each note. Then we “ran” back up and down. It was a nice movement to music in the middle of the exercise.
(The only challenge about moving to music is that the children can sometimes be wigglier at the end than when you start, so it kind of has to be used with that in mind.)
One little girl asked when we are going to write our own songs? “Soon!” I told her, but we were going to write our own song right then with our names. I showed them a piece of sheet music that had lyrics, and how the notes on that music were just black, whereas ours were colored(!) (More fun!) and how the lyrics were written in a line below the notes. Then I got out Mr. Owl and we sang “Whoooo are you?” a couple of times and then started writing the children’s names under the notes. I told them which note they were so that after we sang it once, I had them pop up and sing their name when we got to their note. By the end of the song, everyone was standing.
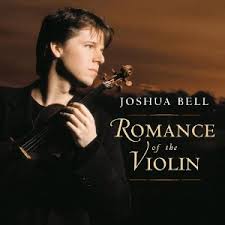
After doing the name song, in which I started learning their names, we moved to “I Got Rhythm” played by Joshua Bell (album: Romance of the Violin). We contrasted that with “Nocturne,” (from the same album) and discussed which song was slower and which was faster, and how one was kind of chipper and upbeat and the other slower. We did a little ballet to “Nocturne.” I just go with the movement–whatever seems appropriate. We have a good time.
Then we talked about what music is. One child said, “A note!” I agreed and said that we did that earlier when we put notes up on the board to create our song. “Notes all together makes music! But what makes the sound of each note? How do we hear sound?” Then I explained using the visual that I had put up on the board. We repeated “Sound is vibrations that travel to my ear that sends a message to my brain to tell me what I hear” several times until they could almost say it without my help.
I showed them the little wave demonstration from the OMSI online exhibit where you can click on a circle to make a sound and waves emanate out from the circle. I didn’t have time to do the rubber band or pebble dropped in a bowl of water. (I’ll save that for next time!)
We had a little impromptu addition to our lesson somewhere in all of this. I told them I wanted to teach them a song (“My Grandma Has a Green Thumb”), and somehow we segued to what a “solo” and a “performance” are. So I told them what a solo is, demonstrated briefly, and explained what audience manners are when someone performs: “You have to sit quietly with your lips zipped and your eyes on the performer. Then, at the end of the solo, you give wild applause, and the performer bows.” We had a little girl volunteer to sing a solo for us. She announced her piece: “You are my sunshine” and proceeded to sing it beautifully! We gave her an enthusiastic round of applause, and she bowed, just like I had demonstrated. It was terrific! I love spontaneously delightful moments like that!
I taught the children the “Green Thumb” song quickly, sang “Adios Amigos” twice, and said goodbye.
I might have some videos to share along with this post. If you are interested, check back later!
Today I forgot to review our ascending and descending scales, and I didn’t take time to review the songs or harmony/melody/dynamic markings, etc. We’ll do that next week! But I was delighted when I told the children at the end of class the “secret” to learning a song: SLOW (I whispered). Practice a song slowly. If you aren’t getting it, practice it even more slowly. One boy piped up, “Practice it adagio”, he said with emphasis. There was our review, and the evidence once again that even with learning something one time, children can learn and retain that knowledge, at least for a while! I laughed and said, “YES! Don’t play it prestissimo or moderato, unless you have learned the piece. Practice it adagio.” Moments like that make my day! It is great fun to be a music teacher.
Today, before I asked them what their first instrument is: (yes, their BODY!), I introduced the topic. In the morning class, I had just gotten a class photo with the children’s names and told them that I was going to study it to learn their names better. I explained that when I see them only one day a week for a short time, I don’t remember their names as easily as if I saw them every day and was using their names over and over. I asked them if it is easier to learn something if you practice it ONCE a week, or EVERY DAY. They all agreed: every day! Then I told them that it is the same with learning an instrument. If you want to be really good at playing an instrument, you need to practice it often.
For the afternoon class, I asked them what their favorite thing was that they had learned so far this year. One girl shared that she loved learning about how sound makes vibrations, and she sang a little bit of the song they heard in that lesson. I built on that idea of vibrations by slapping the seat of a plastic chair next to me and asking how I made that sound. We agreed that the seat vibrated. I explained that it is hard to see some materials vibrate, while it is easier with other materials. I asked the teacher for a rubber band and stretched it between my fingers. Then I asked a child to pluck one side. She did, and we saw it vibrate. I walked around the children so that everyone could pluck the rubber band. I asked them, towards the end, what our first instrument is? Yes, our body. As I am speaking to them, I said, in my throat I have some vocal cords that are a little like this rubber band, vibrating by the air passing by them.
I sat down and explained that every person has a different body, and the shape of our head, mouth, teeth, tongue, lips–all of our body, actually–makes it so that every single person in the world has their own unique, special voice. “Steele,” I pointed out. “There is no one else in the world who has a voice just like you!”
Then we went on to discuss how our body is an instrument. We tried to see how many sounds we could make (that were appropriate!) with our bodies: singing, clapping, snapping (I admitted I’m a terrible snapper), rubbing our hands together, clucking our tongues, tapping our teeth, whistling, shushing (saying “shhhh”), popping our cheeks (as in the “Lollipop” song), marching/stomping, buzzing our lips. The children were wonderful at helping think of ways we could use our bodies to make sounds.
I told them about Bobby McFerrin, an accomplished musician, who makes music only using the instrument of his body! We “tasted” parts of a couple of his songs: “Blackbird,” “Simple Pleasures,” etc. (I didn’t think of this in the moment, but a Vocal Point video would have been a fun way to show how we can make music only with our body, such as their cover of “Happy.”)
Of course, while tasting these fun, jazzy songs, I invited the children to get up and dance in their spots!
“What other instruments do you know about?” I asked them next. We named off a bunch. I asked them which instrument we practice in class? Resonator bells. “TODAY we get to take home an instrument! It’s some practice bells.” I handed these out to Mrs. Young’s class. We pulled the bell set out of its bag, and I showed them the instructions on the back. Then I told them how to use them: I pulled out a smart phone and talked them through how their parent can type in this website address, touch the little menu in the top right hand corner, and then scroll down the menu until they get to the “Kindergarten Songs” link. I showed them how the first song is “Adios, Amigos.” I showed them how there were lyrics, so they could teach the song to their mom or dad or sister or dog. (I told them the dog couldn’t sing it, but he would be a nice friend!). Then I showed how they could follow the Solfa notation to play the song, or they could click on the PLAY arrow to play along with the song. I also played a little of the other recordings to demonstrate how there are different recordings of the same song. We played the song on our practice bells. (The afternoon class wasn’t given their bells yet because I still need a parent or youth volunteer to help glue the instructions on the back of their bells.)
Then we talked about caring for an instrument: Where do you store an instrument so that the dog or baby won’t chew on it, where it won’t fall into some water, where you can use it often but never sit or stand on it? We always wash our hands before using any instrument, etc. I asked for ideas and they had good ones!
We ended our lesson by singing our goodbye song (Adios, Amigos).
Today I told the children that I had been on an airplane last week flying to California. I asked them how fast an airplane flies. FAST! It has to fly fast, I explained, with all the weight it is carrying. How heavy is an airplane? VERY heavy, I answered (after they did), especially with all of those people on it! The engines have to be going very fast to create enough lift to get the heavy airplane up into the air!
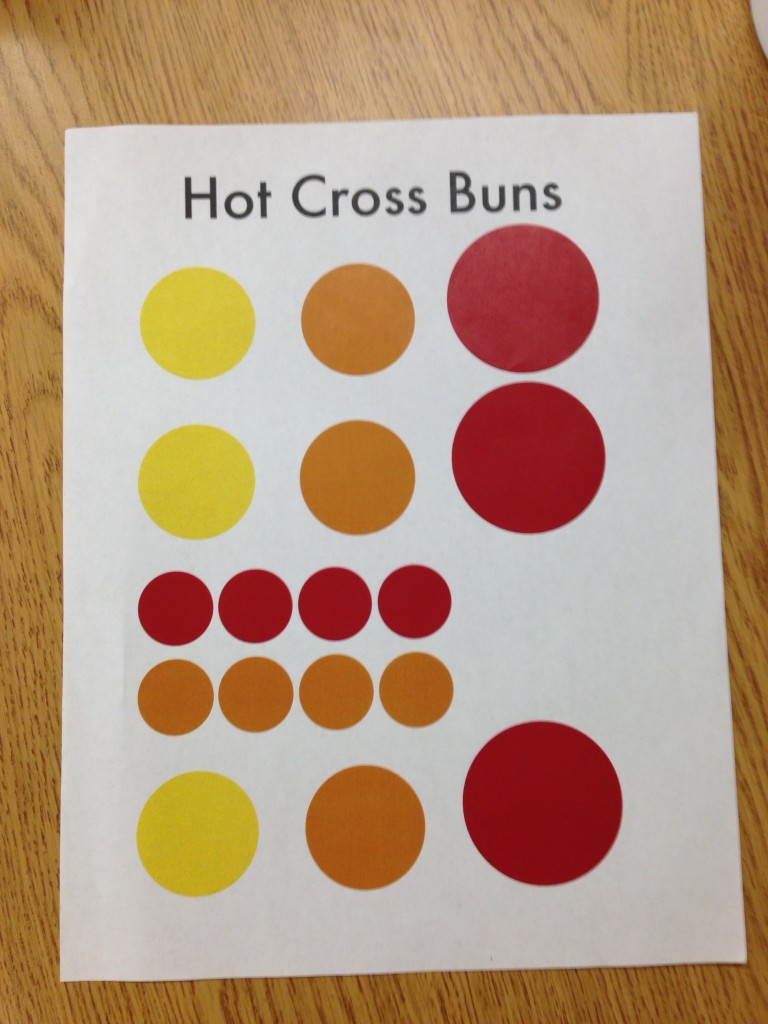
“Today we’re going to learn about speed in music,” I prepared. “But first, let’s review.” We warmed up on a Solfa scale, singing with our voices and hands the solfège signs as we sang an ascending and descending scale. (Do Re Mi Fa Sol La Ti Do Do Ti La Sol Fa Mi Re Do). Then I held up Hot Cross Buns (Hot Cross Buns Solfa dots or Hot Cross Buns dots ). We sang the song once using our hands and Solfa signs, and then we sang it again counting each note in song.
Next, we talked about the weather. I asked what kind of weather we had had this winter so far: DRY. What happens when we don’t get enough snow or rain? We can have a DROUGHT. Droughts are no fun, because we need water to live! We need water to grow the fruits and vegetables we eat! We need water to help the grass grow that the cows eat to be able to produce milk so that we can drink milk and eat cheese, butter, yogurt, and ice cream! We need water to help the wheat grow so we can eat bread, crackers, cookies, and cakes!
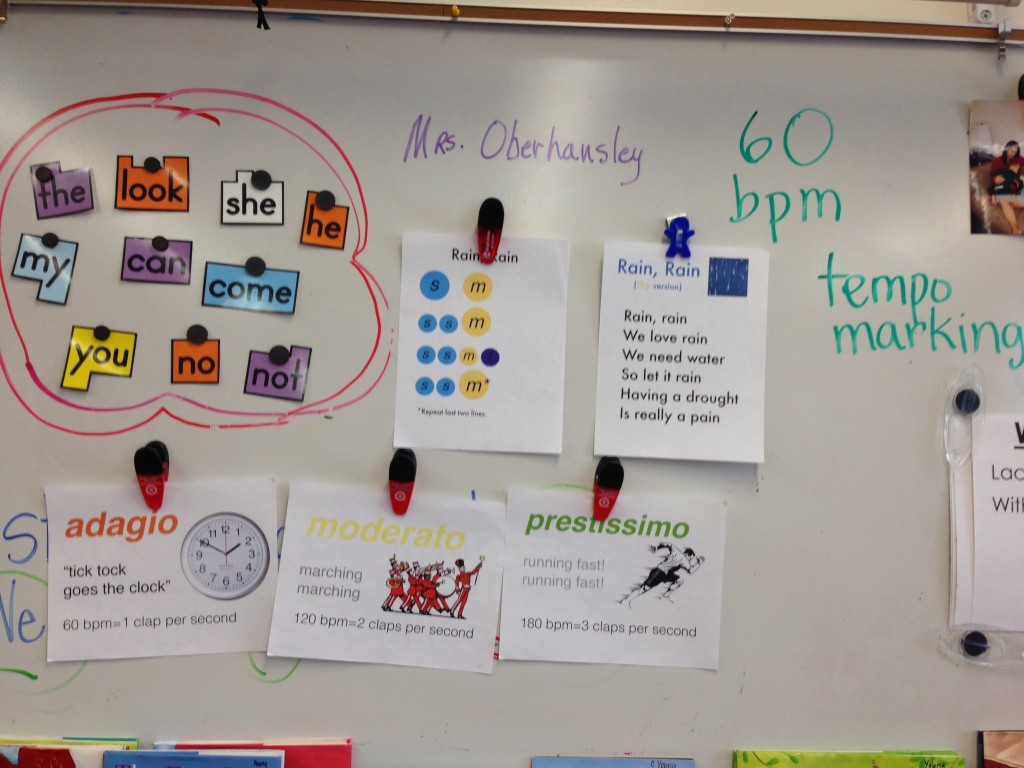
I put up this Song Garden version of “Rain, Rain Go Away.” I asked them to sing it with me. We sang it in Solfa first. I asked if anyone recognized this melody? Someone did! We sang the folk song with the usual lyrics. (Rain, rain, go away. Come again another day. etc.)
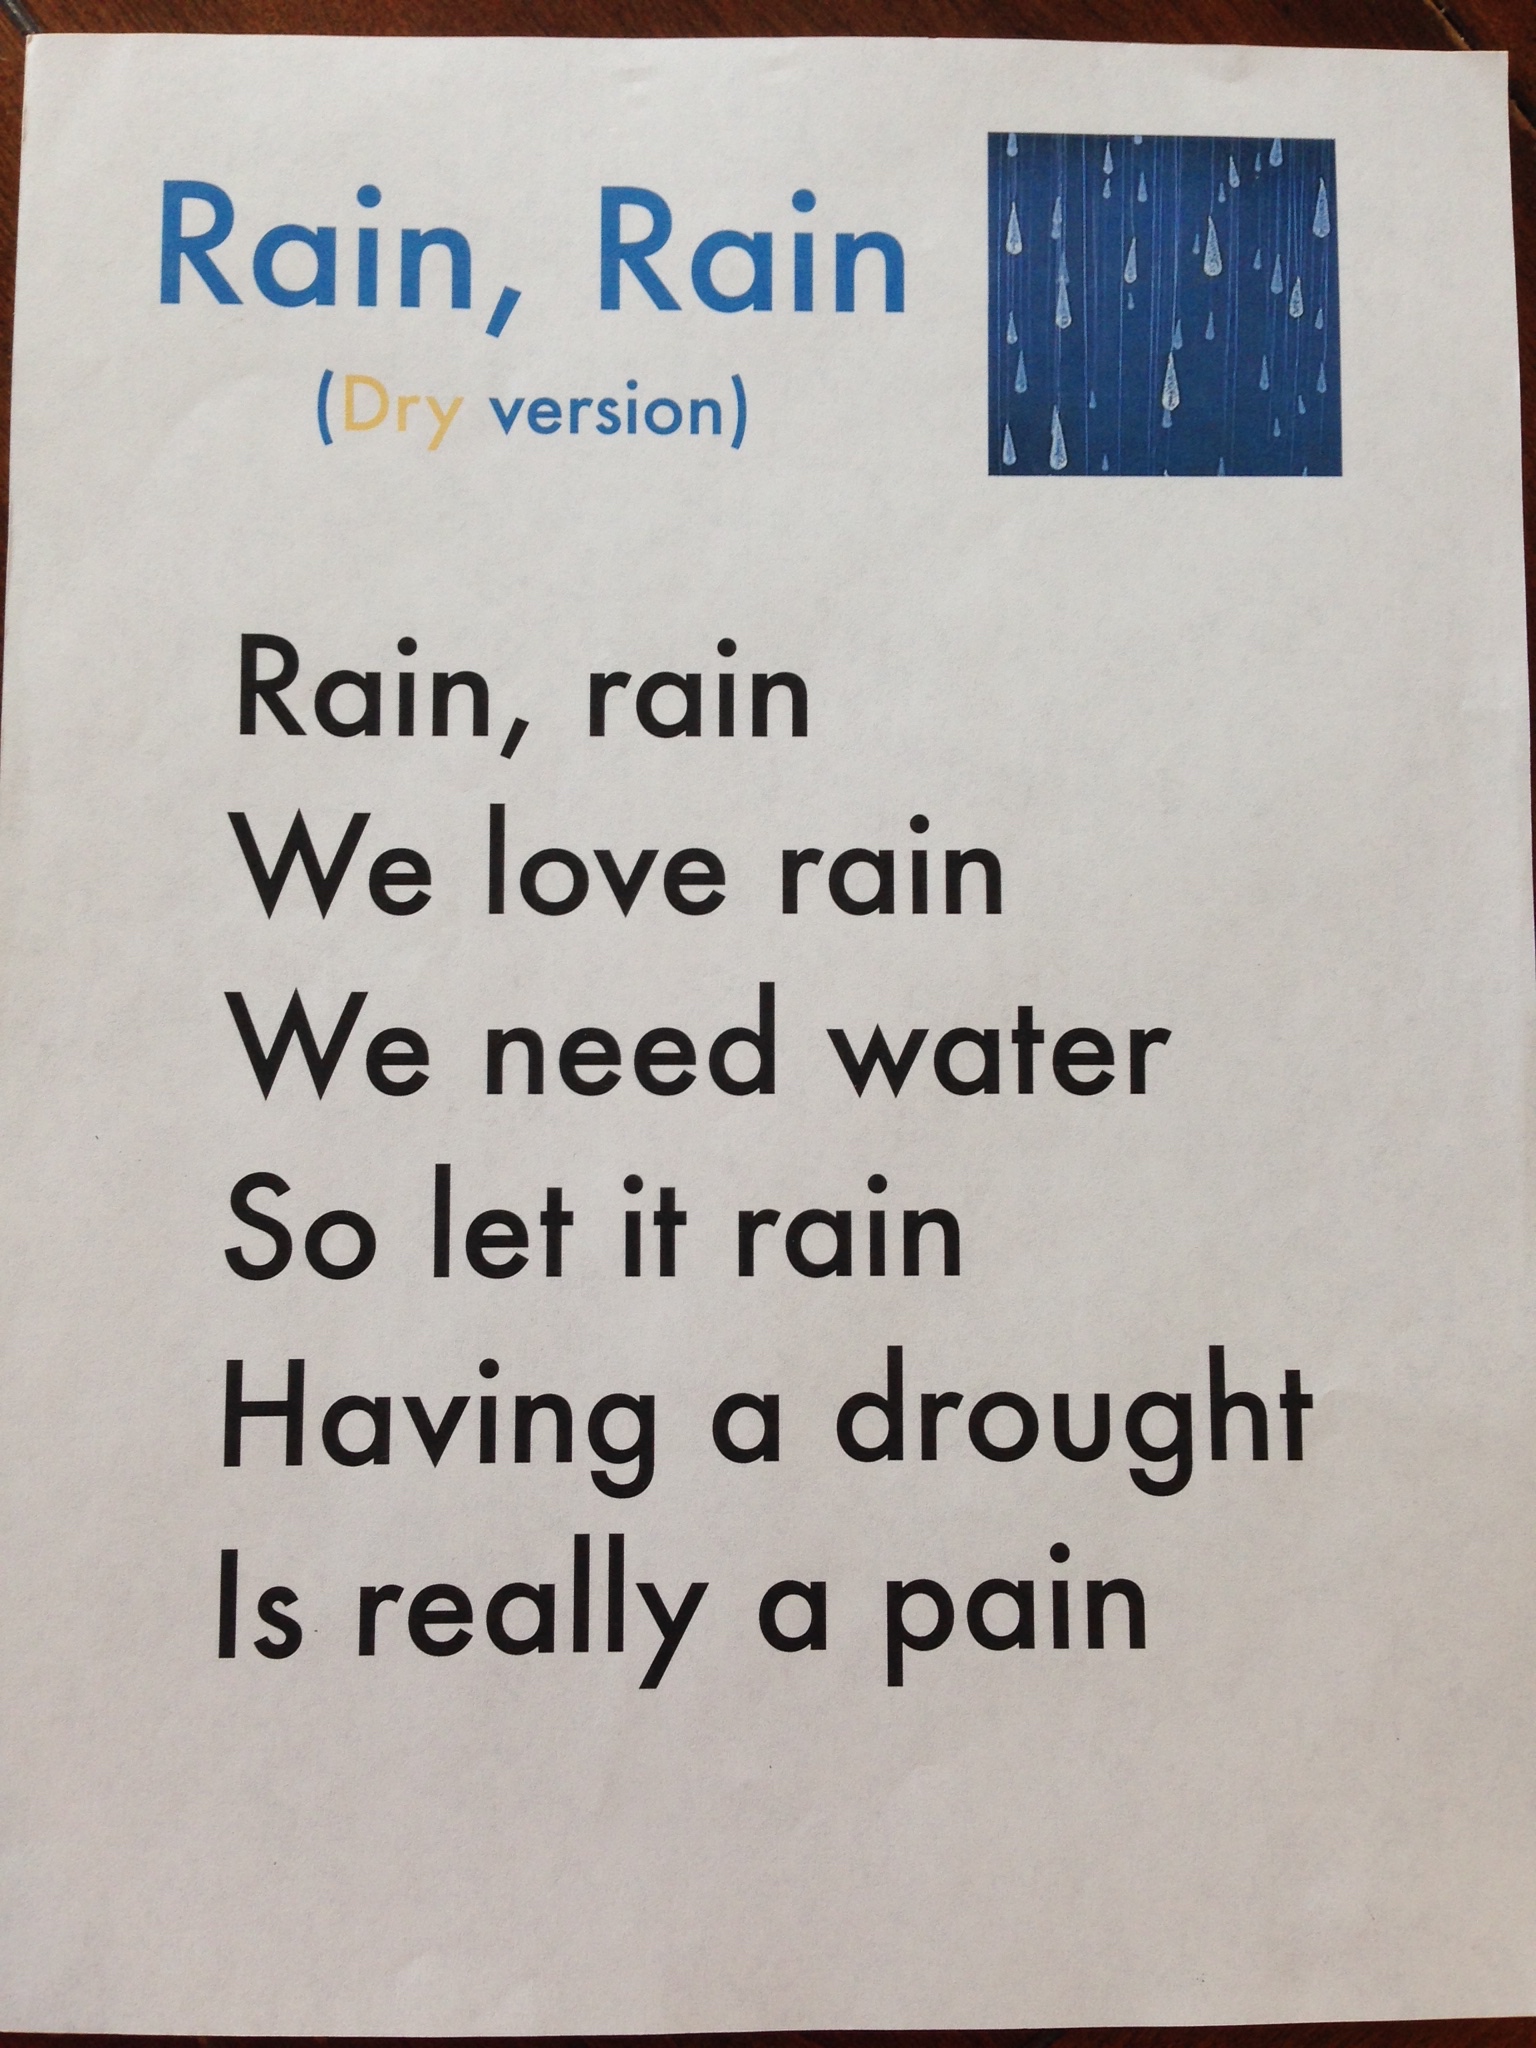
Then I put up these lyrics.
We sang through this song a couple of times. Then I clapped the tempo for how fast we were singing it. Our teacher became a metronome, and I pulled up my metronome app on my phone. I showed the children what a metronome looks like (at least on an app!), and ironically, we were singing at 112 bpm, which was where the metronome had been set the last time I used it! I explained that beats per minute means how many 1-beat notes are in a minut
e.
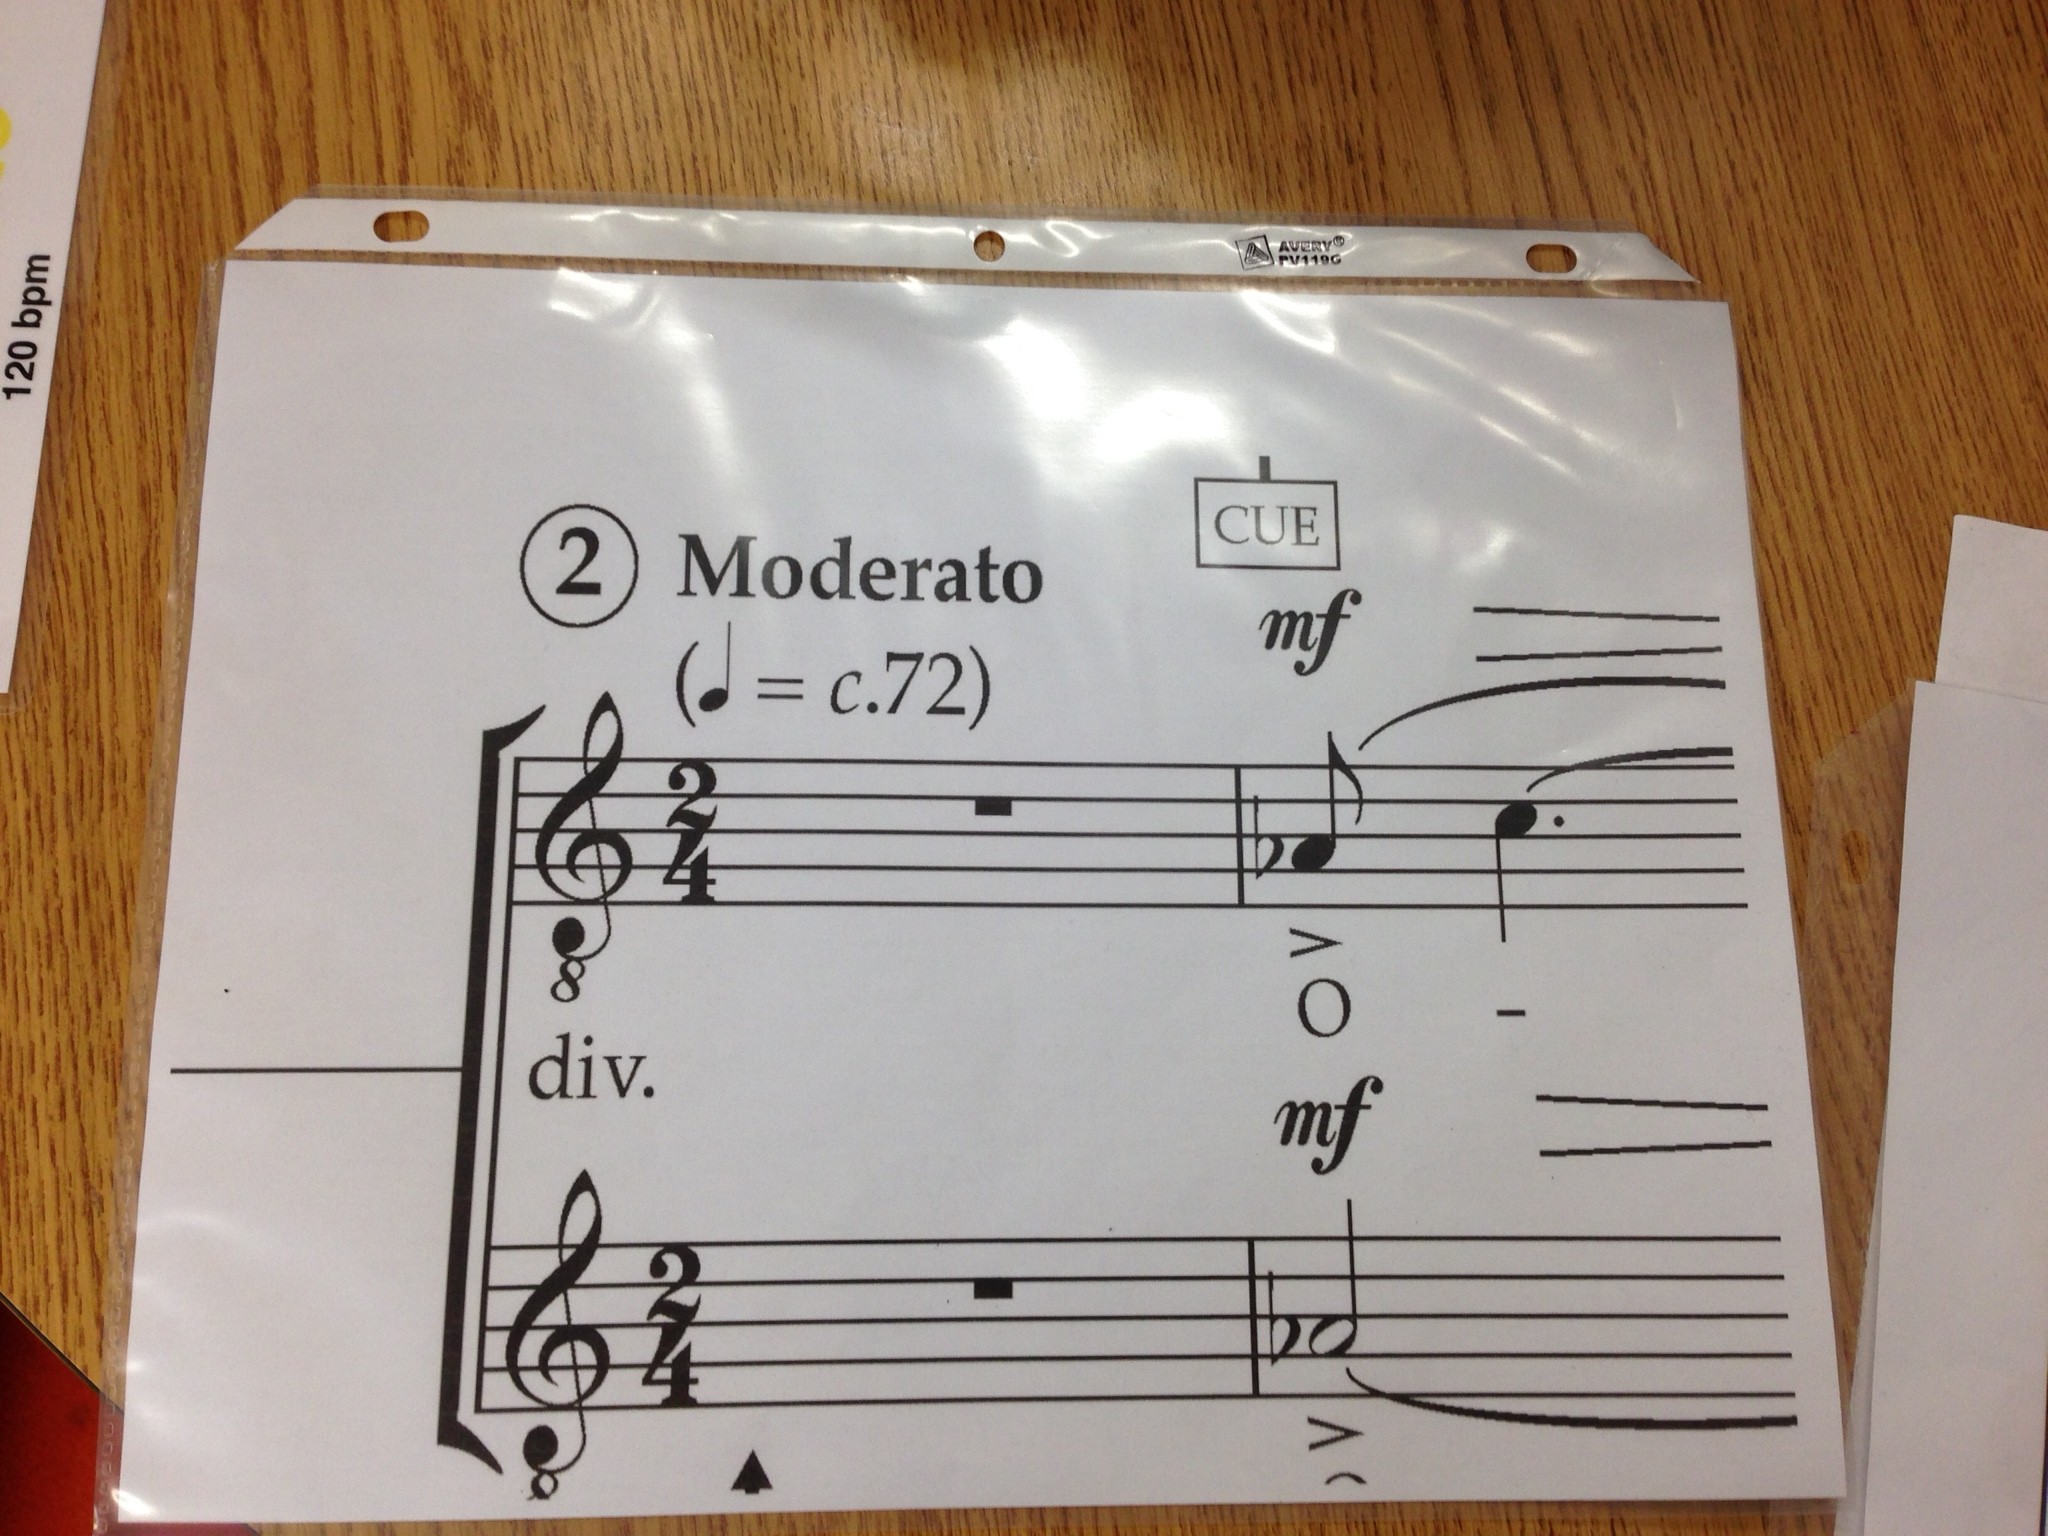
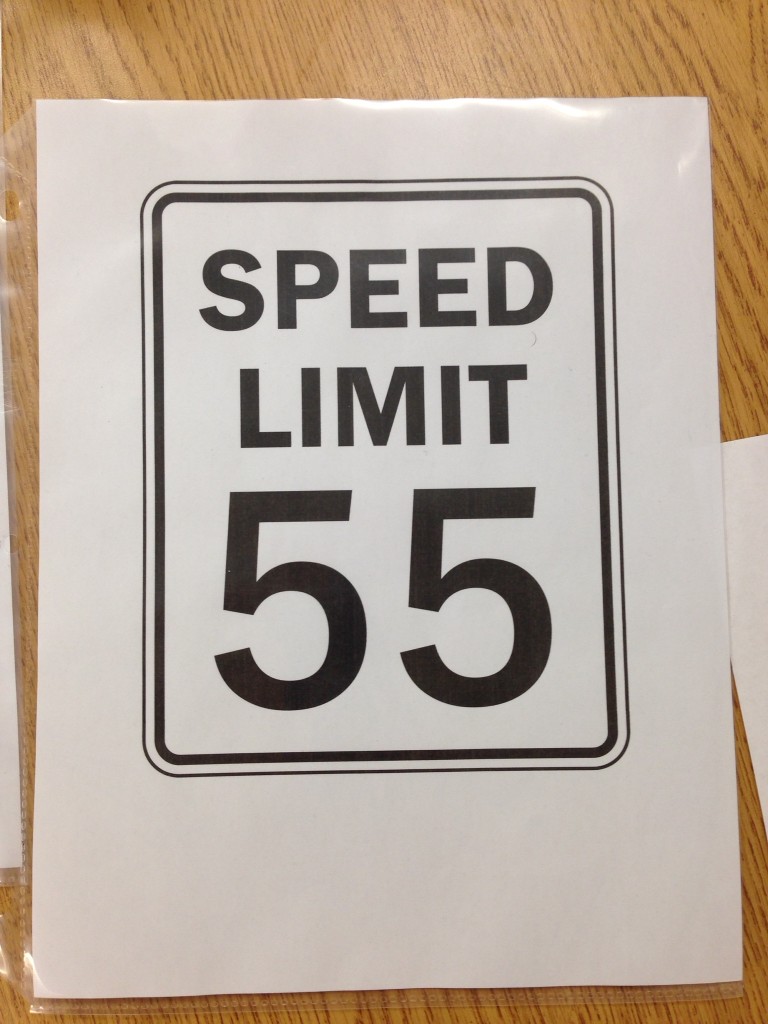
Next I held this page up and asked what it was. The children recognized it as a speed limit sign. I asked them what it meant. Some of them knew that it tells us how fast a car is allowed to go on a street.
I explained that in music, there is something called tempo, which tells us how fast to play a song. Tempo markings, I explained, are words often written at the beginning of a piece of music that tell you how fast (or slowly) to play a piece. These words are often in Italian. Italian, I asked, is spoken where? In Italy. “Yes! Where do we live? Which language do we speak? Does anyone speak any other languages? Tell us a word in Spanish (etc.).”
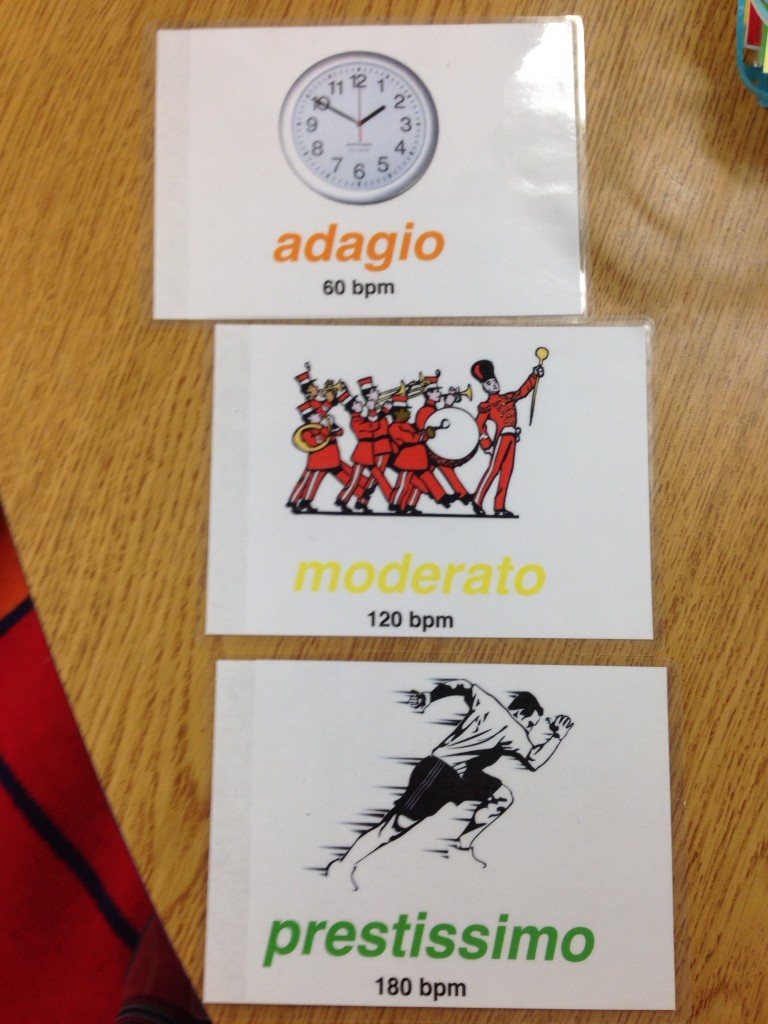
I held up an example of some sheet music with a tempo marking and pointed it out for all to see. I told them I was going to teach them 3 Italian words that are tempo markings. I put these signs up one at a time and explained them to the children.
“Adagio is slow. Say, “Adagio.” We repeated it three times. “Look up at the clock,” I motioned. “See the red second hand moving around. Tick, tock, goes the clock. Tick, tock, goes the clock,” I said, to the beat of the second hand.
“Adagio is like walking. Walk in your spot with me. Tick, tock, goes the clock.” We walked in place for a few moments. Then we sang “Rain, Rain” at that tempo.
“Moderato is TWICE as fast as adagio, which means that there are TWO beats for every time the second hand goes ‘Tick, Tock.’ Let’s move the metronome up to 120 bpm and see how fast that would be.” I changed the setting and played it for them. It’s like the speed of marching in a parade,” I told them. “March, march, march, march. March in place like you are marching in a parade.” “I can march on my feet, I can march down the street, I can march in the big parade,” I sang, an excerpt from a song from my childhood. We sang “Rain, Rain” at the new tempo.
“Prestissimo is THREE TIMES as fast as adagio! That means there are THREE beats for every time the second hand goes ‘Tick, Tock.'” I repeated the metronome change to 180 bpm, and we ran in place at that speed. Then we sang “Rain, Rain” at the new tempo.
We all sat down again. I pulled out these mini signs and said we were going to play a little game to test them on their tempo markings. While shuffling the cards, I told them I would hold up a word, and they needed to say if it was “slow, medium or fast” and then say the word. I held one up in the air quickly. “Slow! Adagio!” they cheered. We continued until we had reviewed each new word a few times.
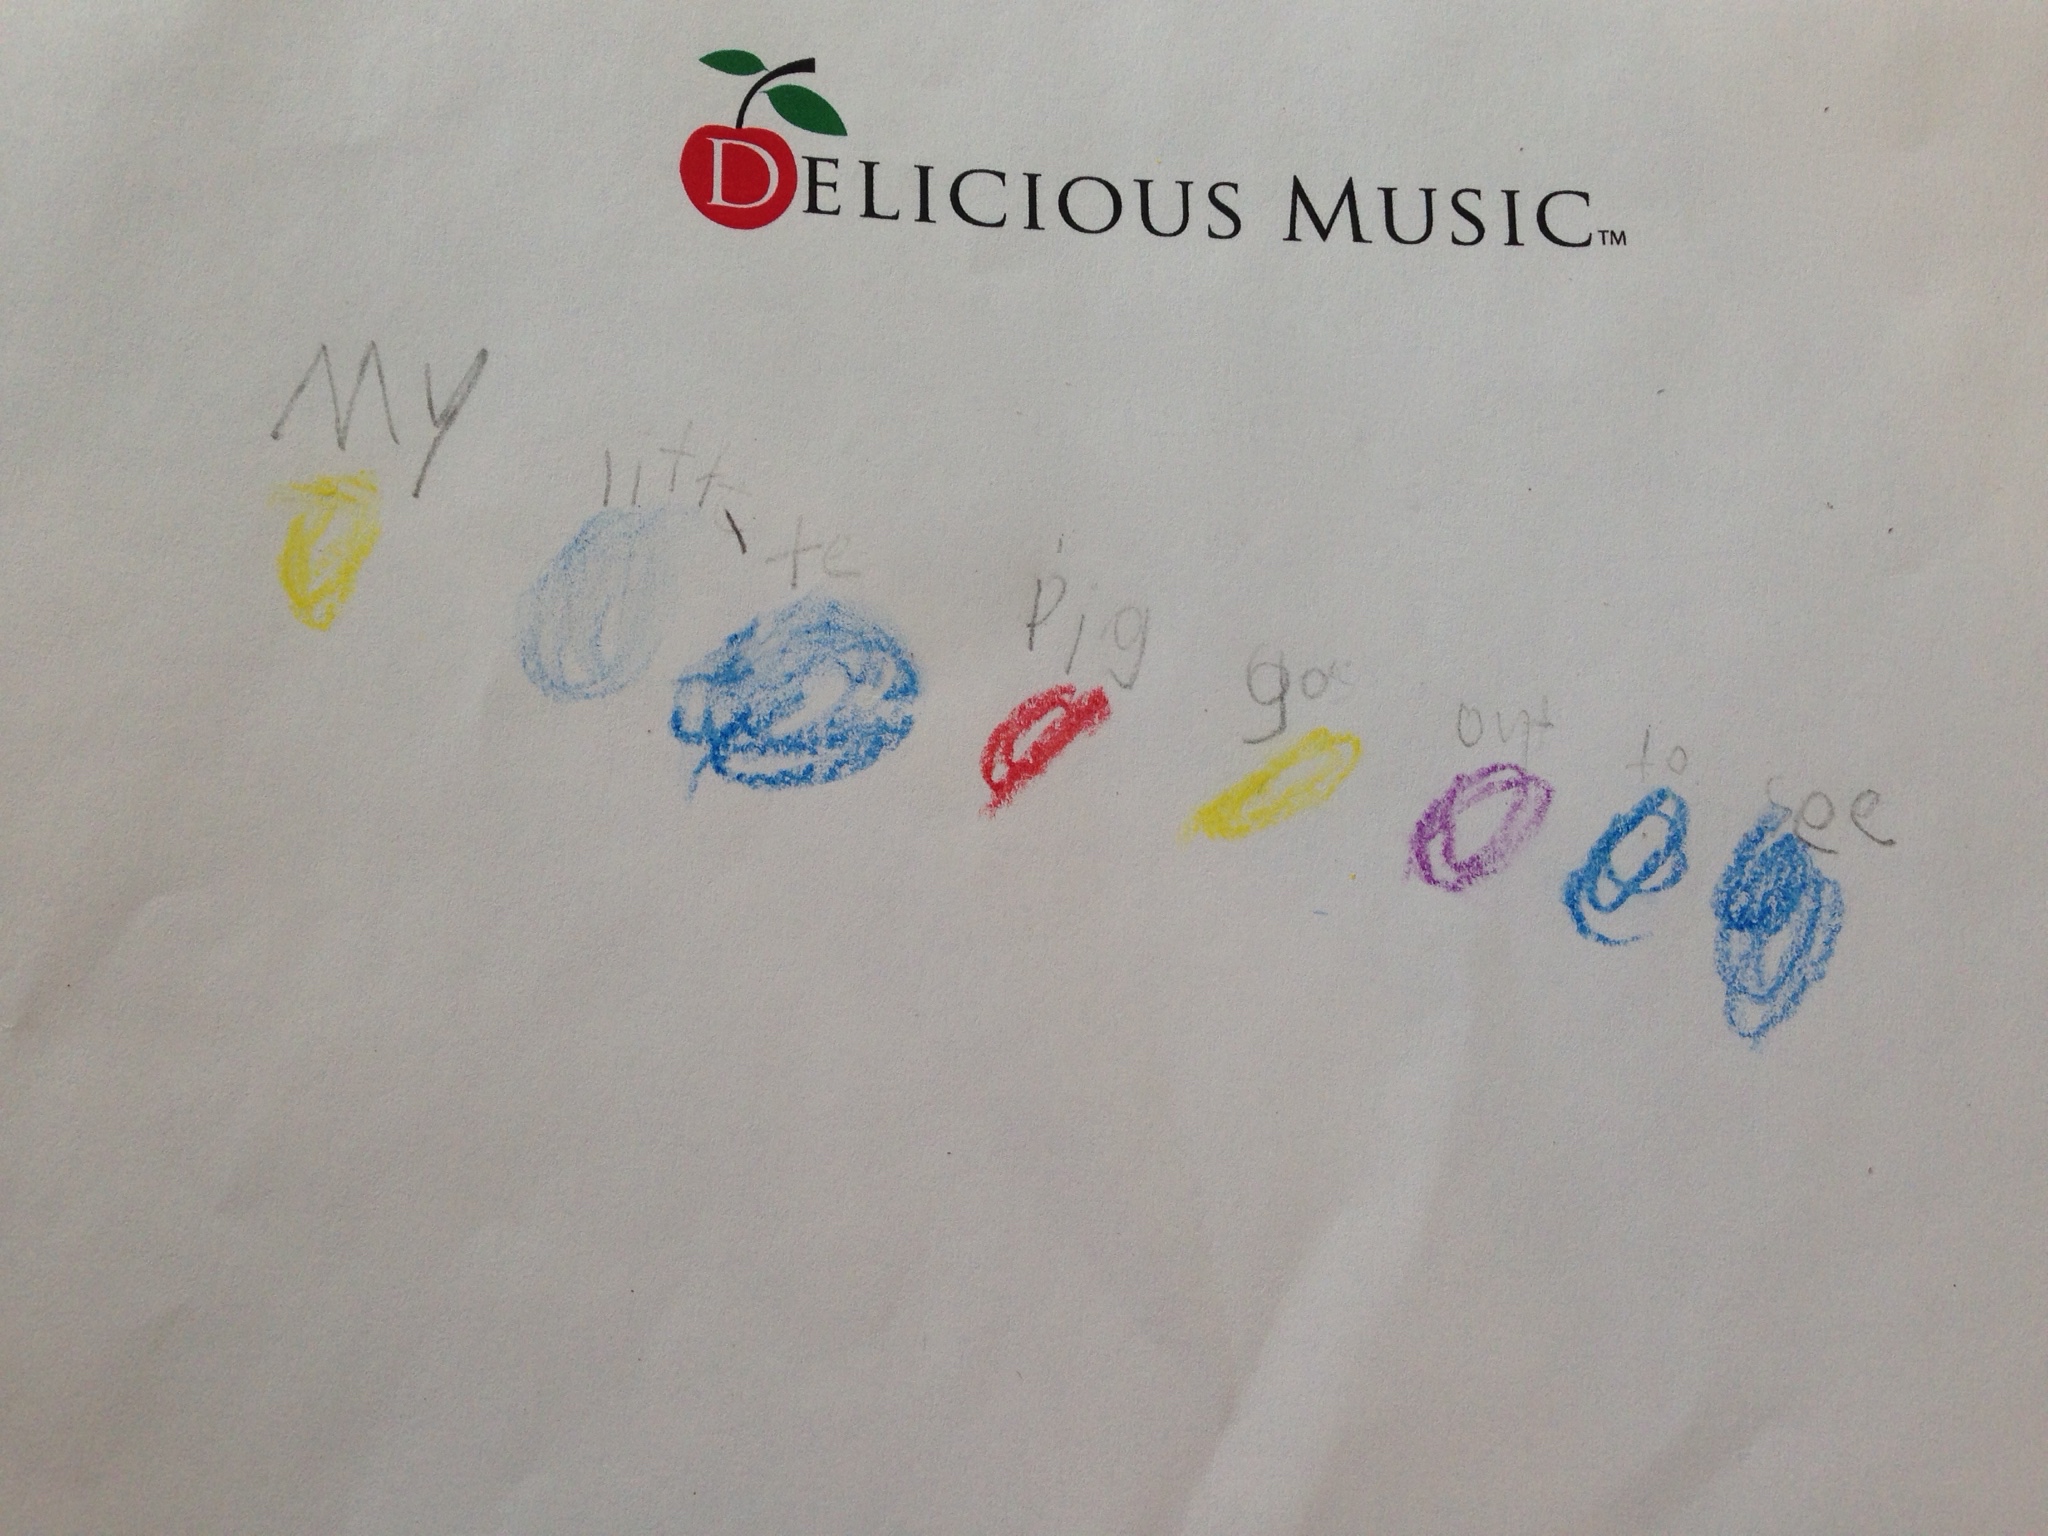
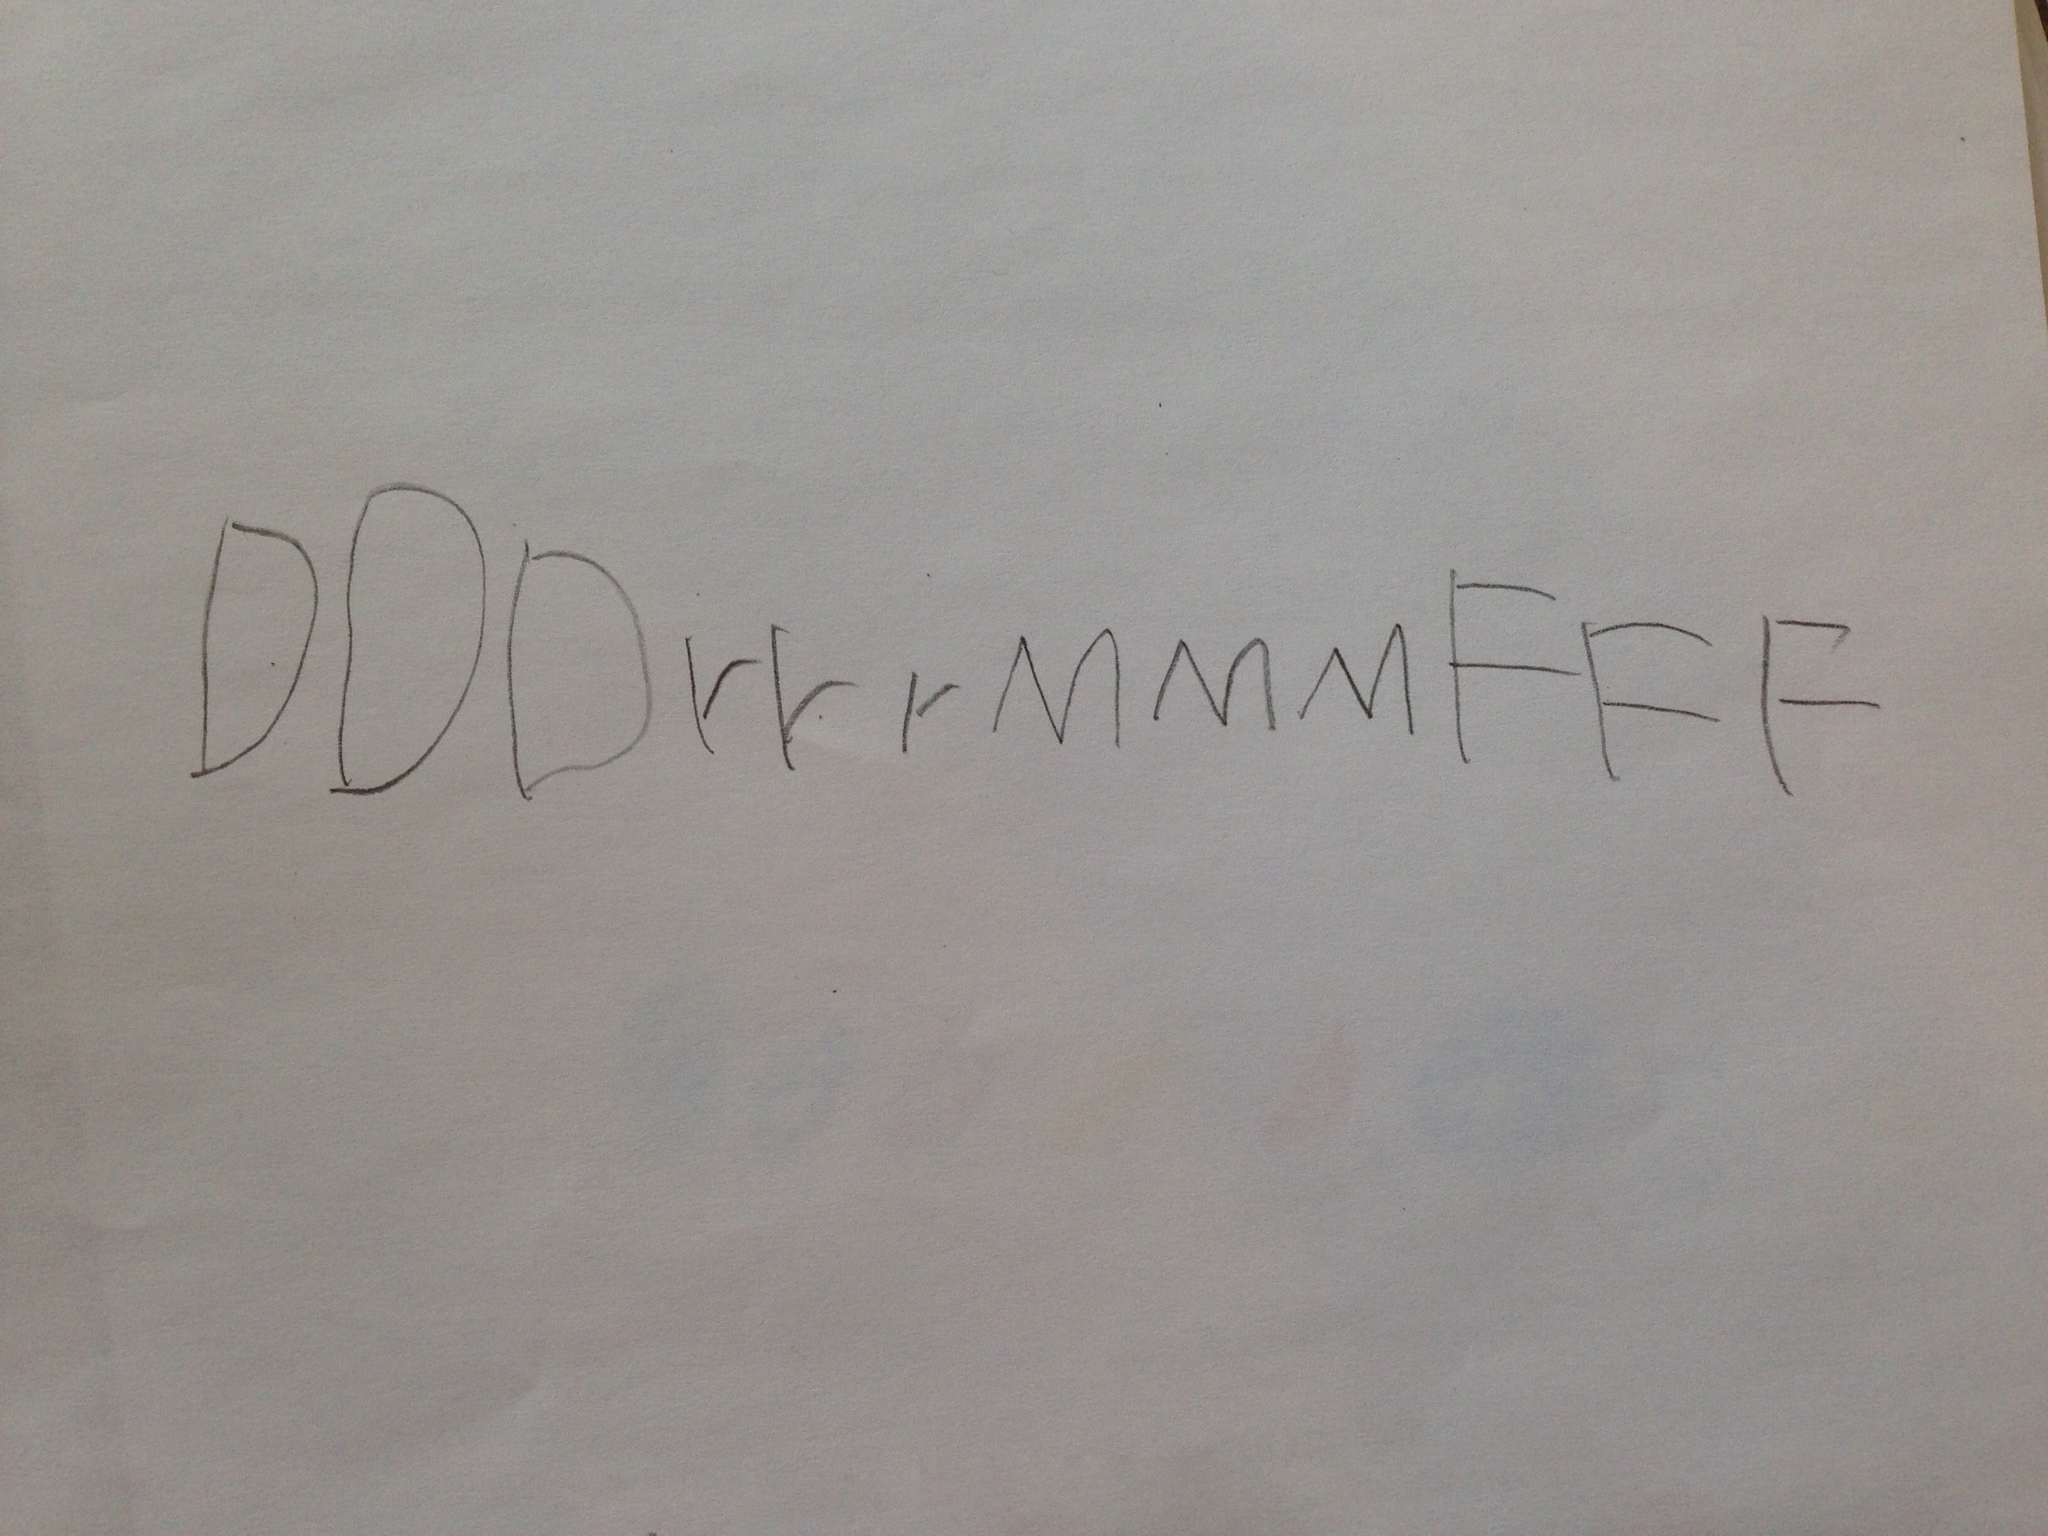
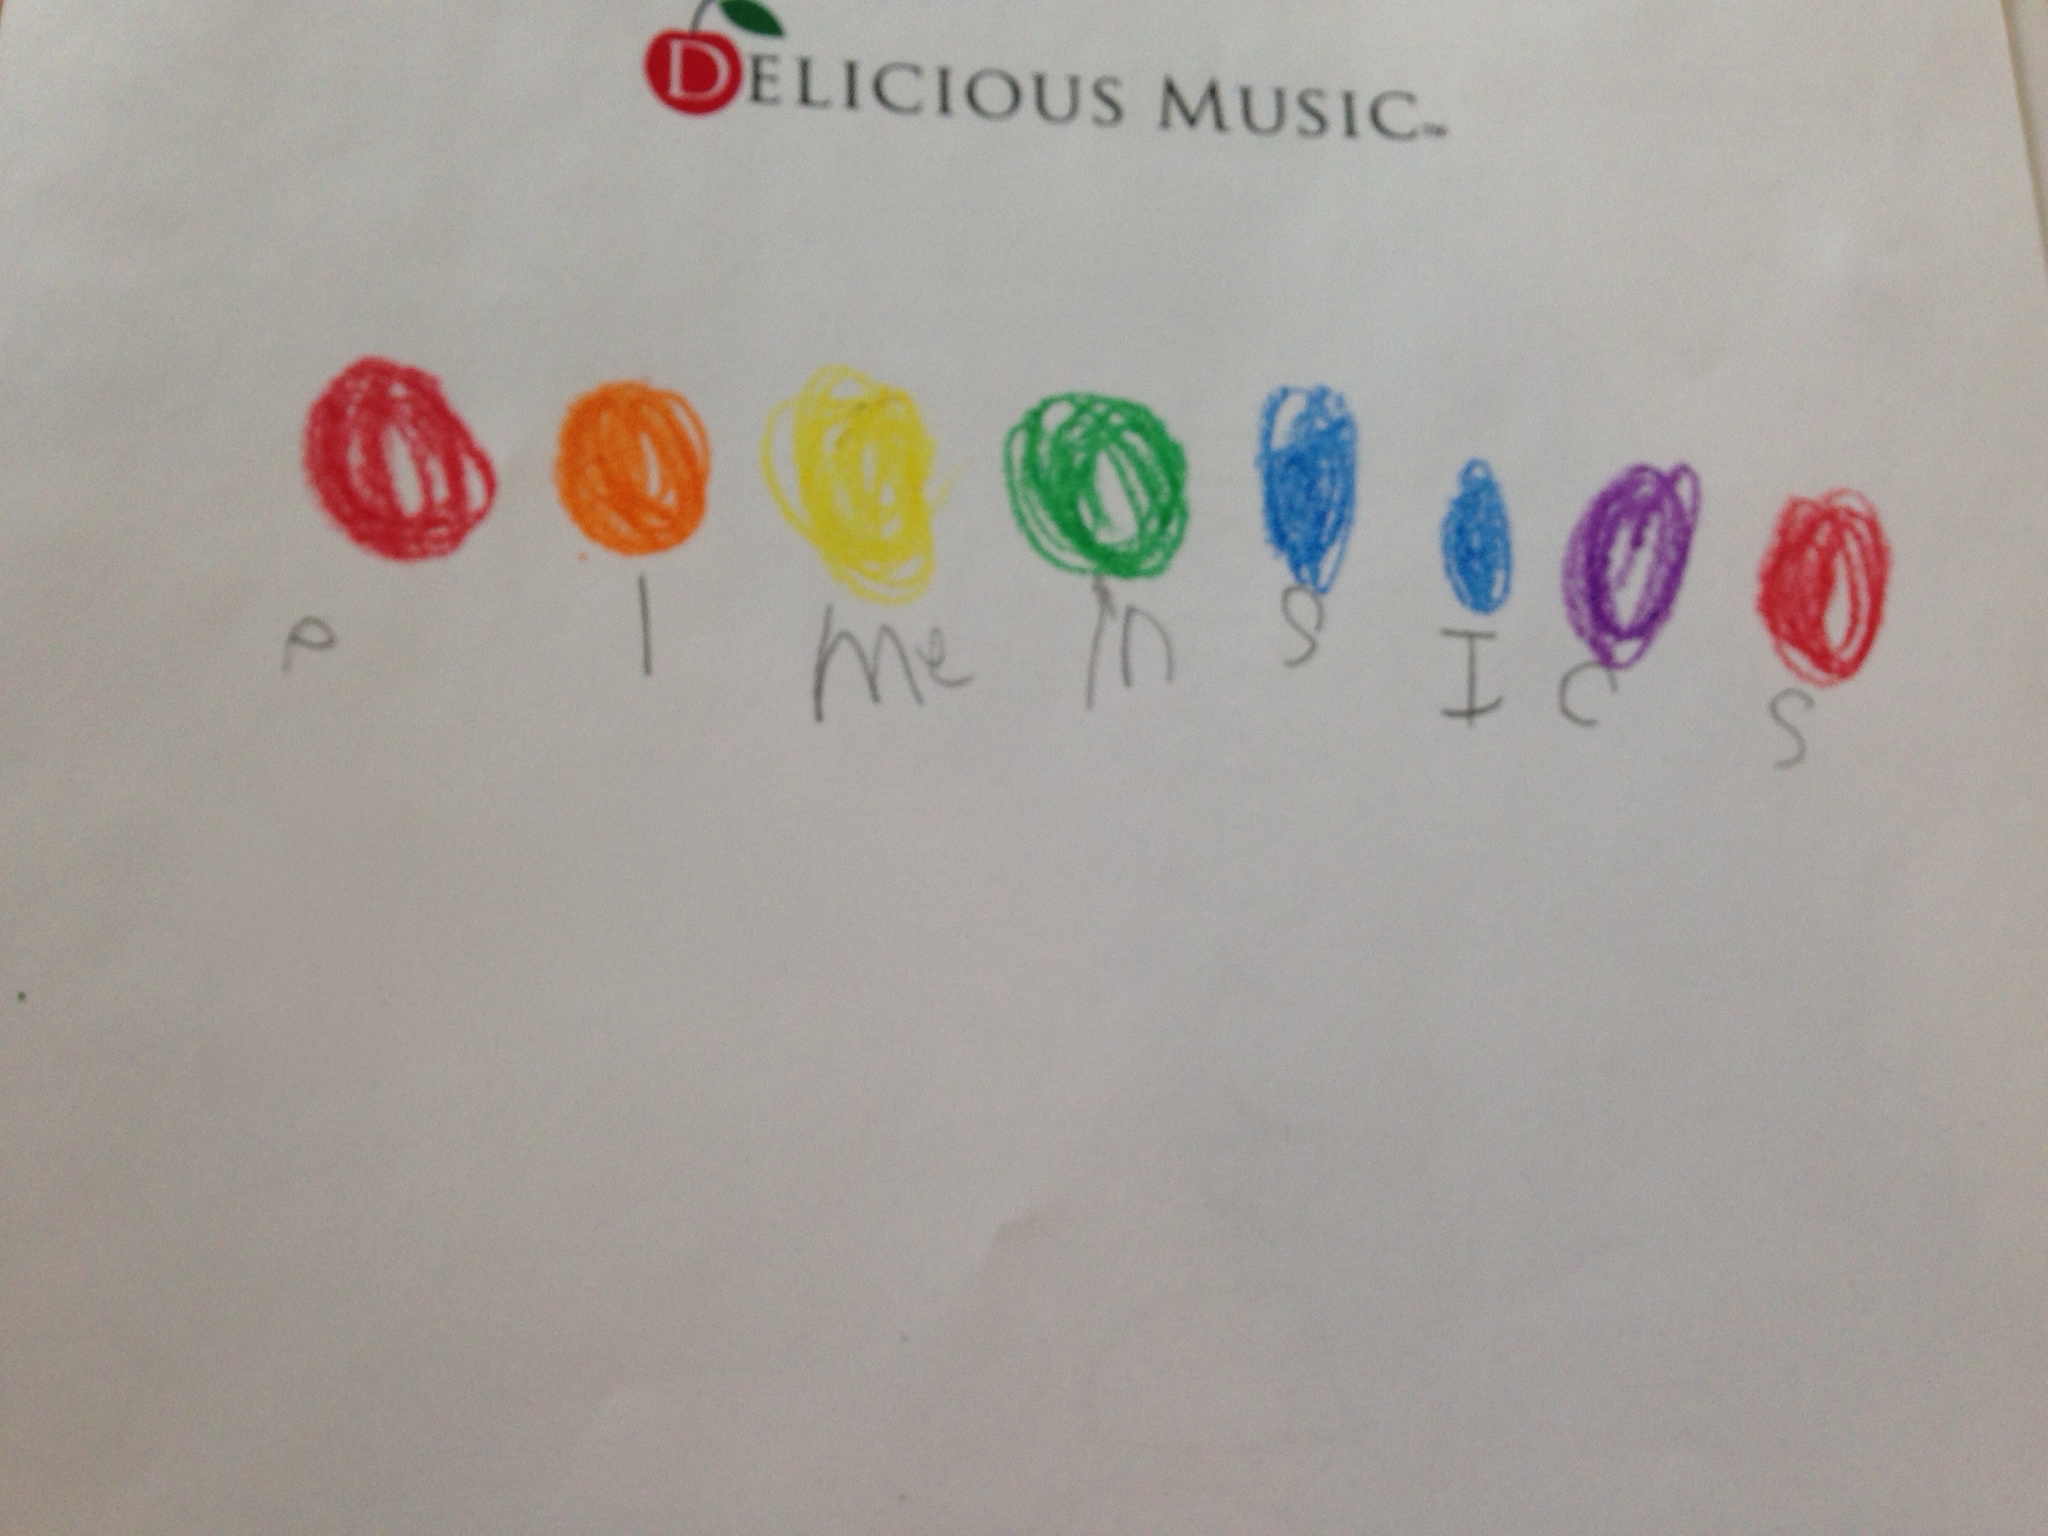
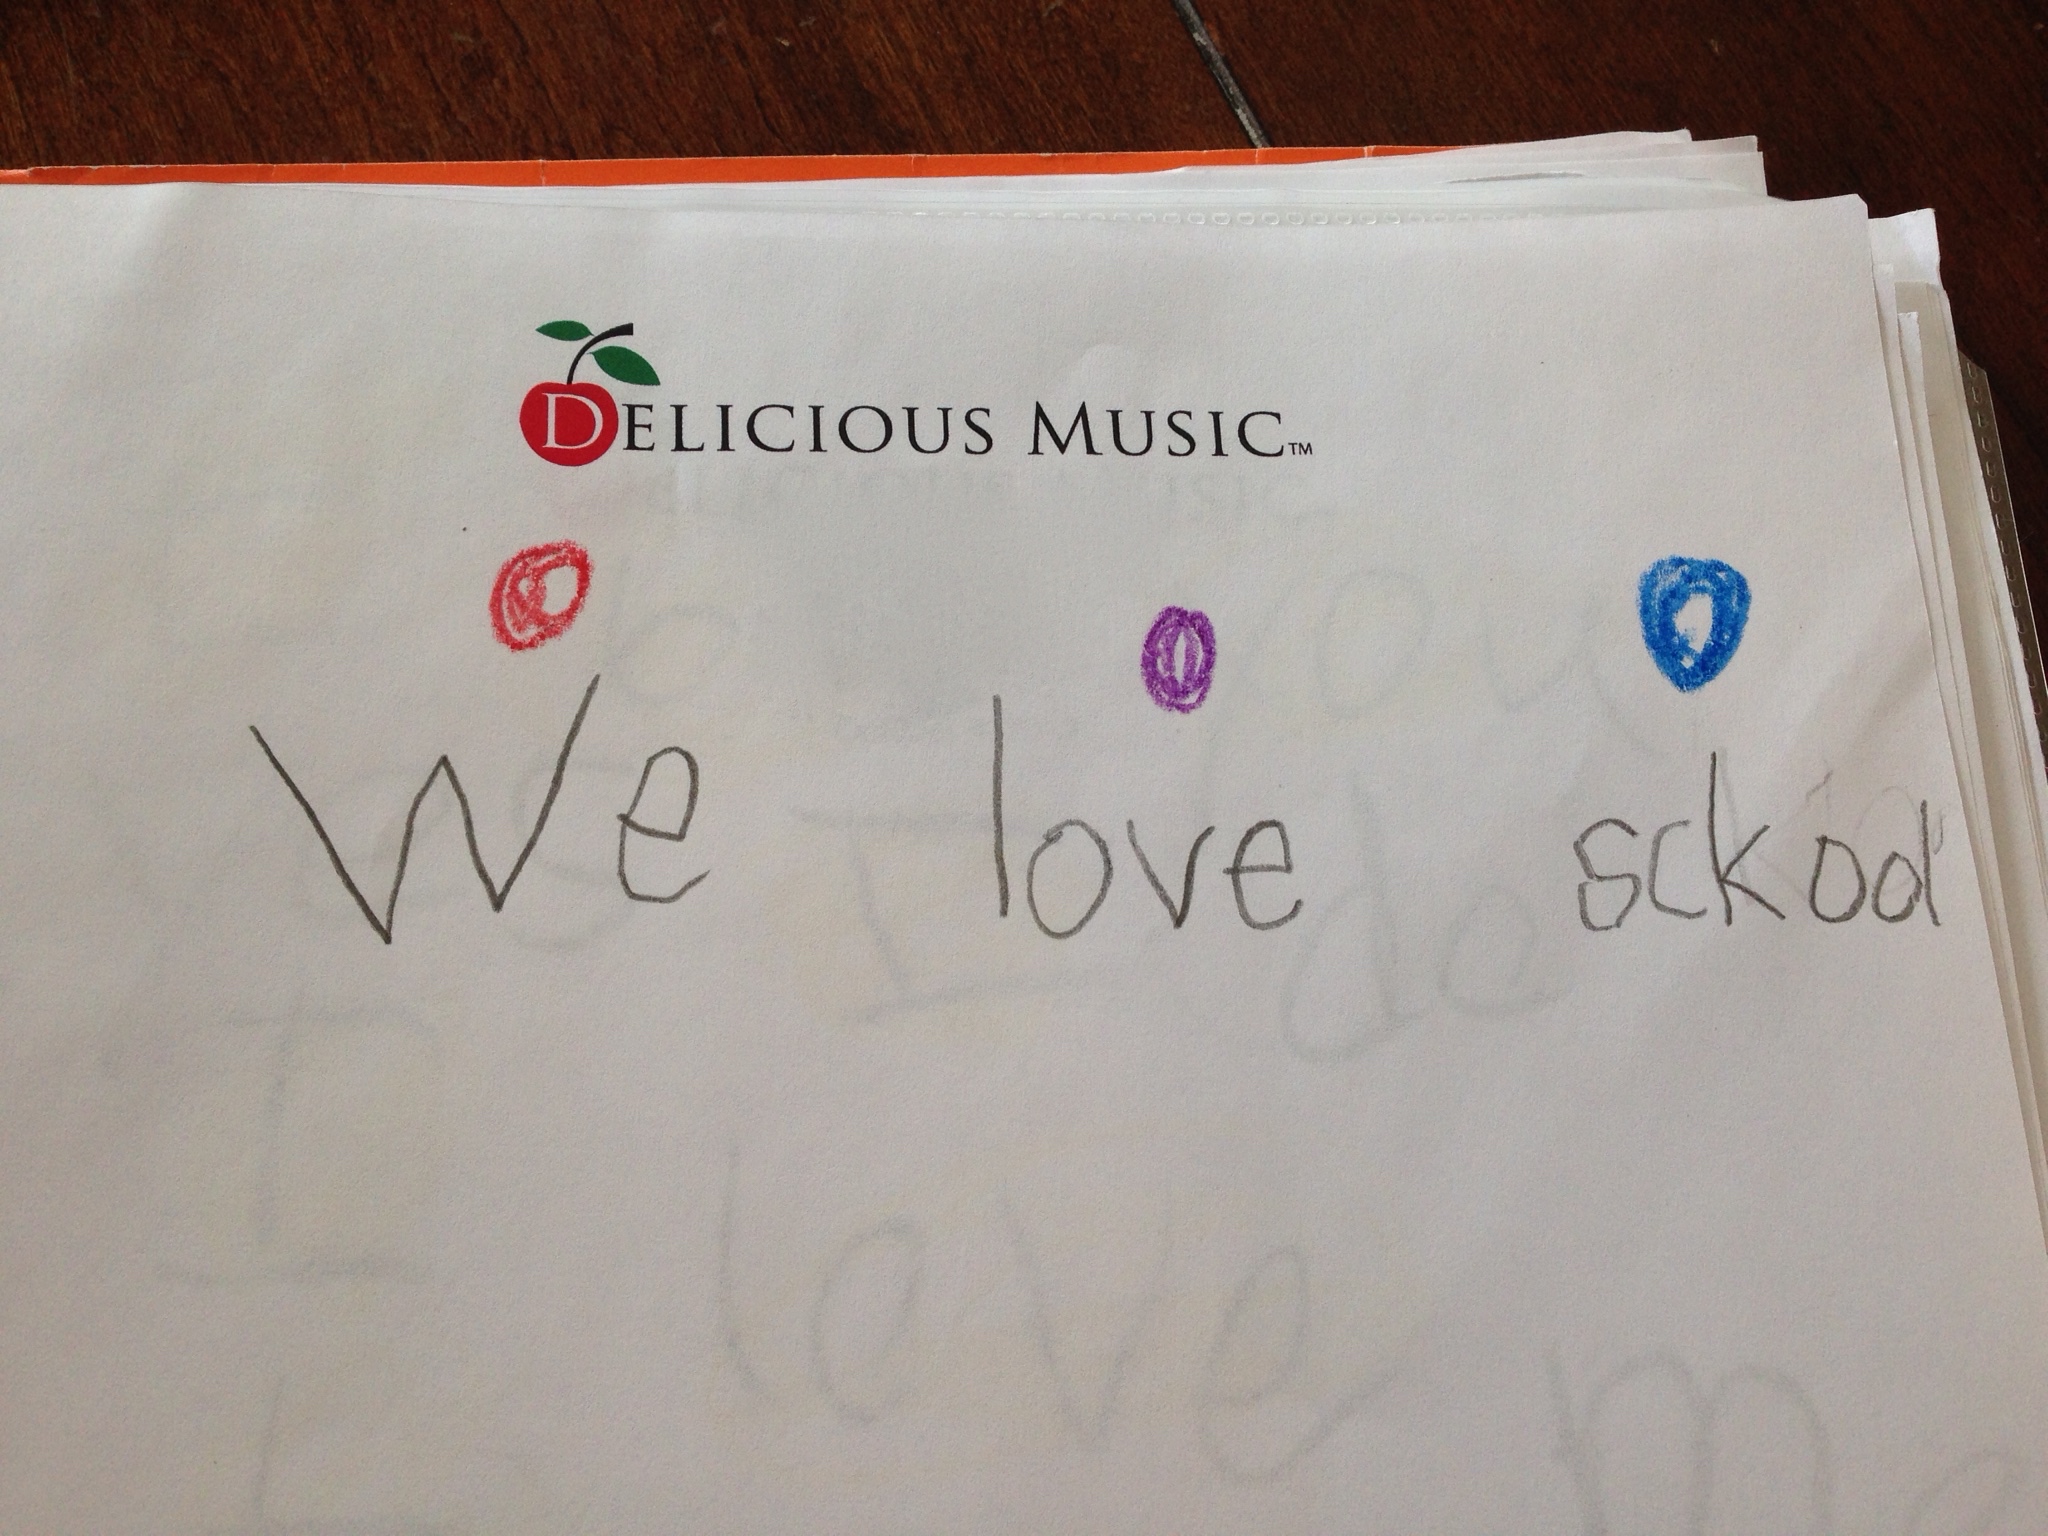
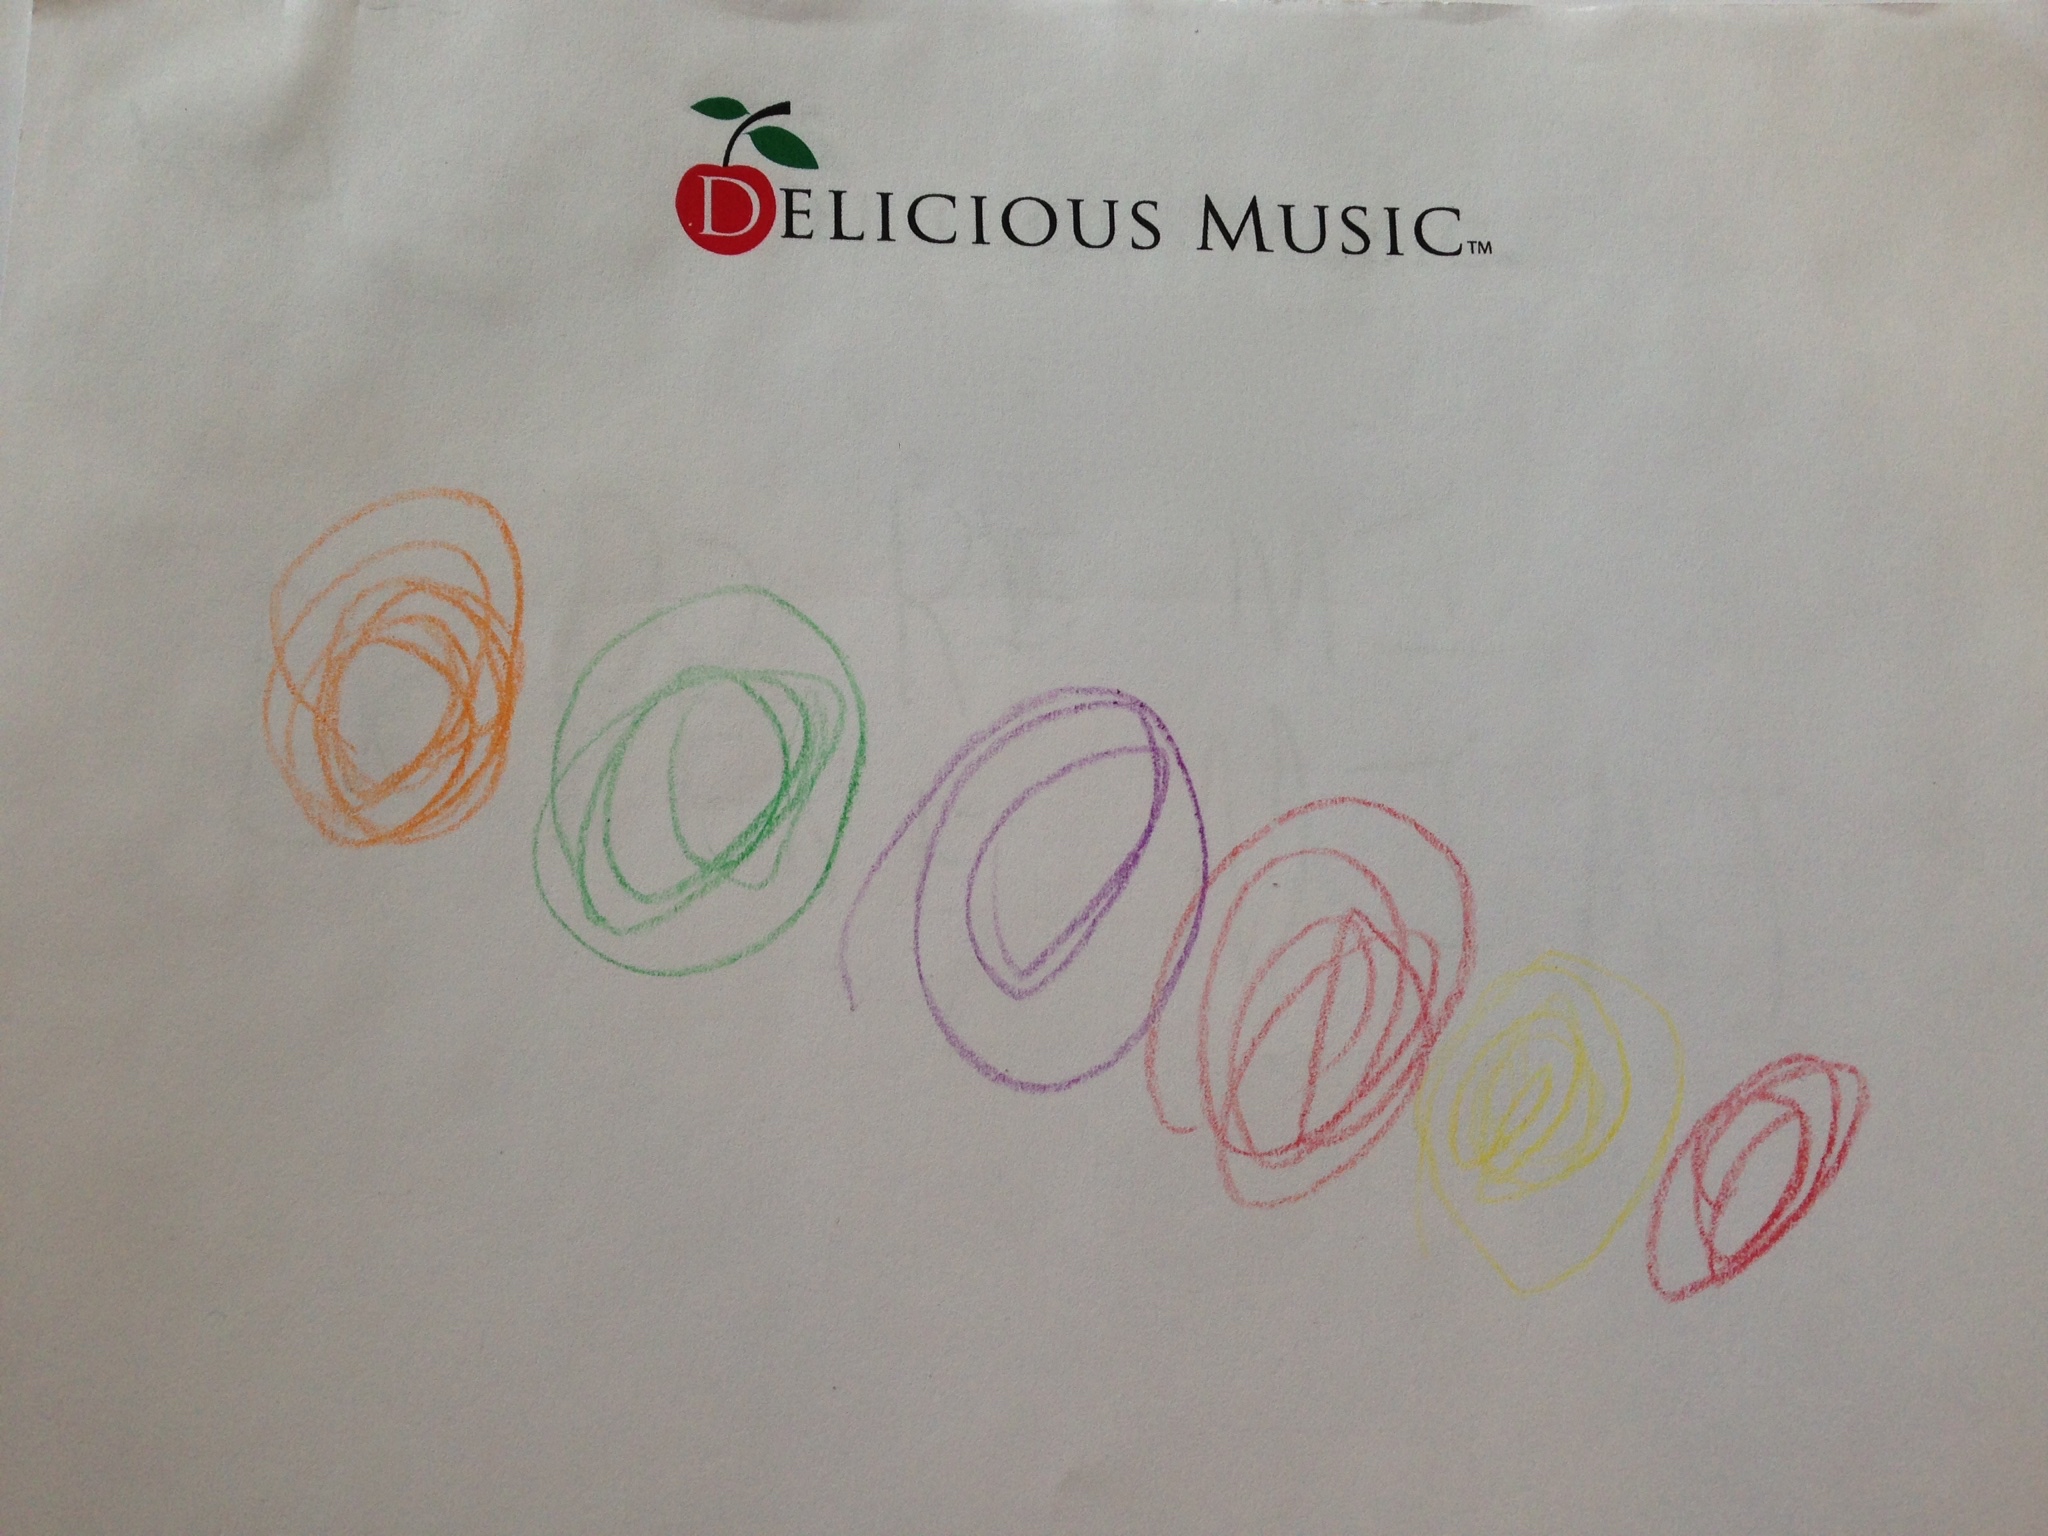
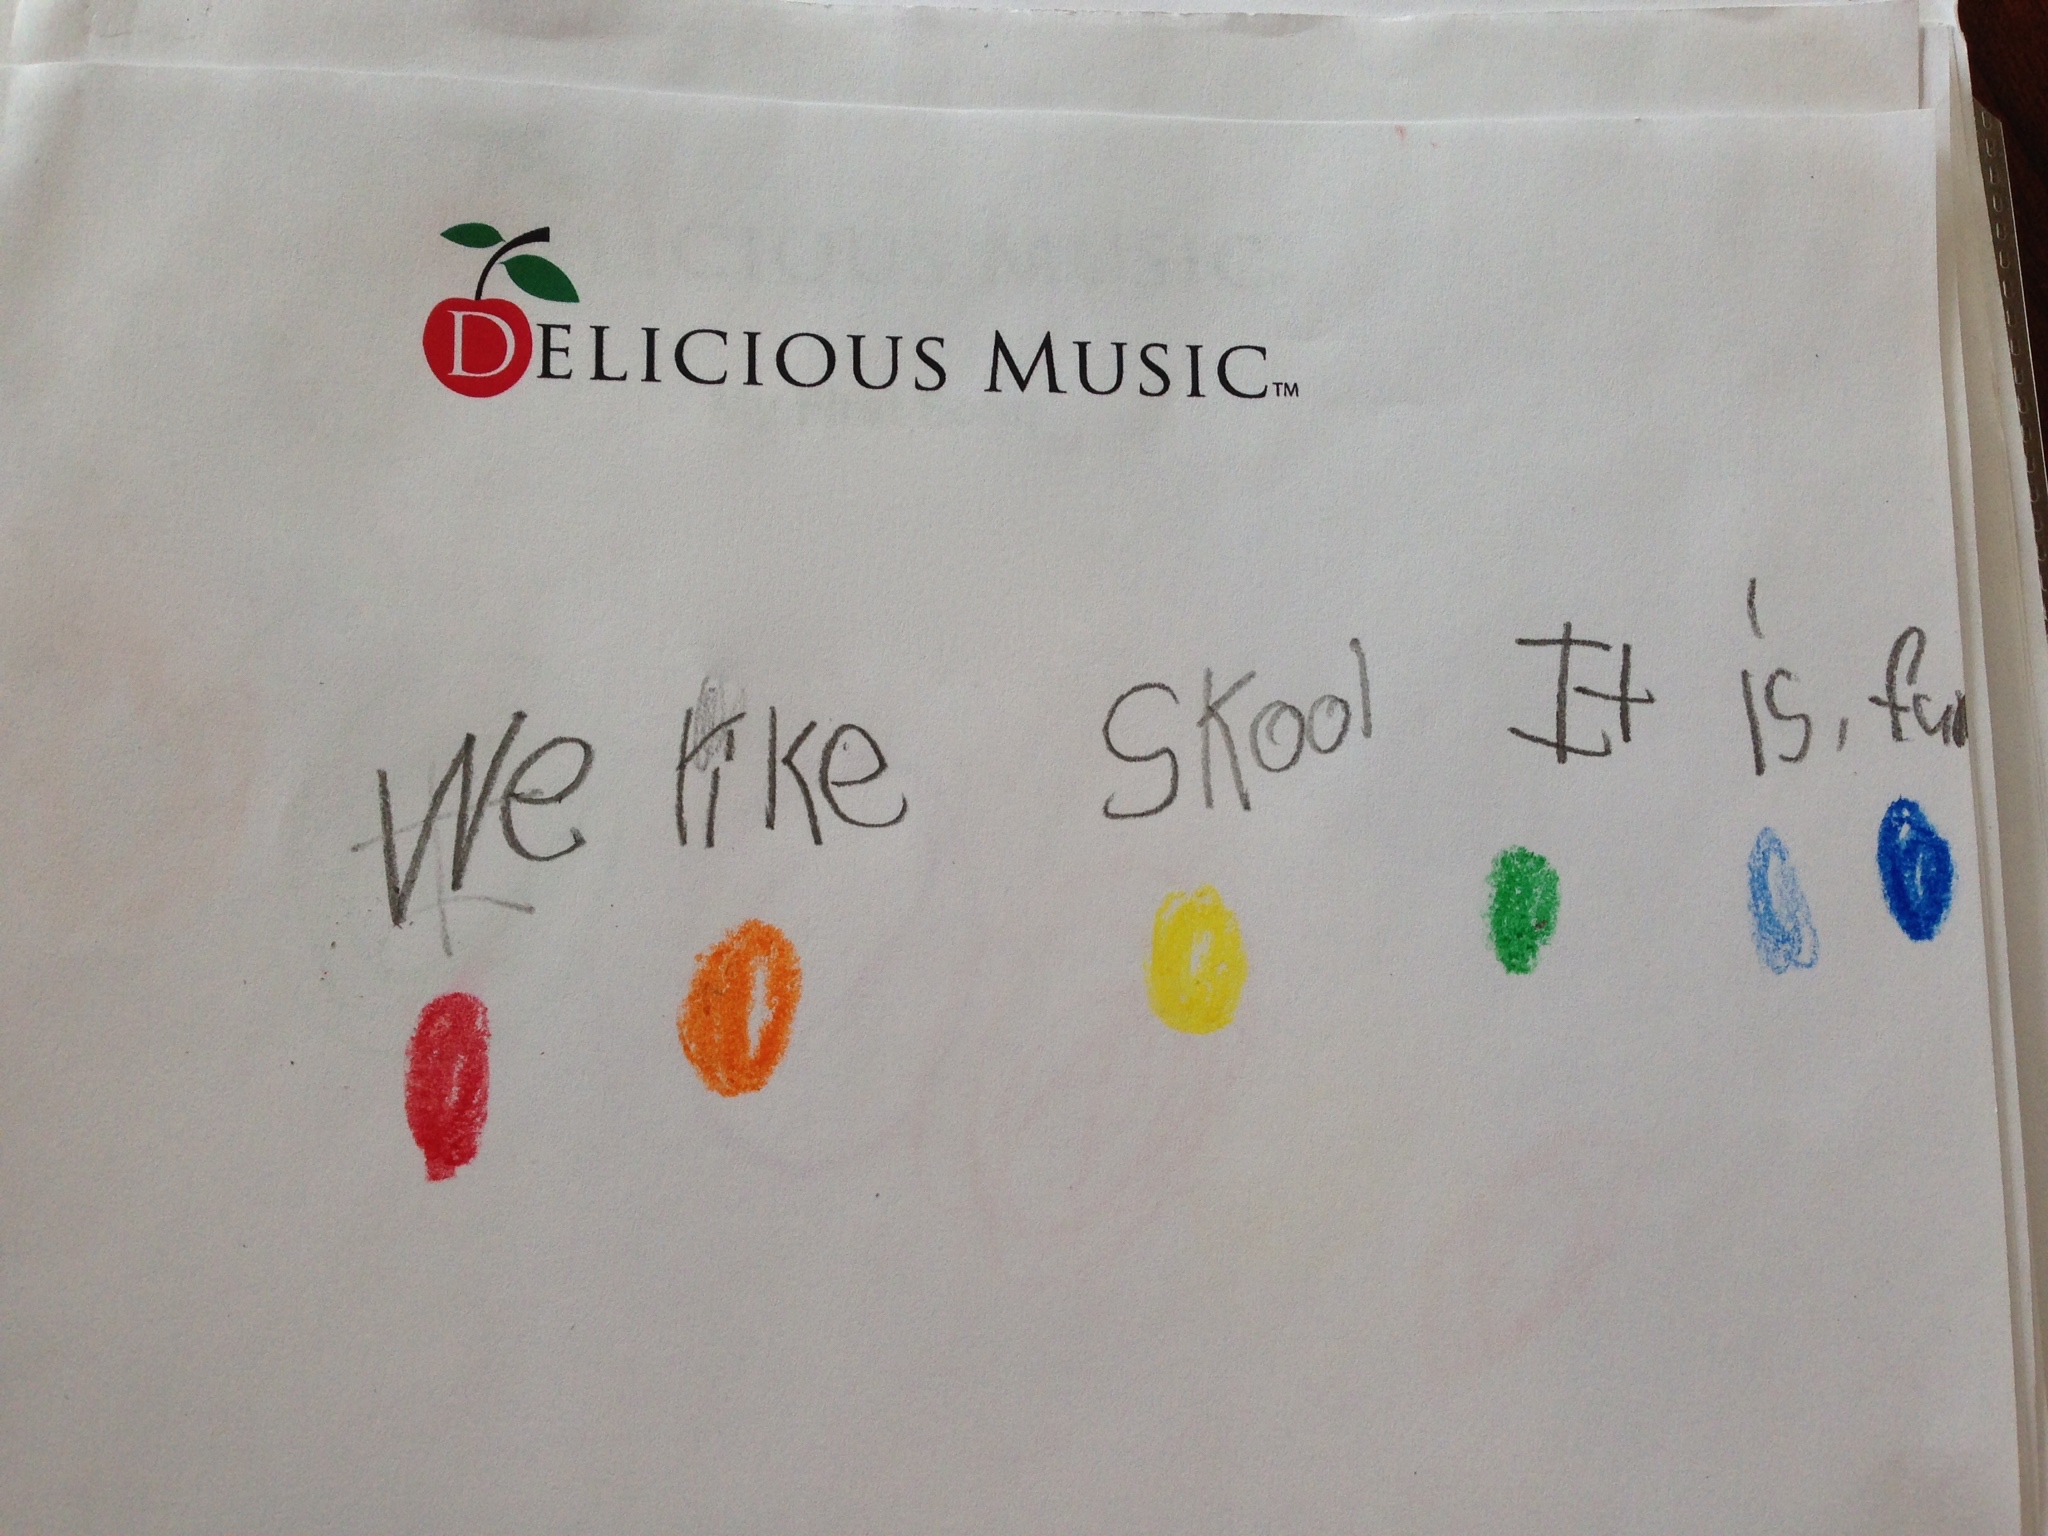
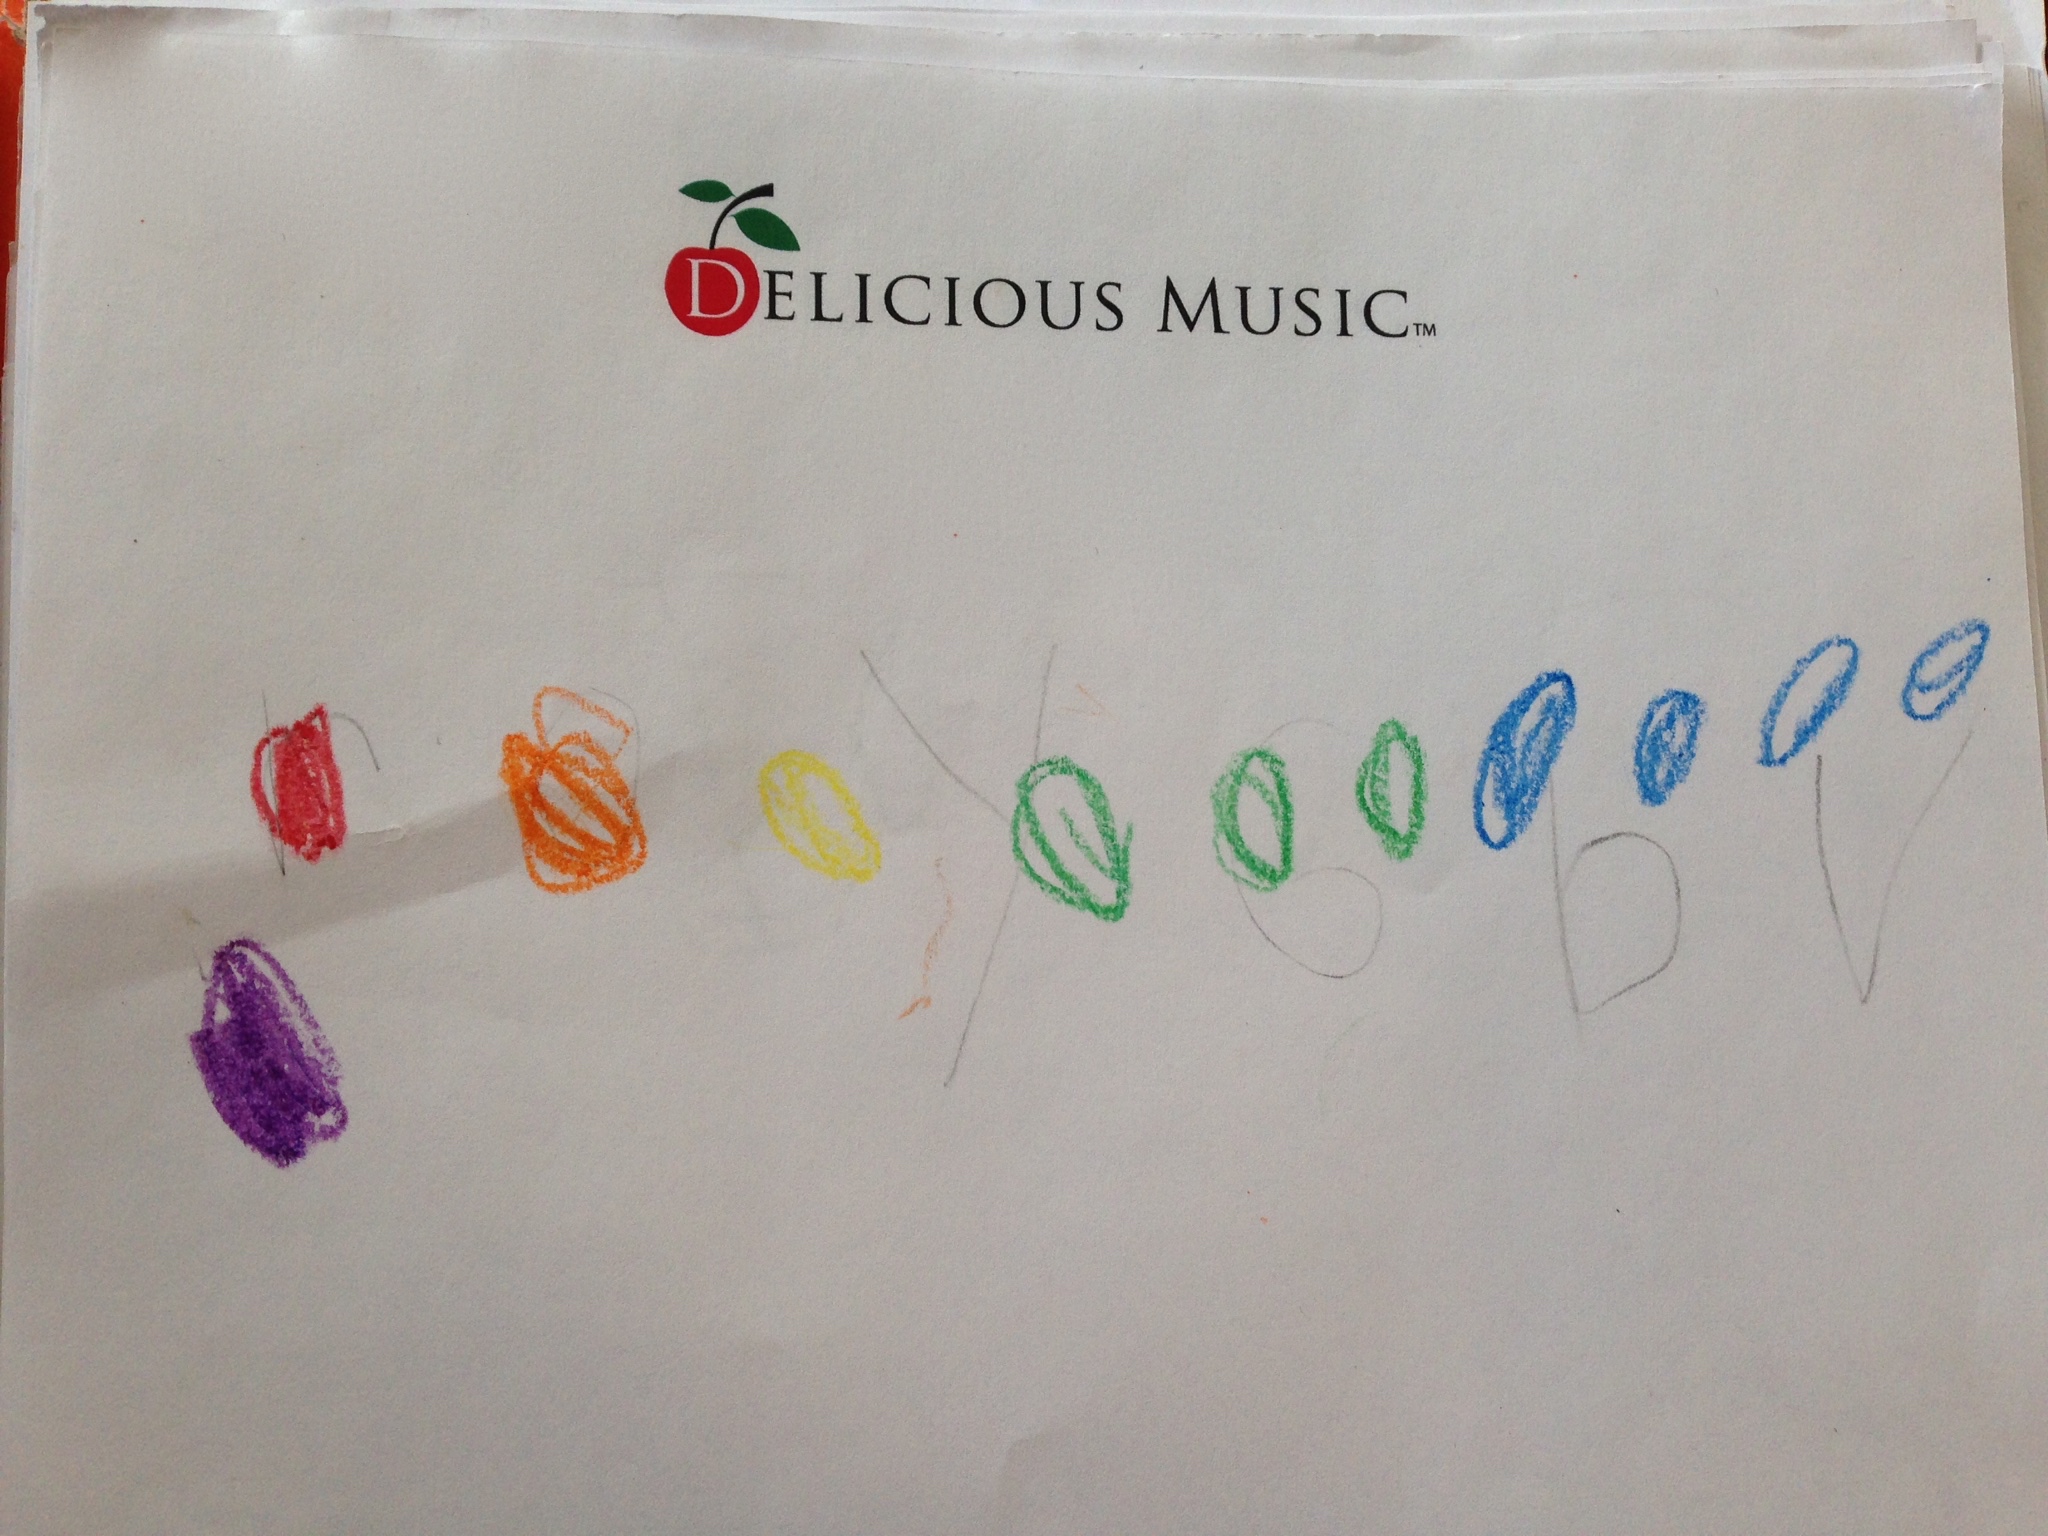
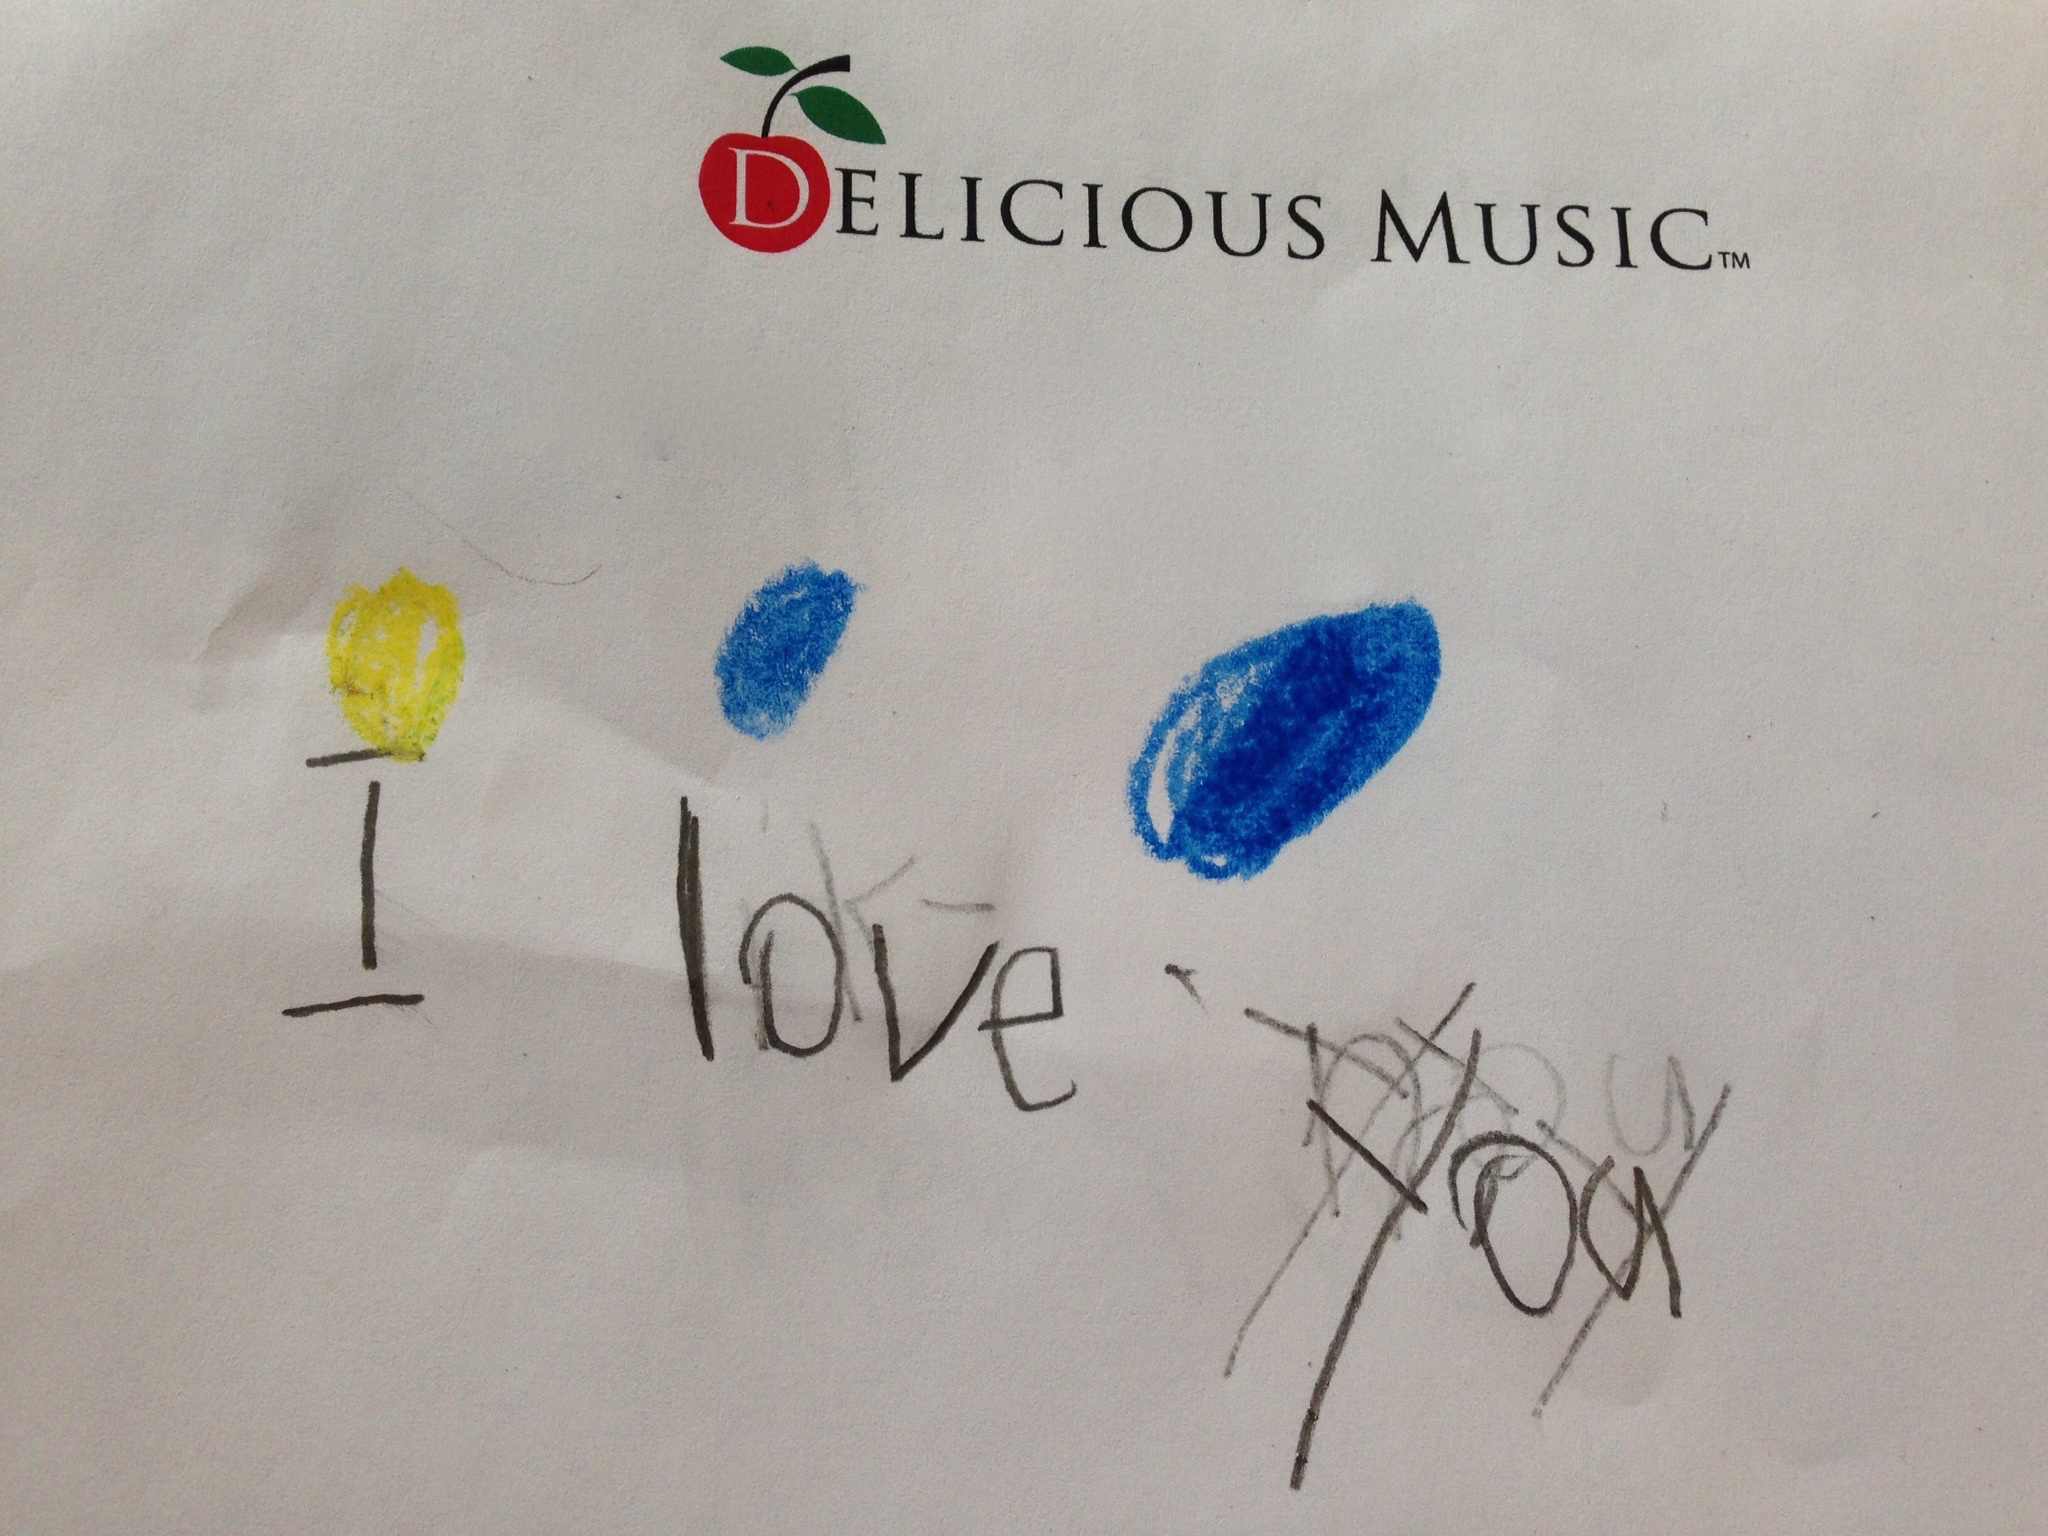
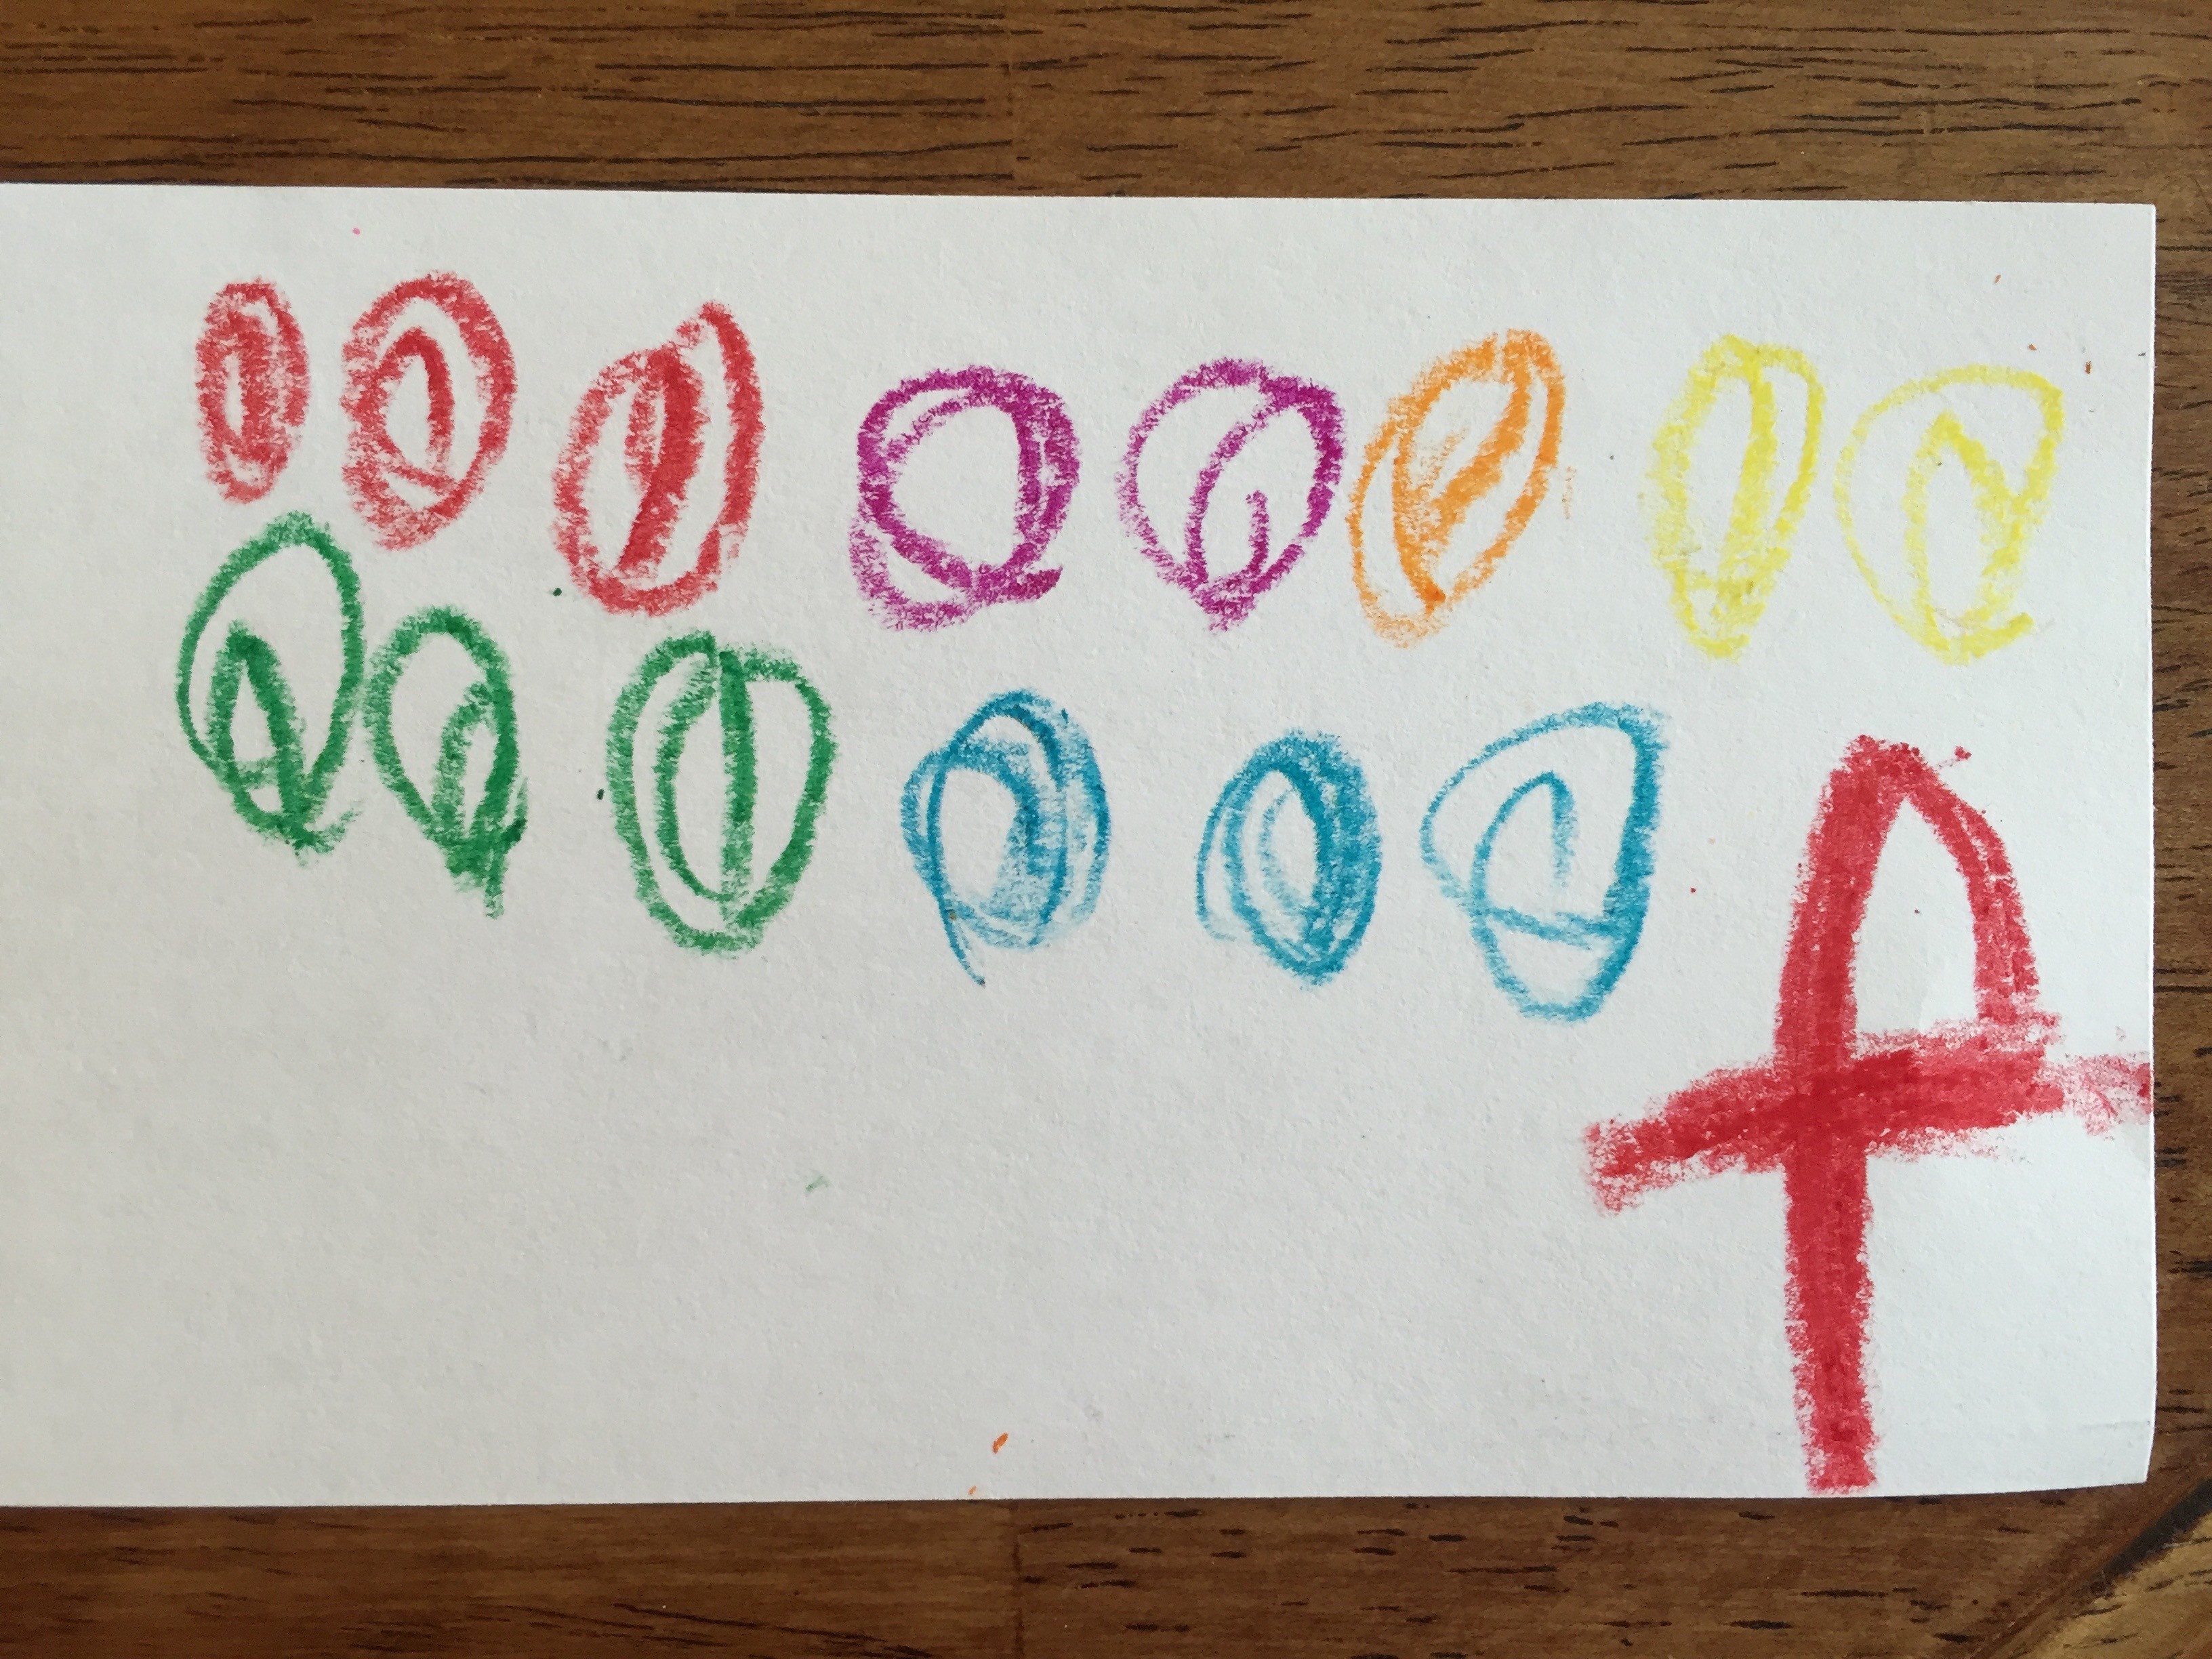
We had 10 minutes left. I sent the children to get their bells and head to their tables. I handed out a piece of paper to each child and told them that they had 3 minutes to write a song. Any notes! Any words if they wanted words! They started. I told them when they had 1 minute left. Before we starting our performances, I told them we needed to be sure to practice good audience manners! That means they need to be quiet as mice while the person is performing. “That means you can’t lean over to your neighbor and talk or whisper loudly. You give your whole attention to the performer.” When the person is done, they clap until the performer has bowed. I modeled a bow. I also mentioned that if you are in a wheelchair, you can do a seated bow and explained that performers who sometimes give a seated bow include cellists and harpists.
Then I went around the room and let one child at a time share. One child from each table shared, and then I went back around. Not everyone got to share, so I collected the papers to pull out next week.
Here are some of the children’s compositions:
The children LOVED performing! I had more volunteers than time to let them share, but we had SUCH a great time. Like one boy said after, when I told him how proud I was of him, he said, “It was awesome!”
We sang our goodbye song, collected the songs, and put our bells away.
I started off by asking the kids if they new how sound was created.
HOW IS SOUND MADE?
VIBRATION– I introduced them to vibration and showed this video clip I downloaded from online:
After the video I showed them a simple example of the things they sang about in the video. First, I had a mini bread pan wrapped with several different sizes of rubber bands. We talked about how the different sizes of rubber bands caused them to vibrate at different rates and therefore at different pitches.
Tighter=faster vibration= higher pitch/ More Loose=slower vibration=lower pitch
I then showed them the same effect on my ukulele.
CAN VIBRATION/SOUND WAVES BE SEEN AND FELT?
FEELING:
I had the kids hum and feel the vibration occurring in their necks, then in their faces on and around their nose.
I taught them about their vocal chords and how they are like a set of rubber bands that vibrate, then how the air resonates in the throat, mouth, and facial cavities.
SEEING:
I brought a clear cup of water and a small tuning fork. First, I explained how the tuning fork worked and how the invisible sound waves hitting each other in between the tongs would create a tone. I hit it and let each child individually hear the tone. Then I explained that when I hit the tuning fork and put it in the water, those same invisible waves would disrupt the surface of the water and they could essentially “see” the vibrations working. I hit the tuning fork and put in the water for small groups at a time. They were so excited by the whole tuning fork thing.
Then I played this video clip from The Magic School Bus to reinforce what we had just learned. They loved it:
Finally, I showed them how to make a straw kazoo and how when you change the length of the straw by cutting it smaller, the pitch gets higher and higher. As my “valentine”, I gave each of them a straw with a little slip of paper that had the website address to watch a video that shows how to make it and how it works. That clip is here: http://www.pbslearningmedia.org/resource/phy03.sci.phys.howmove.zkazoo/pitch-straw-kazoo/

 Today I told the children that I had been on an airplane last week flying to California. I asked them how fast an airplane flies. FAST! It has to fly fast, I explained, with all the weight it is carrying. How heavy is an airplane? VERY heavy, I answered (after they did), especially with all of those people on it! The engines have to be going very fast to create enough lift to get the heavy airplane up into the air!
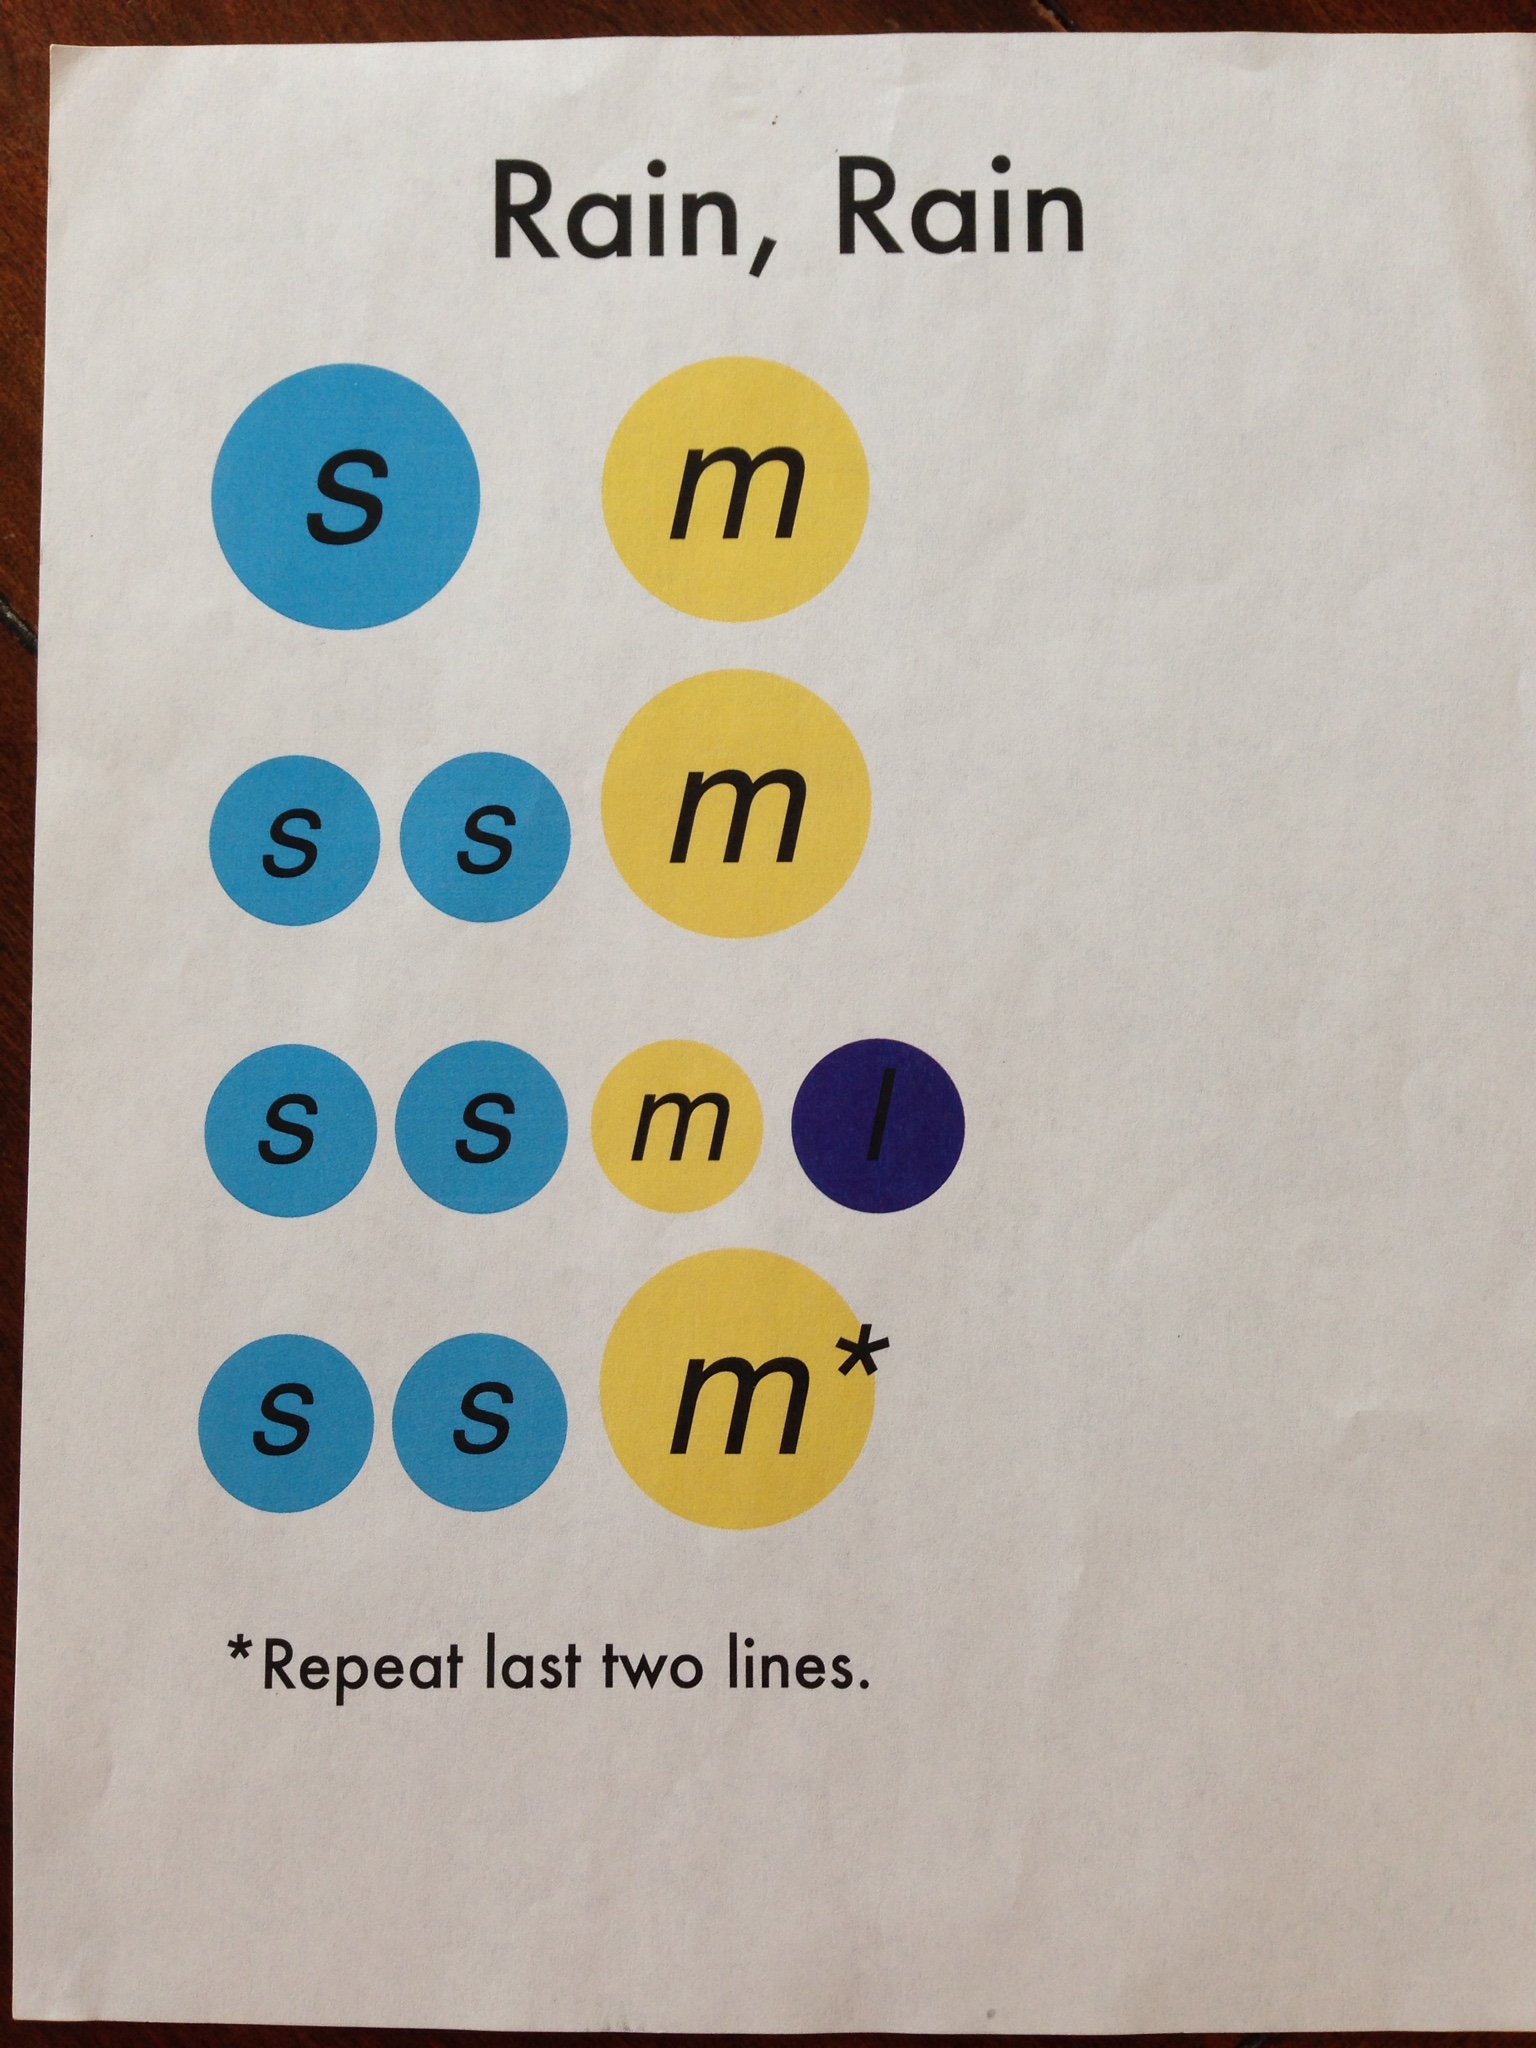
 e.
e.